- Document: Record details about Brokerages and Brokers, like their business information and commission rates.
- Track: Record and report Brokerage and Broker commissions across individual policies and your entire business.
Add a Brokerage
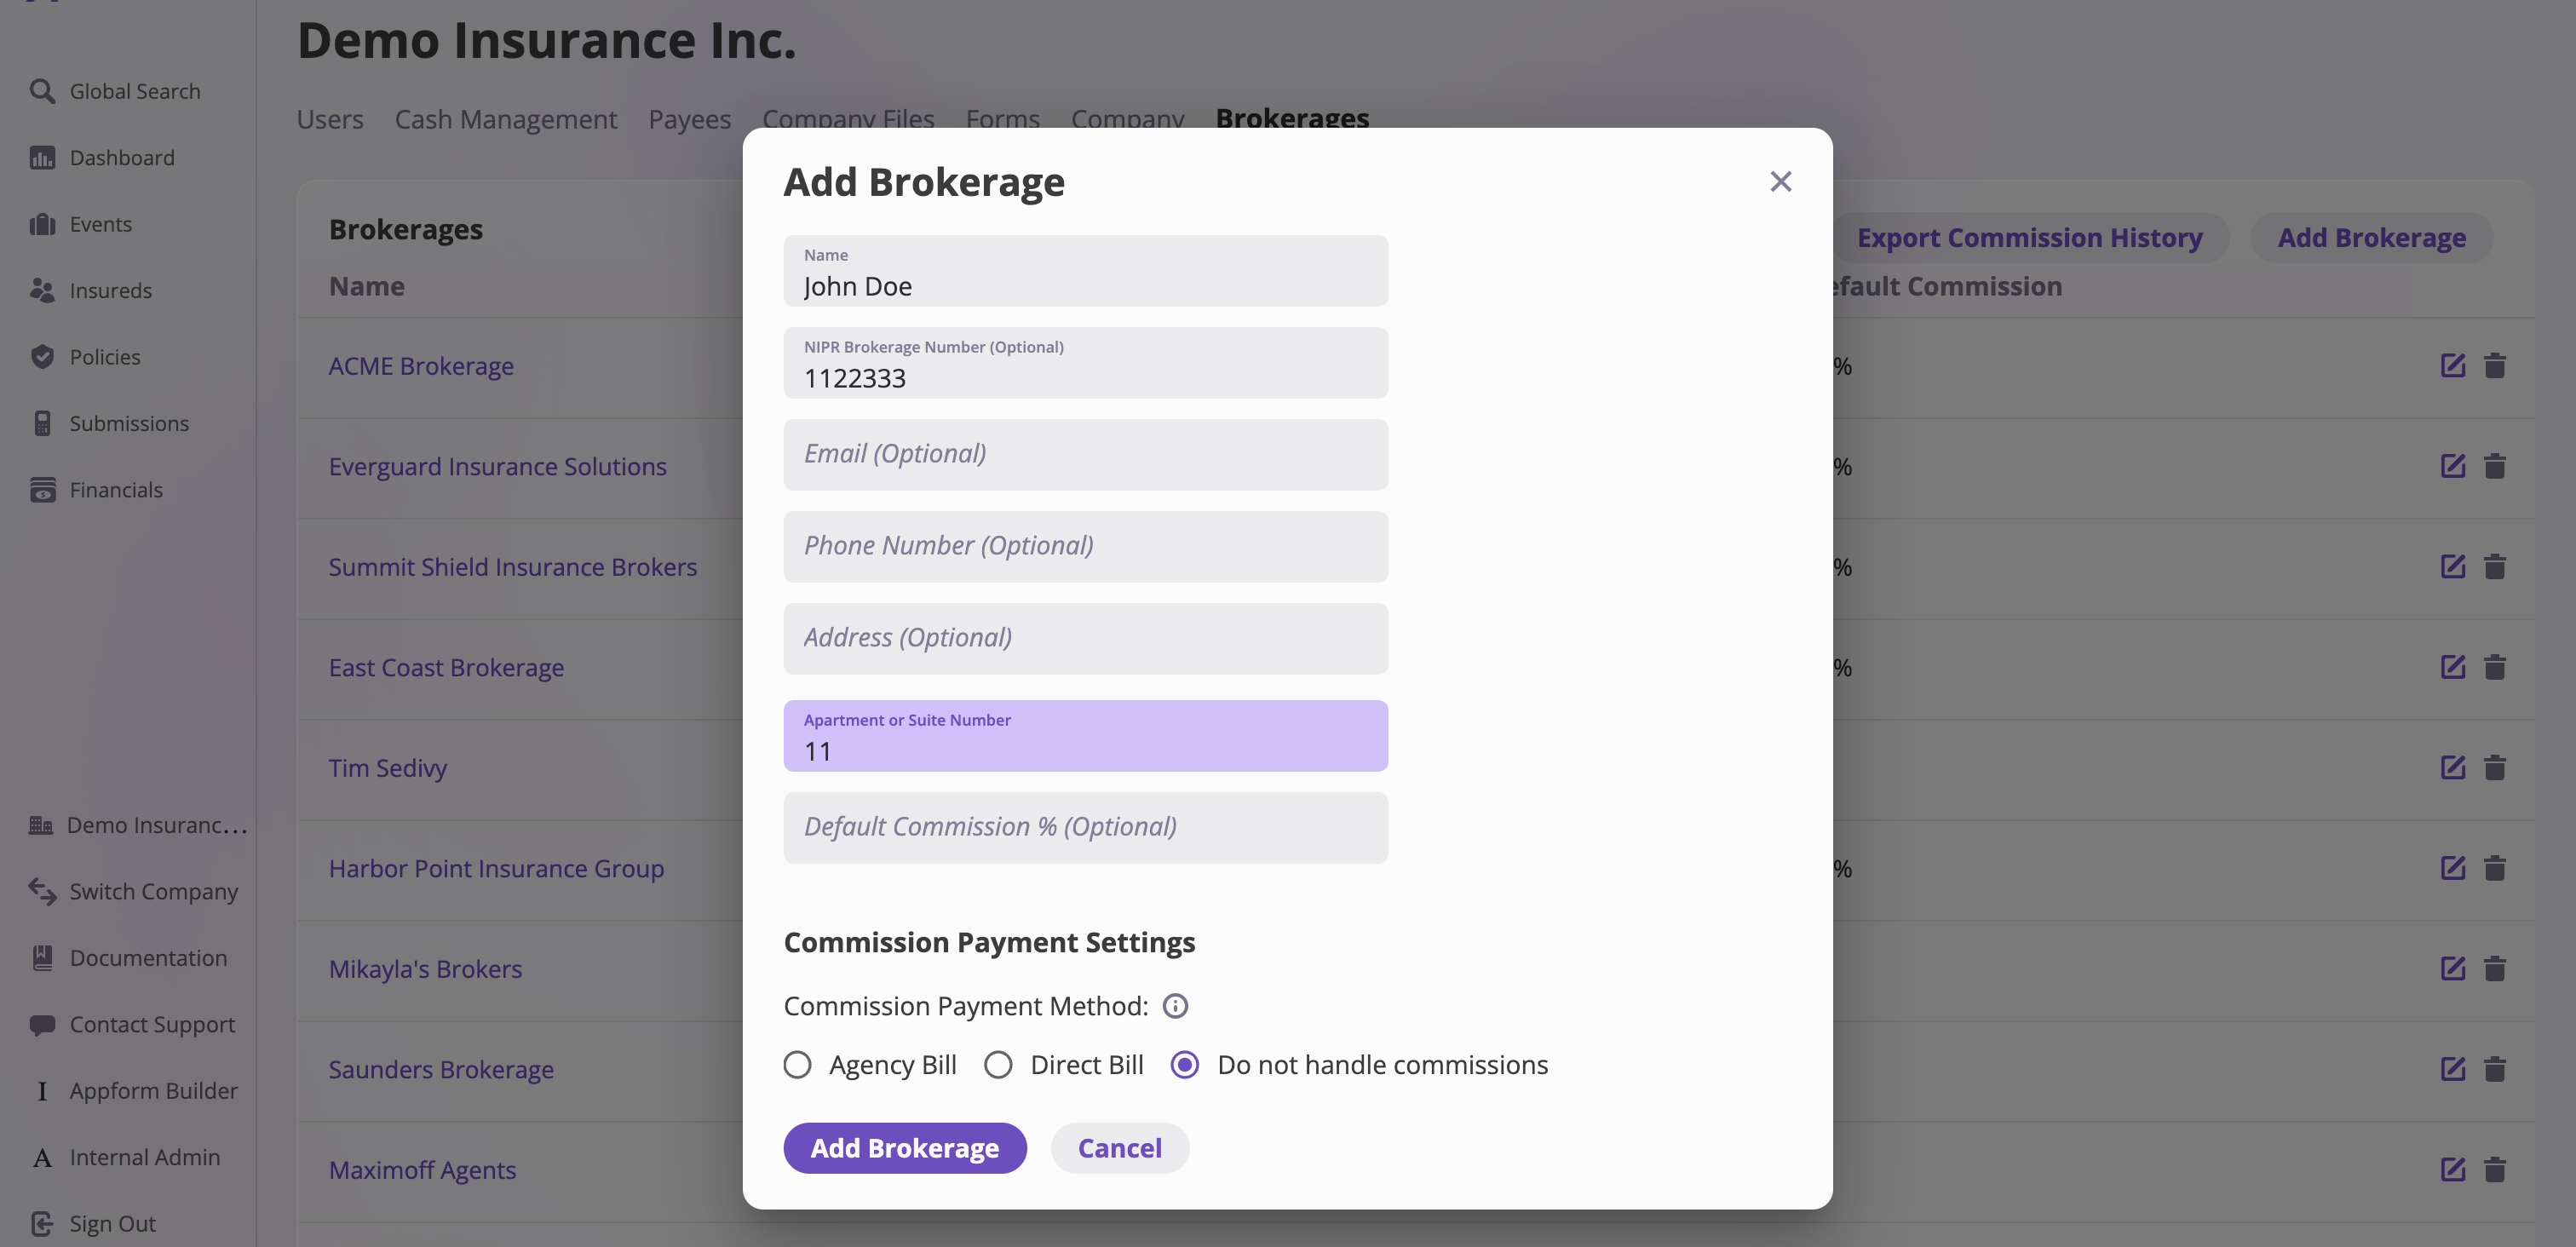
Follow these steps to add a brokerage:- Navigate to the Brokerages page and click the Add Brokerage button. This will open the Add Brokerage modal.

- Enter the brokerage details, including the Name, Email, NIPR Brokerage Number, and other relevant information.
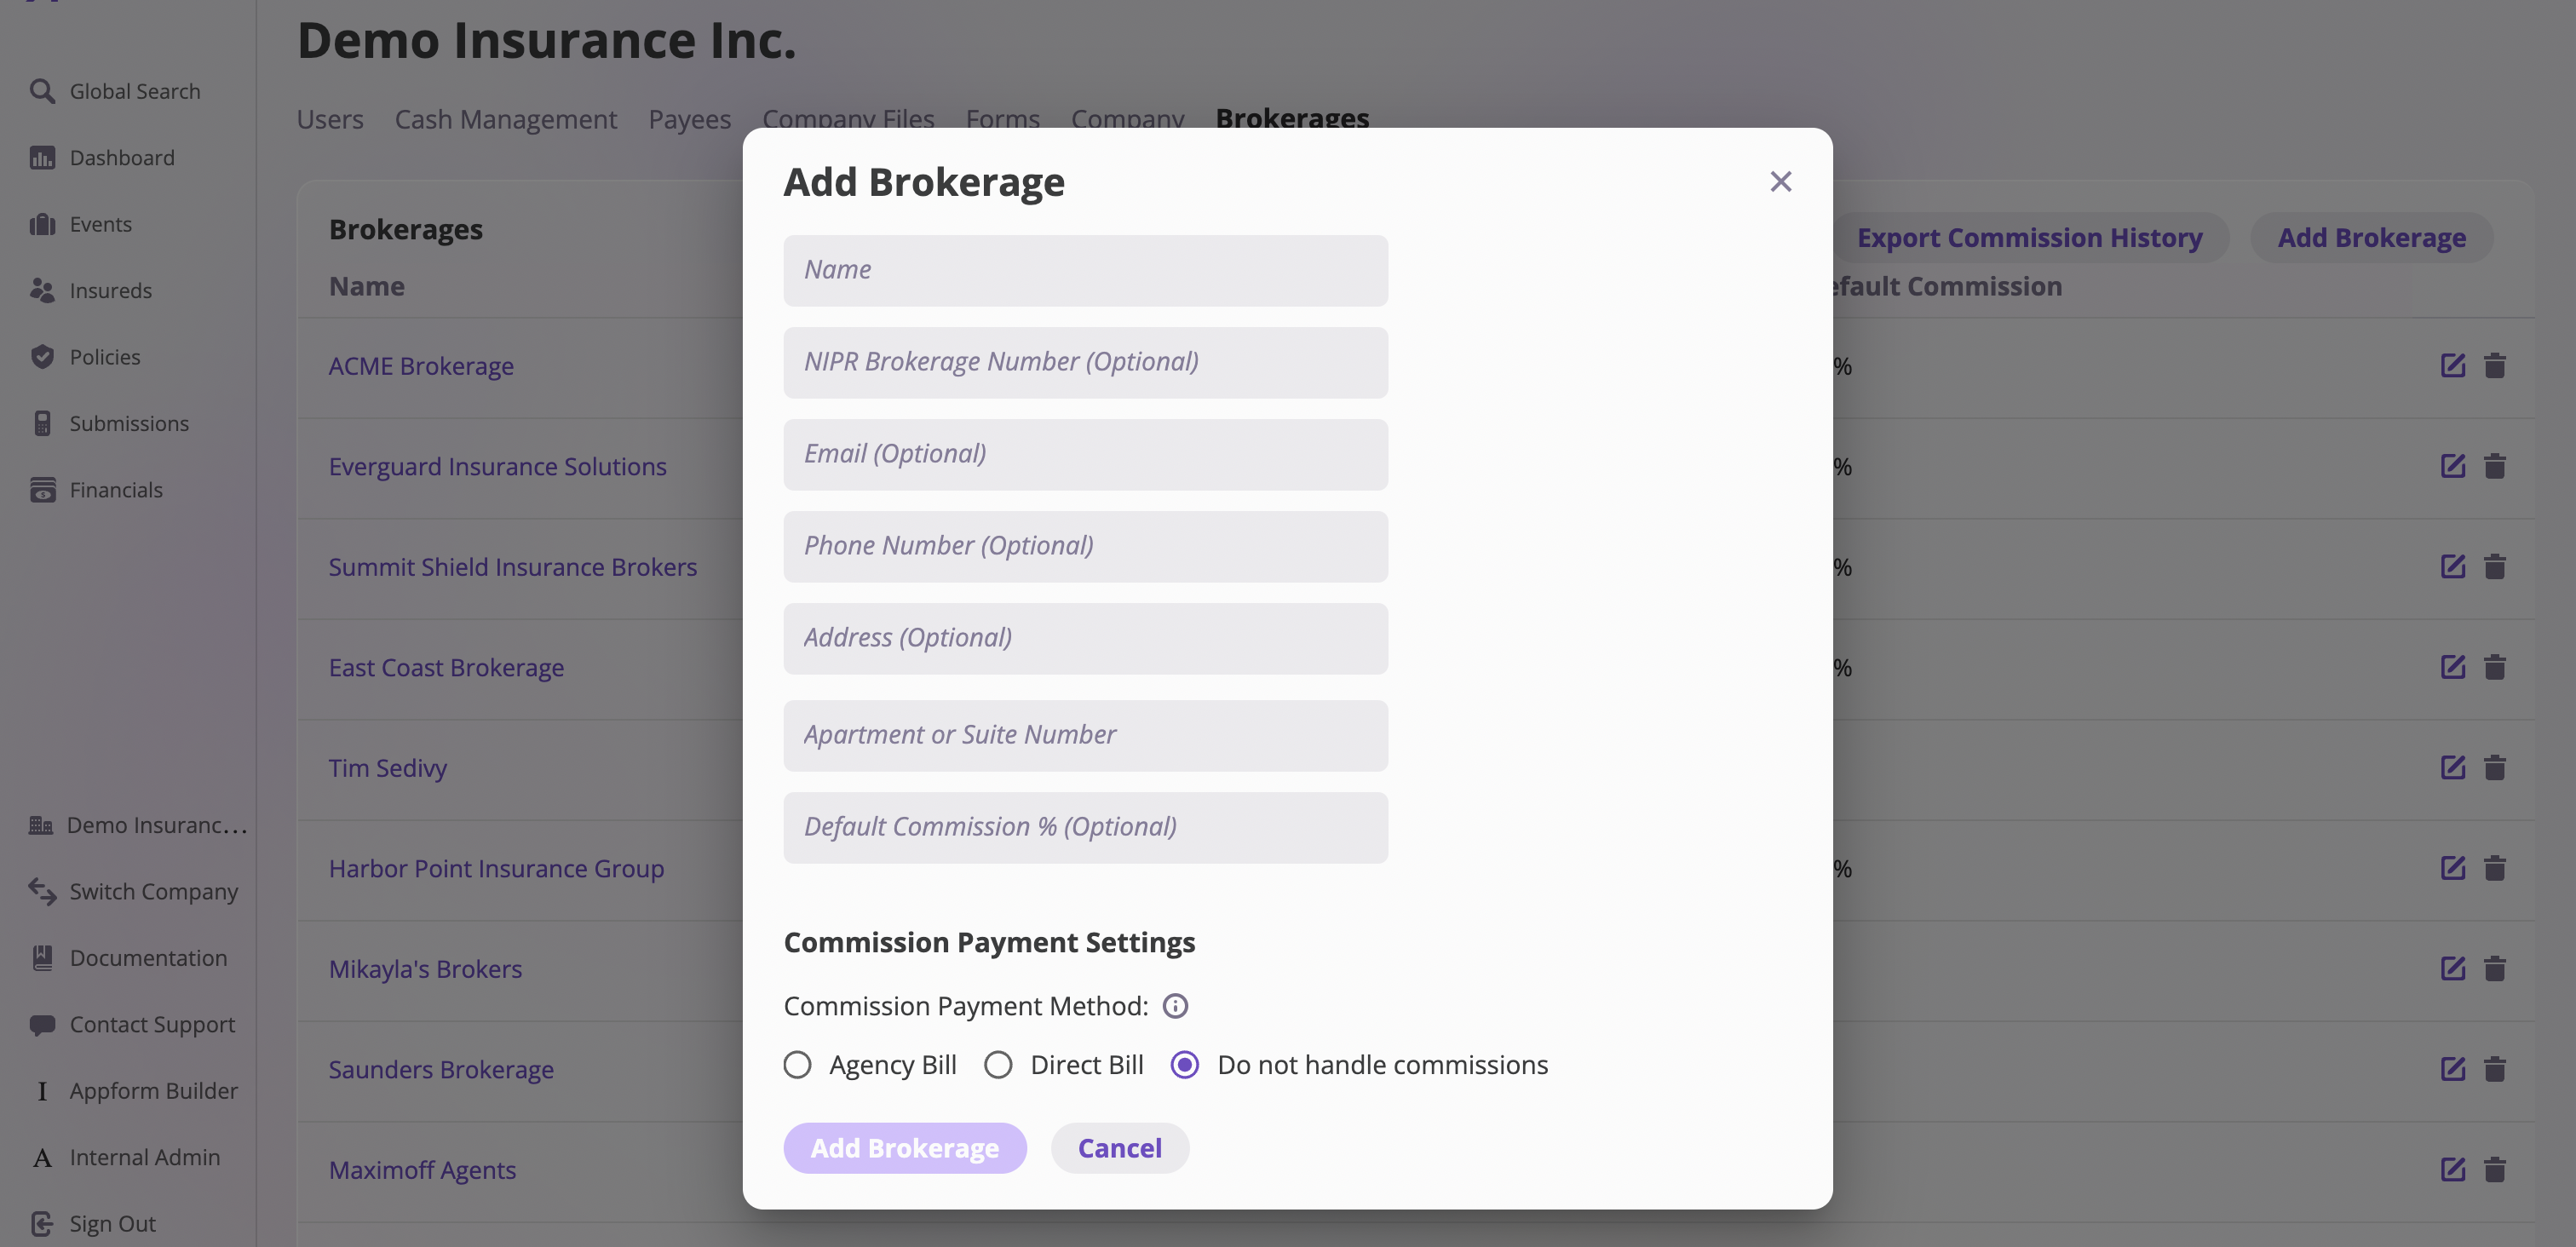
- Select your Commission Payment Settings. There are three options:
- Agency Bill: The policy invoice is sent to the broker, and the commission is deducted from the total invoice amount.
- Direct Bill: The full policy invoice is sent to the insured, and a separate Commission Invoice transaction is created for the broker’s commission.
- Do Not Handle Commissions: No additional commission-related transactions will be created, and no commissions will be deducted from outbound policy invoices.
- Click the Add Brokerage button to save the brokerage.
View a Brokerage
On the Brokerages page, select a brokerage to open its dedicated page and view detailed information.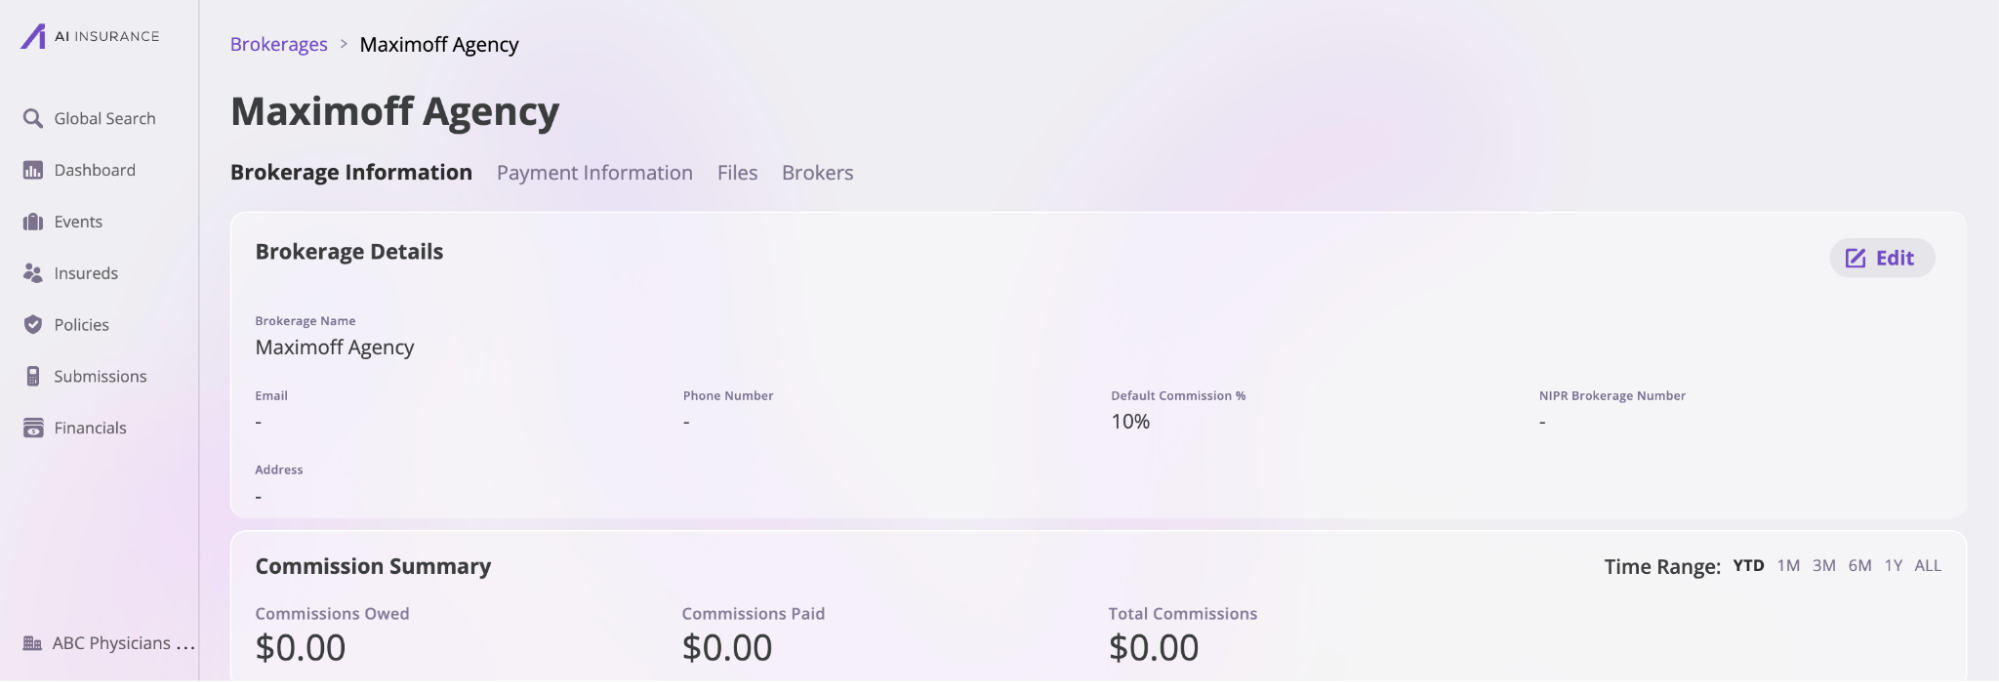
- Brokerage information: This section provides an overview of your brokerage and is further divided into three subsections:
- Brokerage Details: Displays key information such as the brokerage name, email, phone number, default commission, and NIPR brokerage number.
- Commission Summary: Provides an overview of all commissions paid or owed by the brokerage over a specific period.
- Commission History: Shows a detailed record of commission transactions. Click the Export button to download this information.
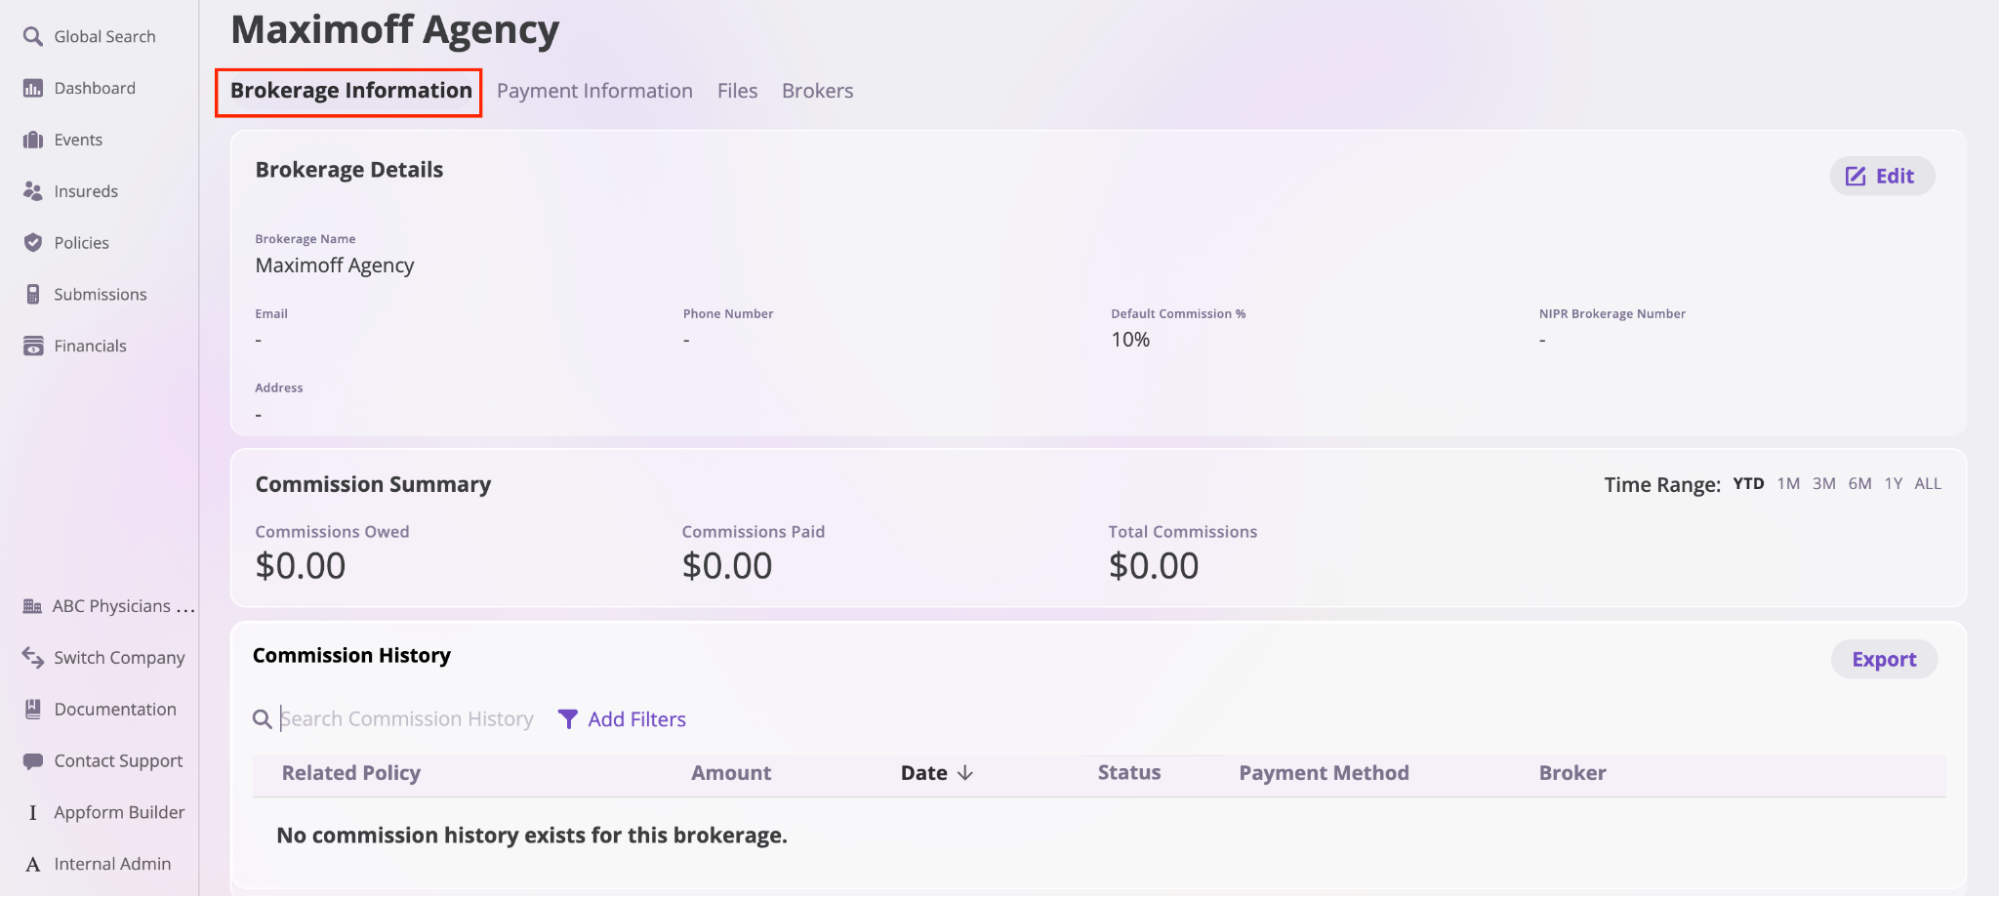
- Payment Information: This section contains details about payment methods and commissions, divided into two subsections:
- Payment Information: Displays your brokerage’s bank details. Click the Edit button to update this information.
- Commission Payment Settings: Click the Edit button to modify your commission payment settings. Available options include Agency Bill, Direct Bill, or Do Not Handle Commissions.
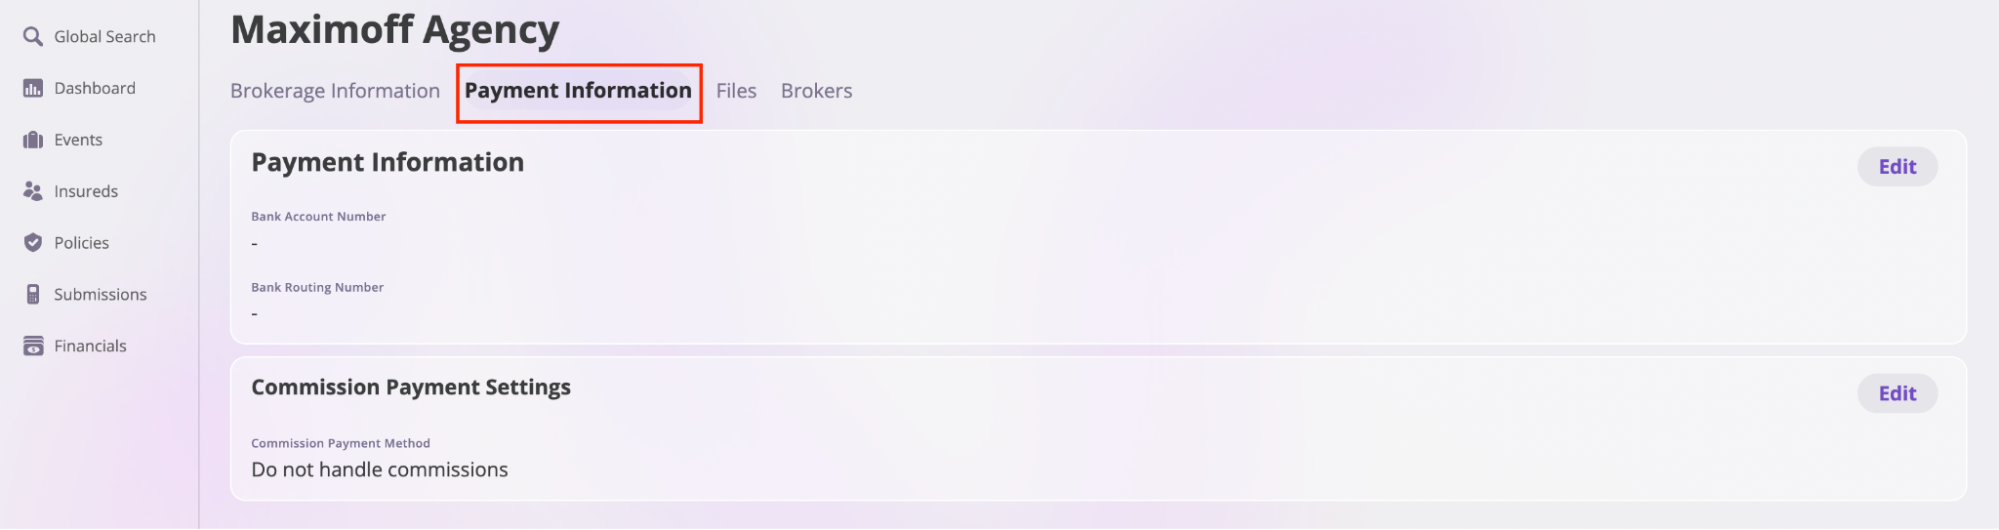
- Files: This section stores all files associated with the brokerage and its brokers. Refer to the Files documentation to learn more about uploading and managing files on the platform.
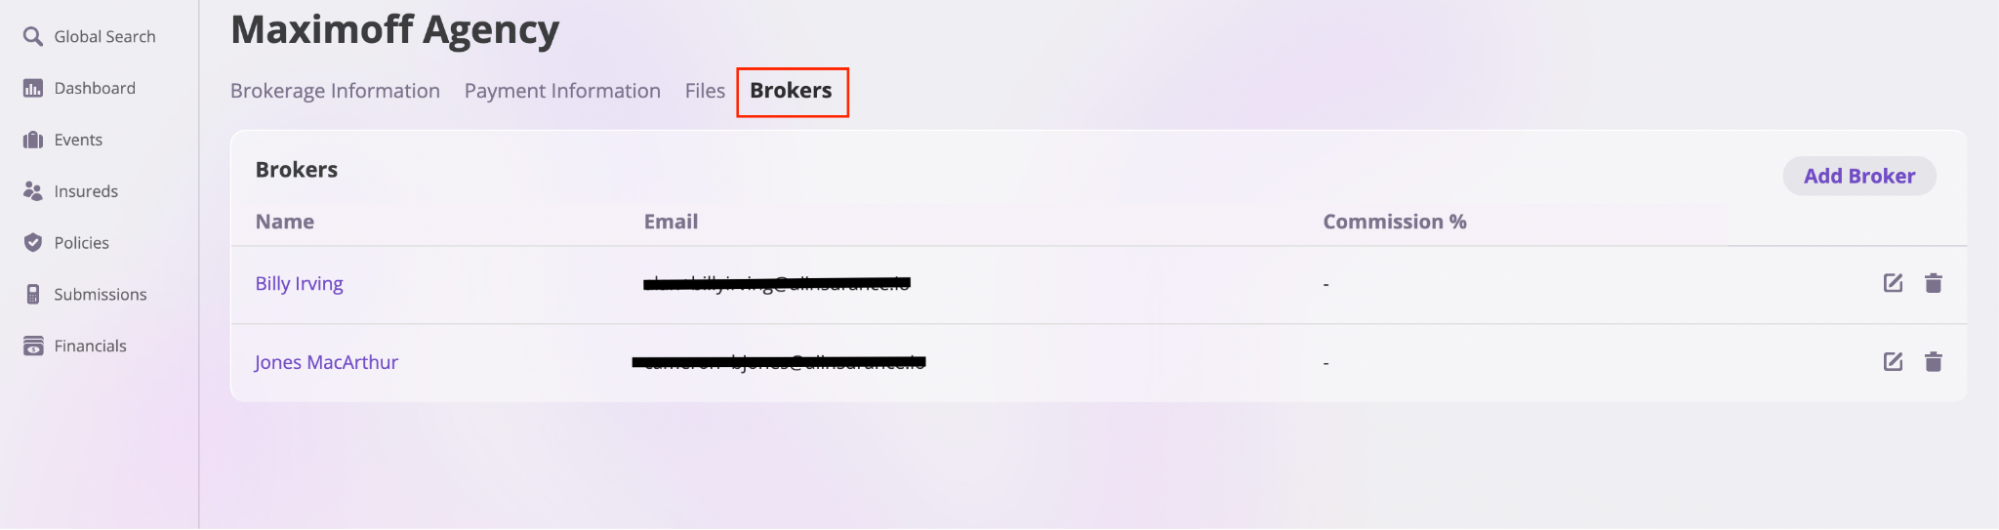
- Brokers: This tab contains information about all brokers working under the brokerage.
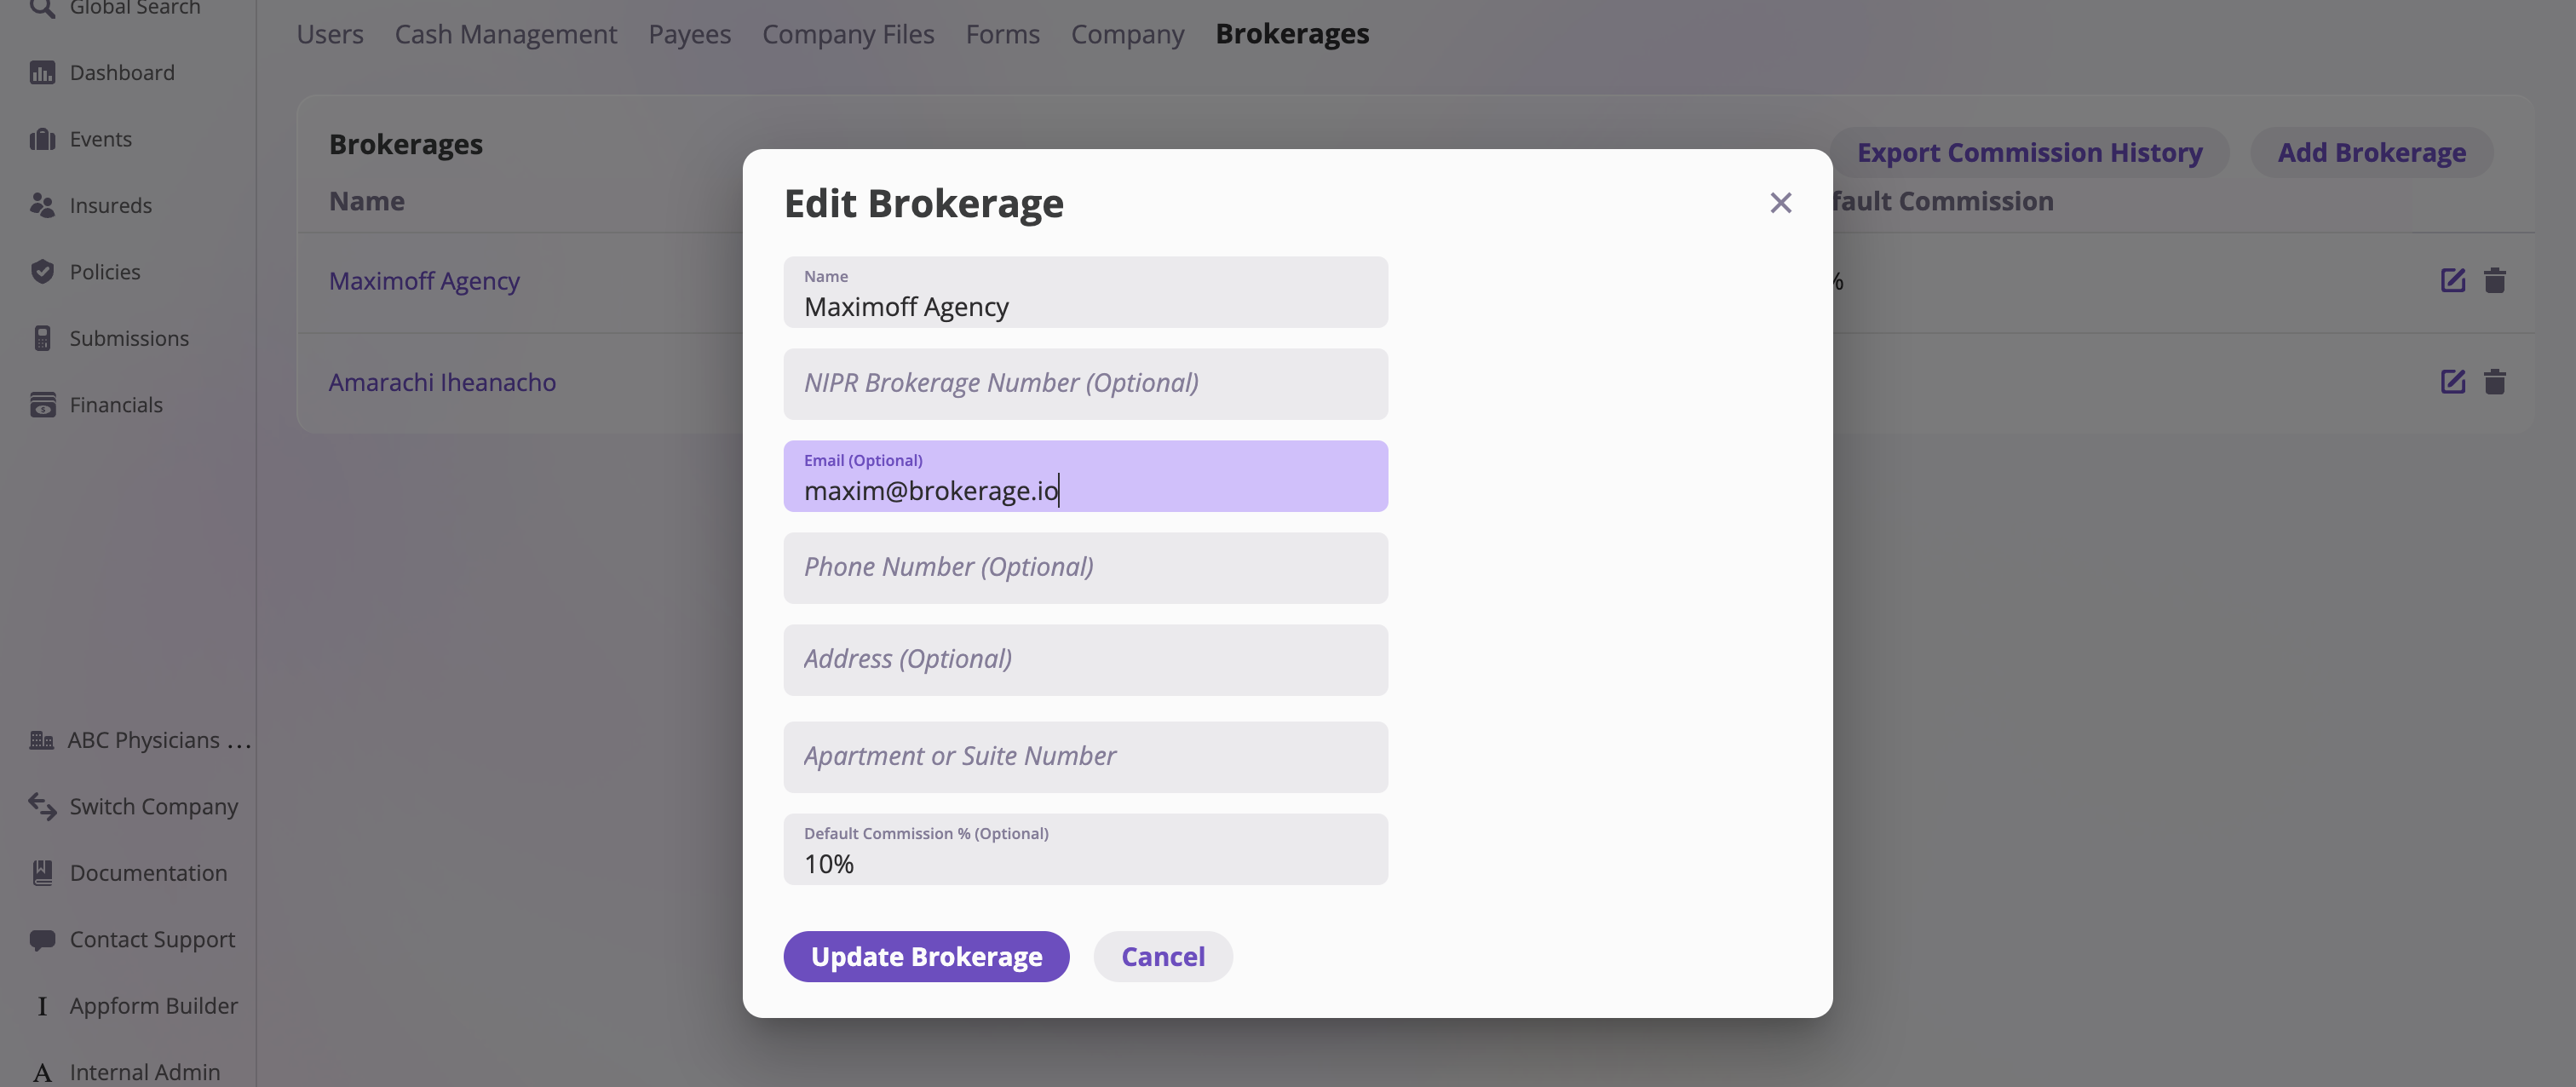
Edit a Brokerage
To edit a Brokerage:- Search for and locate the Brokerage you want to edit on the Brokerages page.
- Click the edit icon next to the Brokerage to open the Edit Brokerage modal.
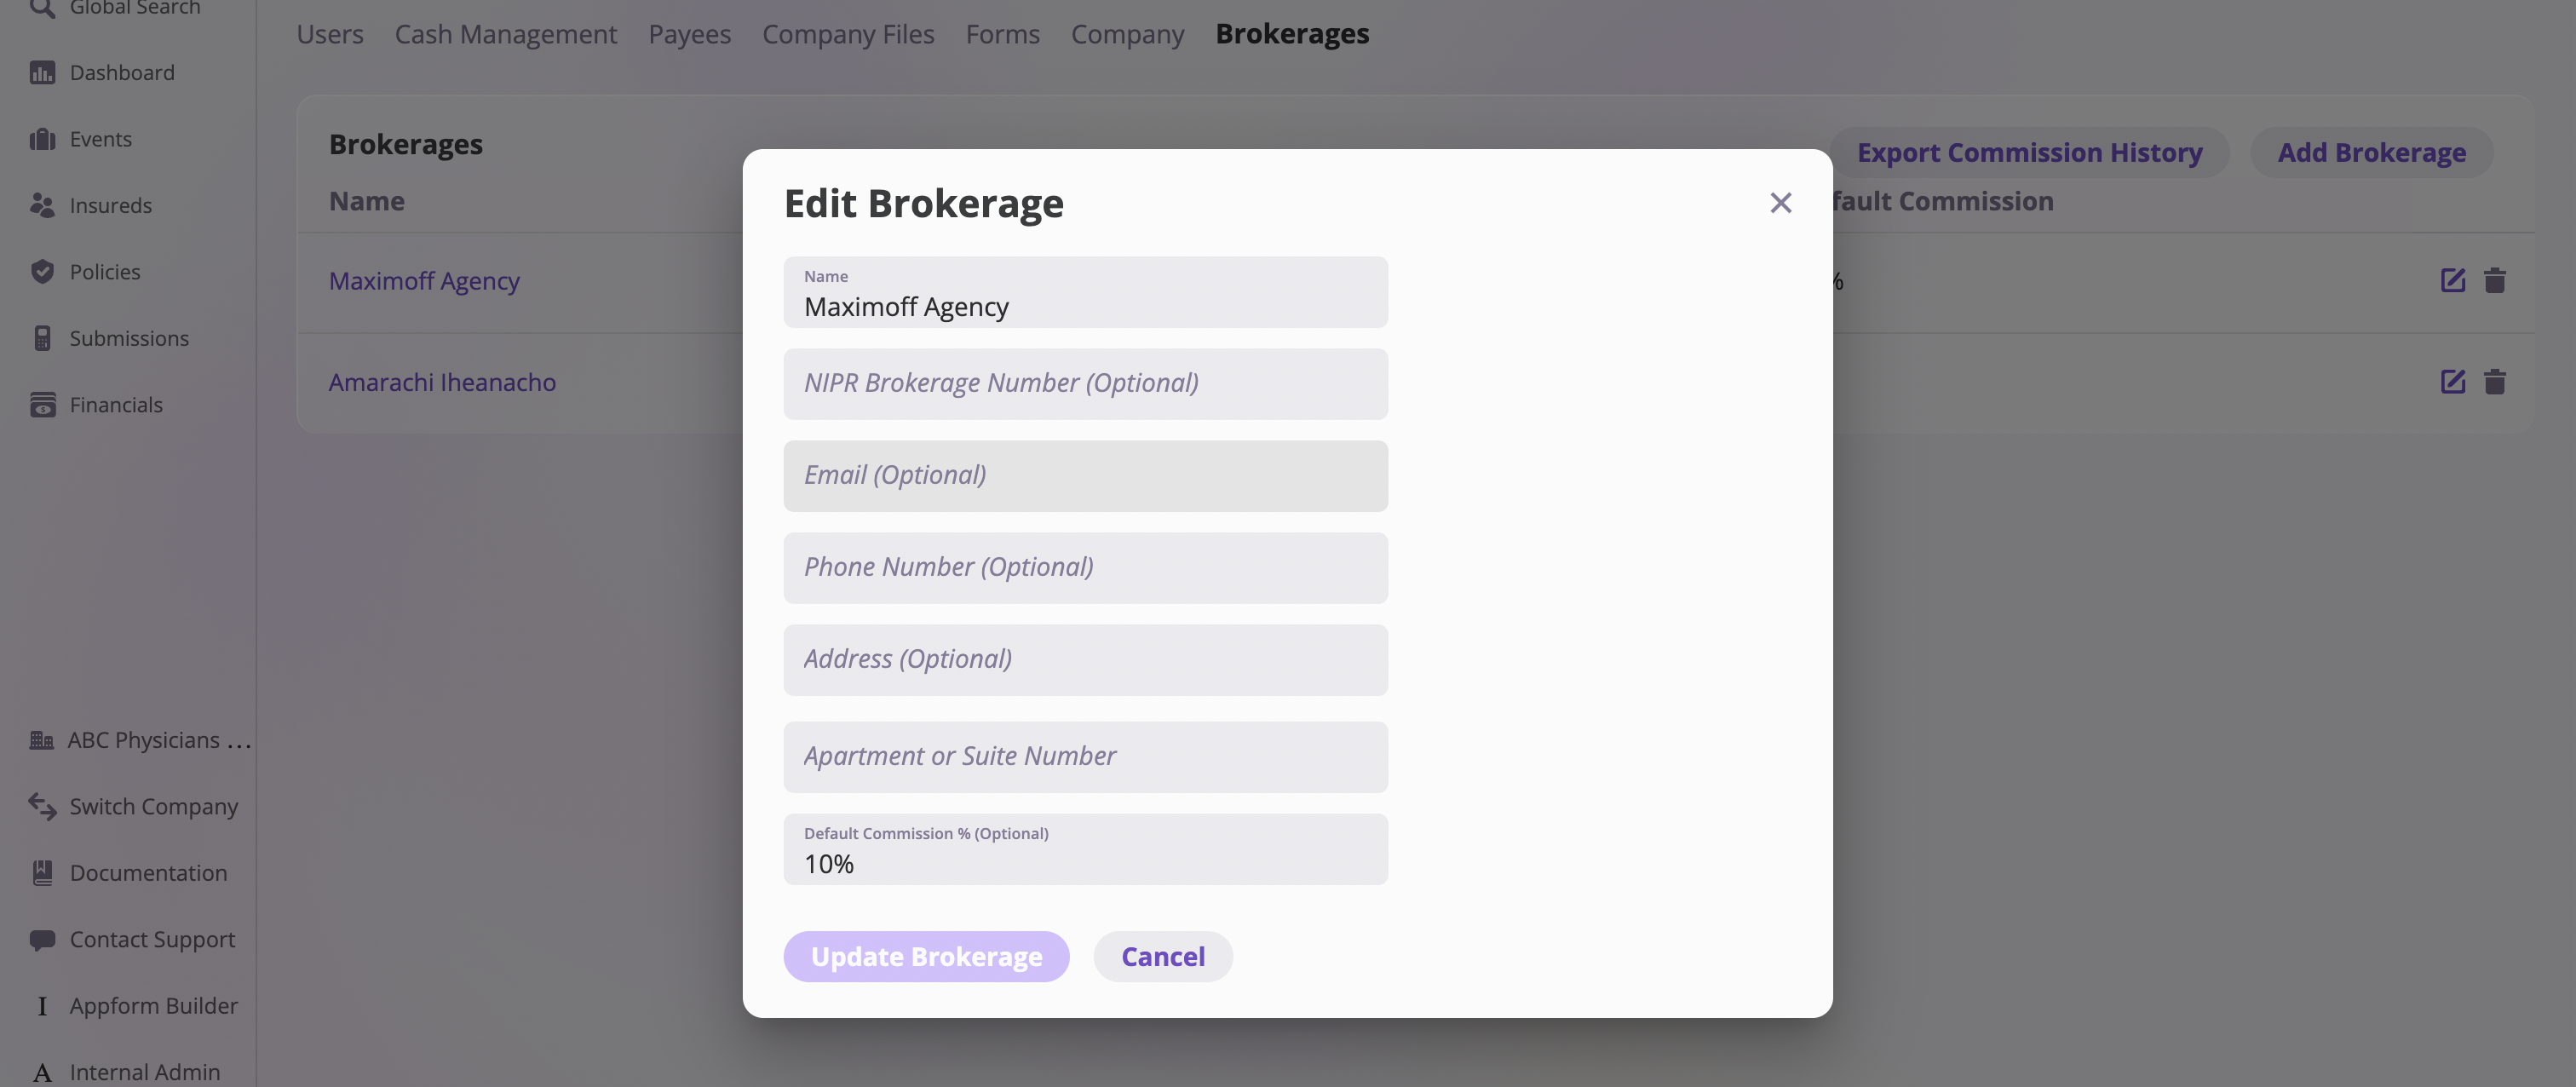
- Update the necessary information in the form input fields.
- Click the Update Brokerage button to save your changes.
Add a Broker
Follow these steps to add a broker to a brokerage:- On the Brokerages page, select the brokerage where you want to add a broker.

- Click the Broker tab, then select the Add Broker button to open the Add Broker modal.

- Enter the new broker’s information in the modal and click Add Broker to complete the process.
How to create multiple users or brokers with the same email address
If you need to create multiple user or broker accounts using the same base email address, insert a ”+” followed by a unique identifier before the ”@” symbol. Most email providers, such as Gmail, will still deliver all emails to the original inbox. For example, if your base email is:alex@example.com
You can create variations like:
alex+broker1@example.comalex+user2@example.comalex+nyoffice@example.com
View a Broker
To view a Broker:- On the Brokerages page, select the brokerage that employs the broker you want to view.
- Click the Broker tab to see a list of brokers under that brokerage.
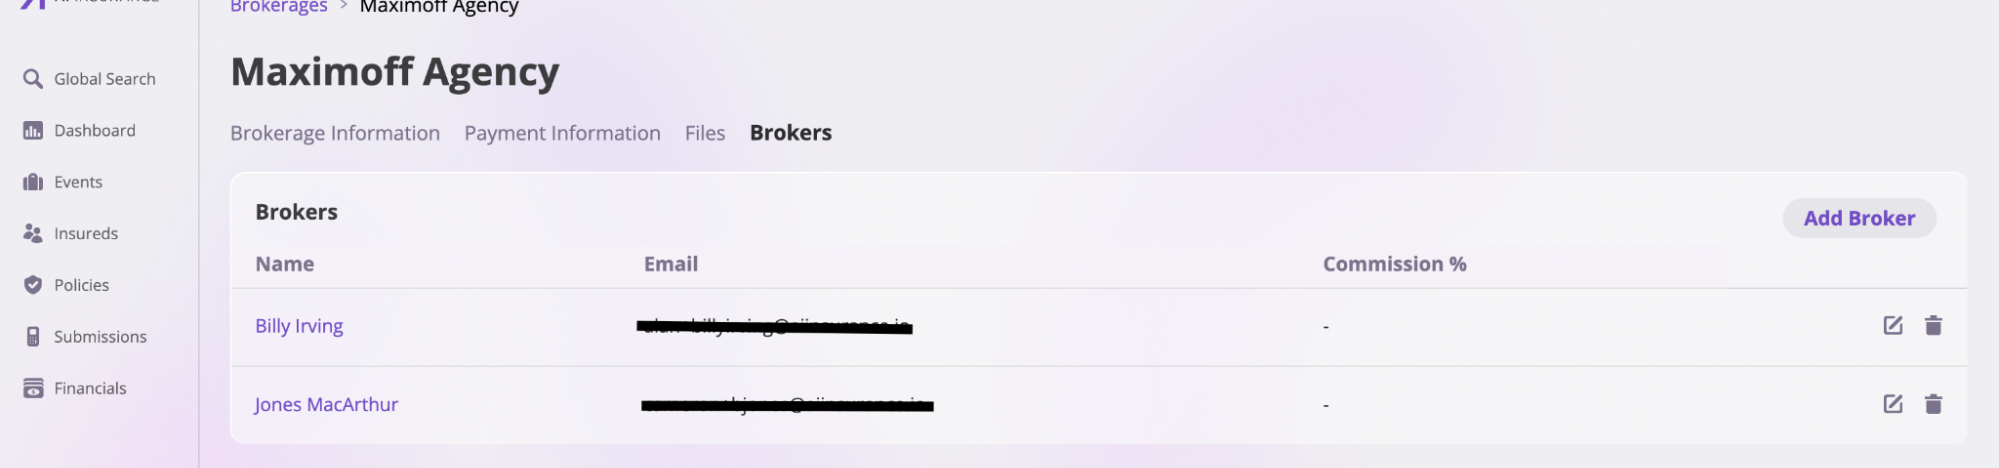
- Select a broker to open their designated Broker page for more details.
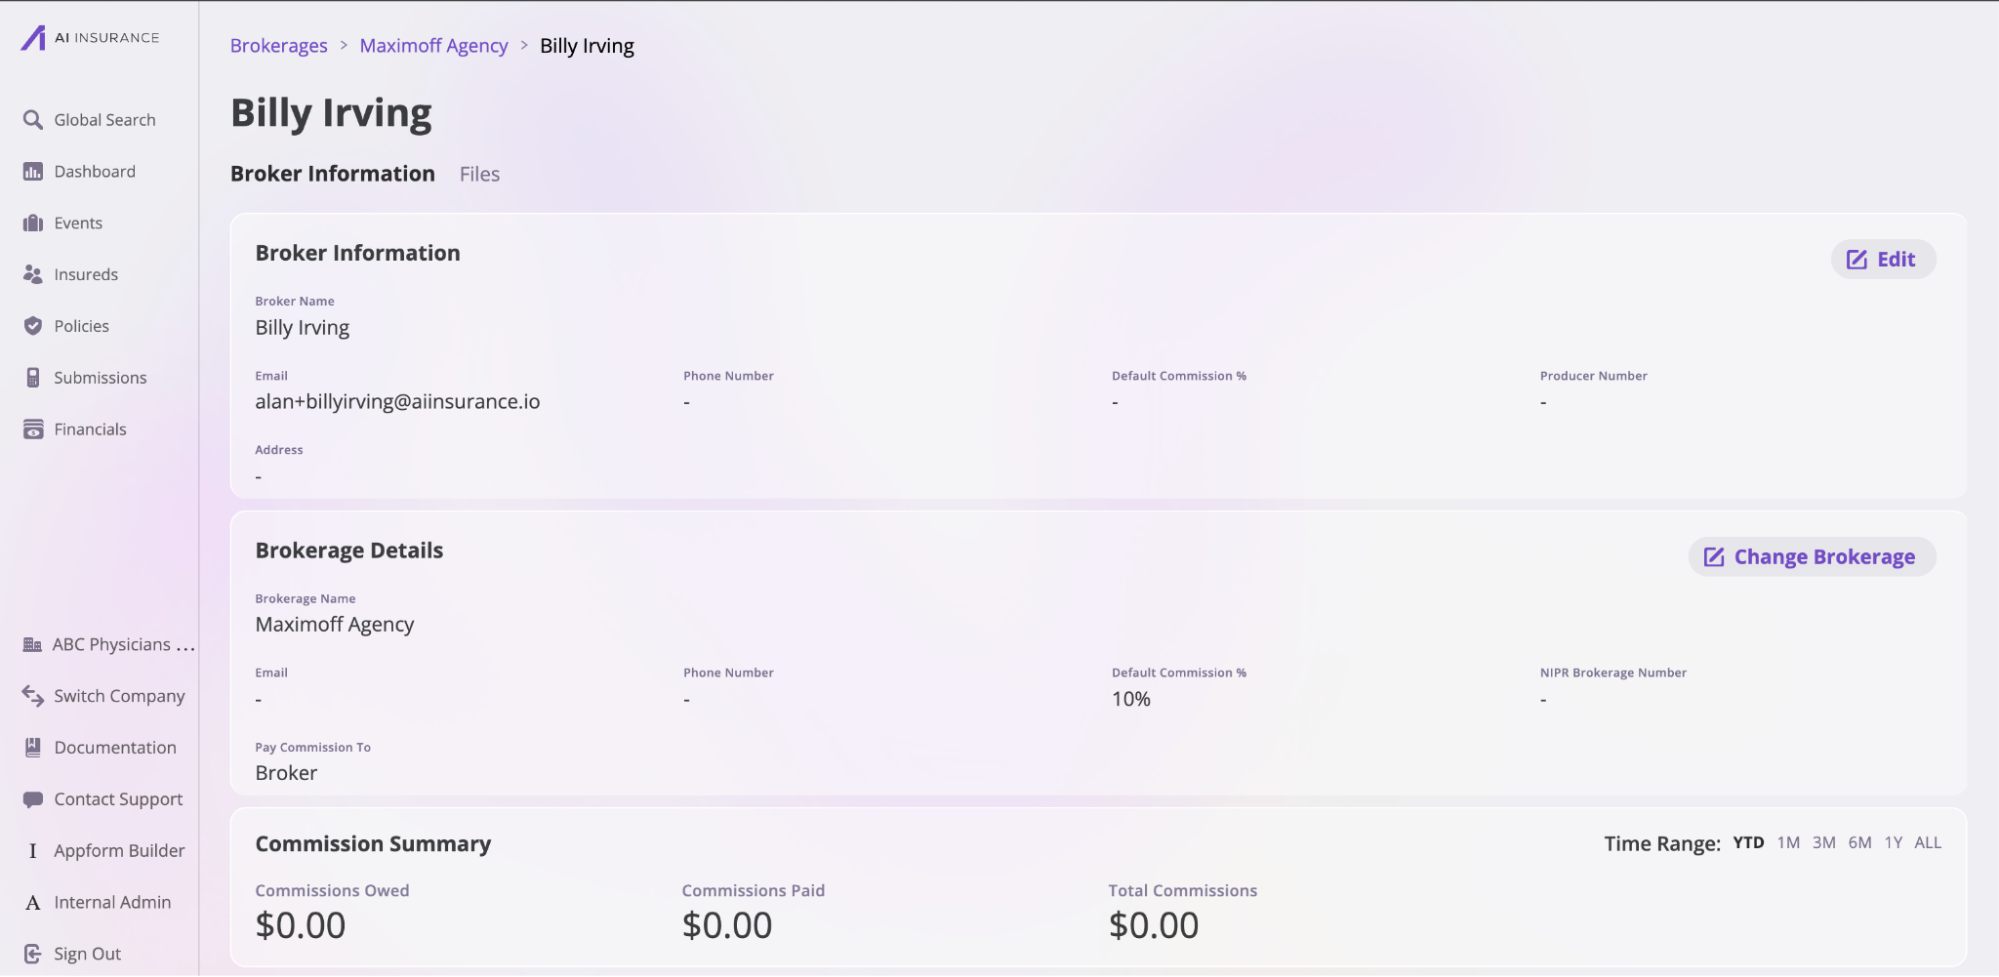
- Broker Information: This tab contains all details related to a broker, divided into four sections:
- Broker Information: Includes the broker’s name, email, phone number, default commission, and producer number.
- Brokerage Details: Displays information about the brokerage the broker works for, such as brokerage name, email, phone number, default commission, NIPR brokerage number, and commission payment details.
- Commission Summary: Provides an overview of all commissions paid or owed by the brokerage over a specific time period.
- Commission History: A detailed record of commission transactions within the brokerage. Click the Export button to download this data.
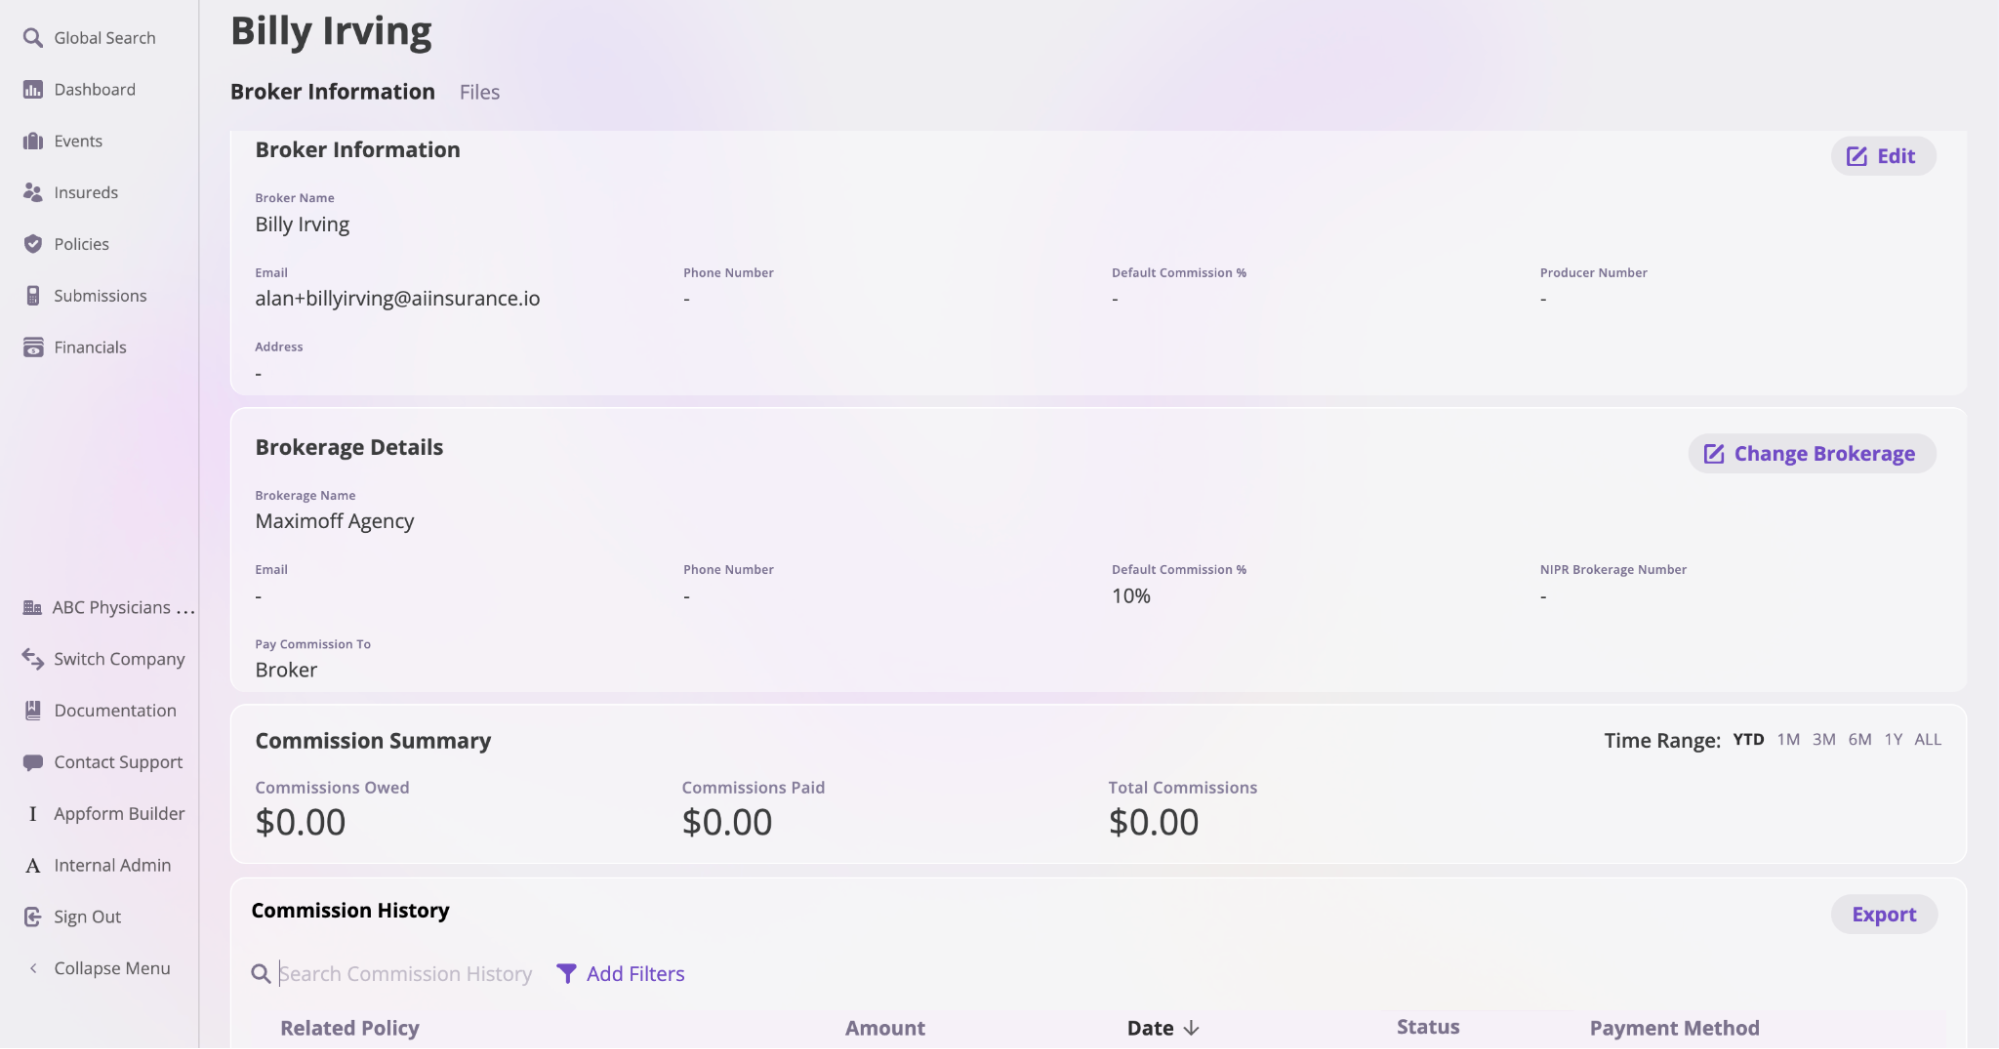
- File: This tab contains all files associated with the broker. Refer to the Files documentation to learn more about uploading and managing files on the platform.

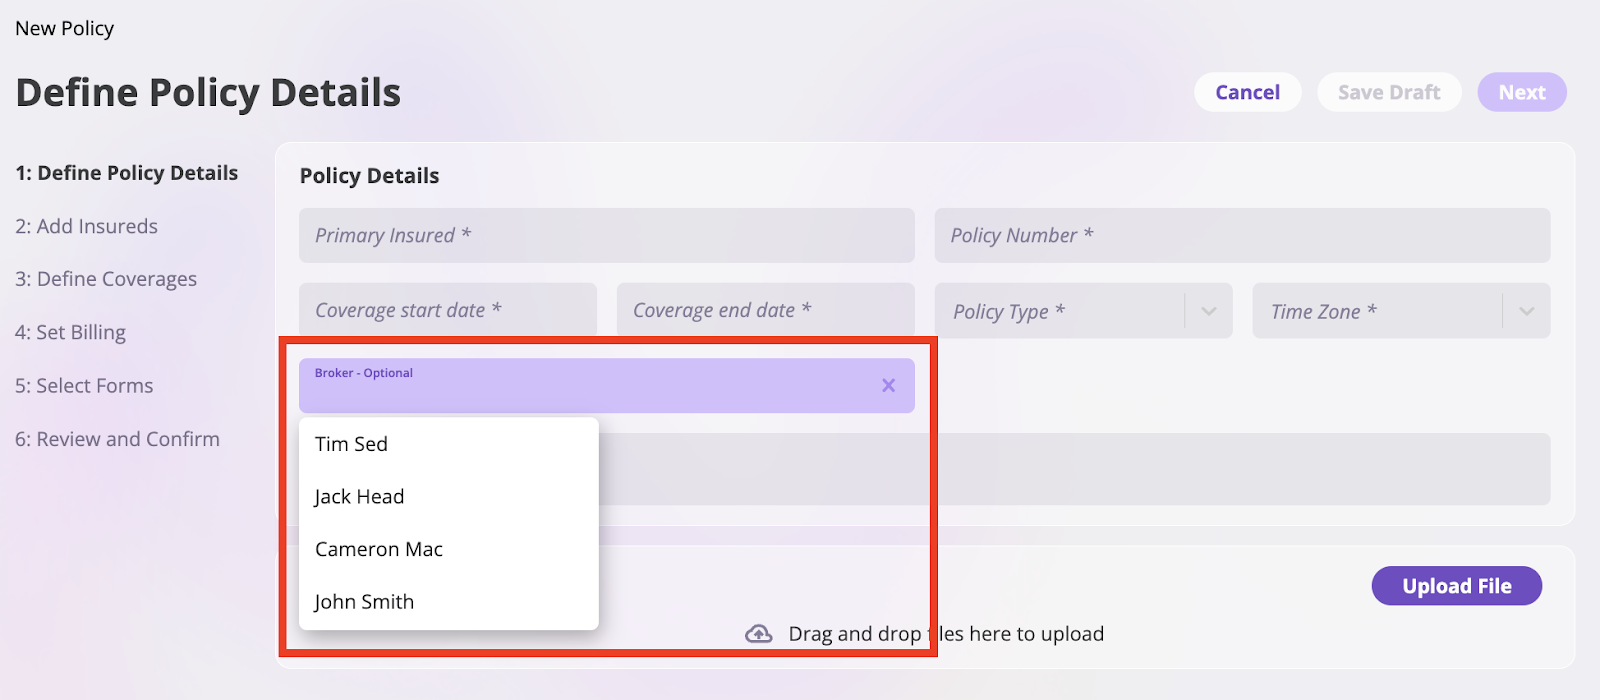
Attaching a Broker to a policy
During policy creation, you can attach an existing Broker or create a new one. When a Broker is linked to a policy, the policy automatically gets the Broker’s default commission. However, you can change this commission manually if there’s a special agreement for that policy.