You can take notes throughout AI Insurance. These notes are text records linked to specific entities and are available as sub-tabs under Policies, Insureds, and Events. Notes support plain text without formatting, and there is no limit to their length.
When you create a note, it is automatically tagged with the date, time, and author. If needed, you can edit the content of your note at any time.
View Notes
Notes are available for entities such as Events, Insureds, and Policies. To view notes taken on each of these entities, do the following.
View Event Notes
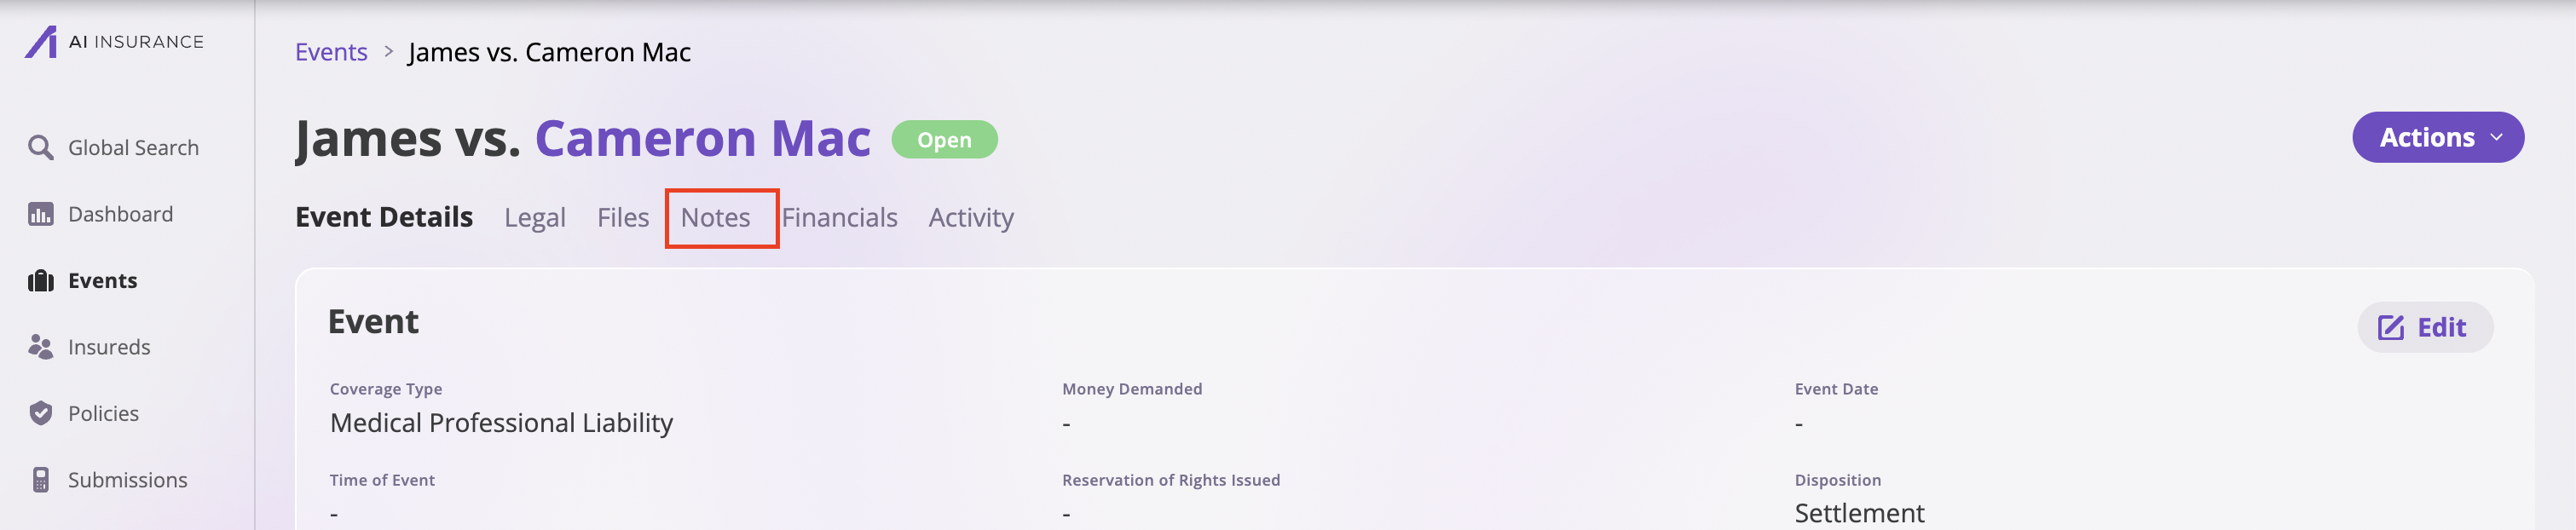
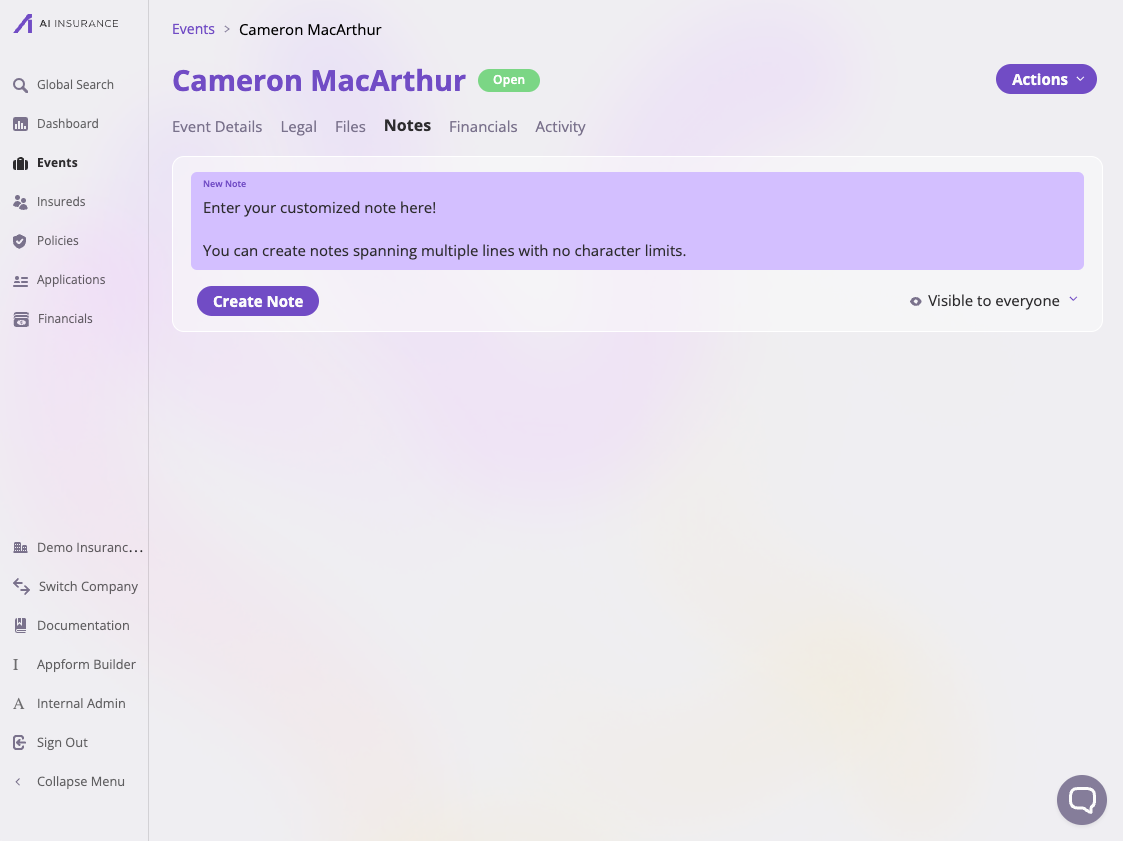
Follow these steps to view notes taken for an event:
- Select the Events section on the screen’s left sidebar.
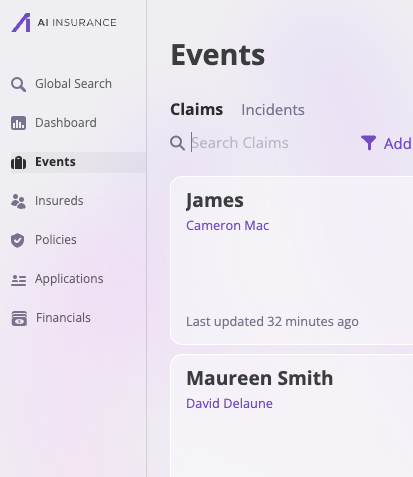
- On the Events page, select the event, whether a claim or an incident, for which you want to view notes.
- Select any specific events you would like to see its notes.
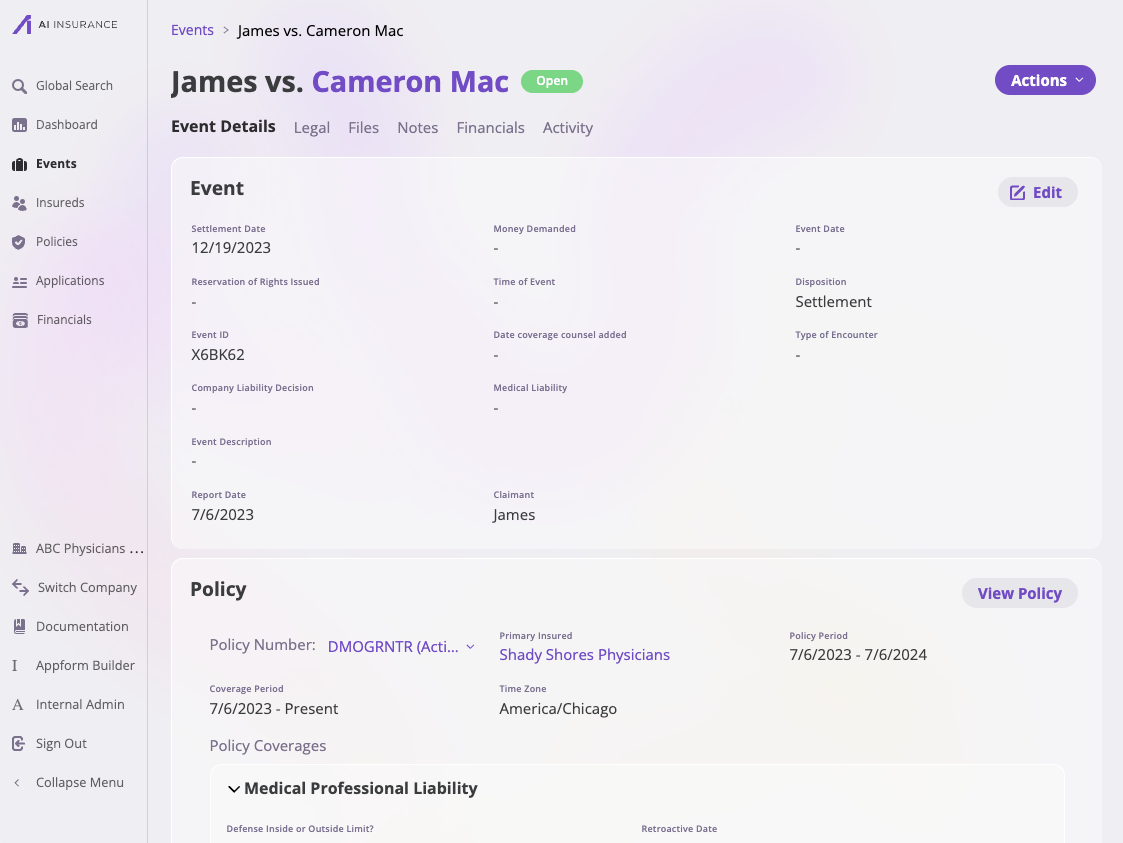
- Select the Notes tab to see the notes on that event.
View Insured Notes
Follow these steps to view notes taken on an Insured:
- Select the Insureds section on the screen’s left sidebar.
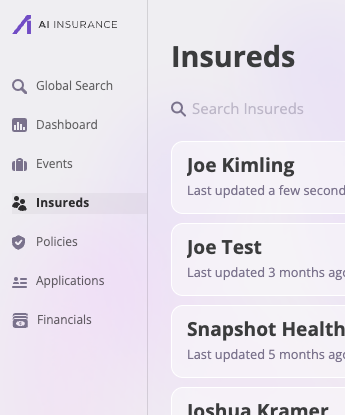
- Select any one of your specific insureds.
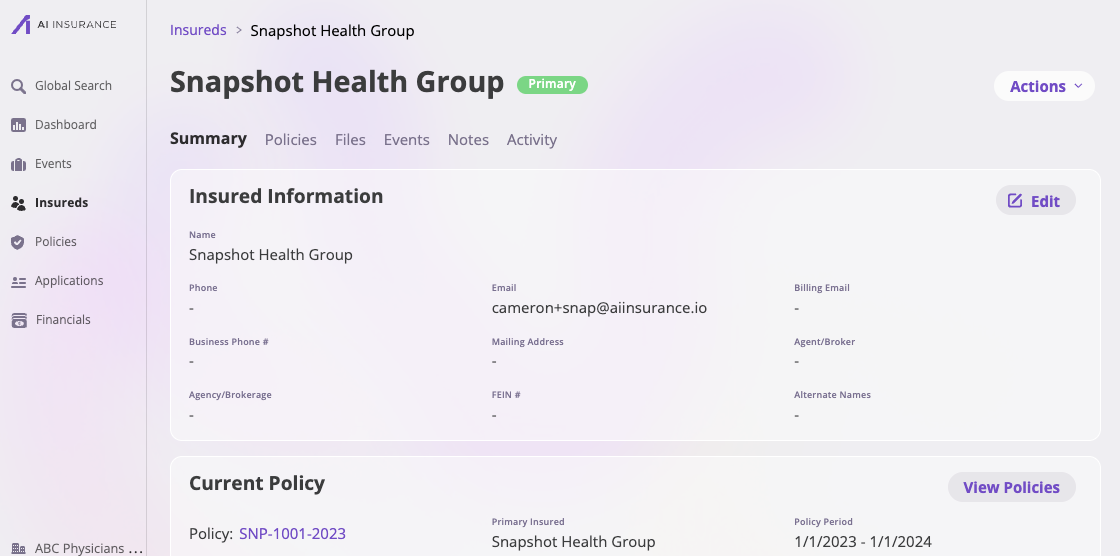
- Click the Notes tab to see the notes taken on that Insured.

View the Policies’ Notes
To view notes taken on a policy, take the following steps:
- Select the Policies section on the screen’s left sidebar.
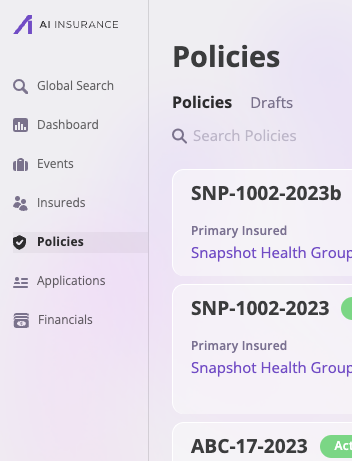
- Select the policy you would like to see notes on.
- Click the Notes tab to see the notes.

Create a Note
Take the following steps to create a note:
- Navigate to the entity where you want to create the note, such as a policy, insured, or event, and click on the Notes tab.
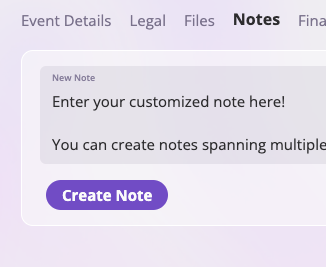
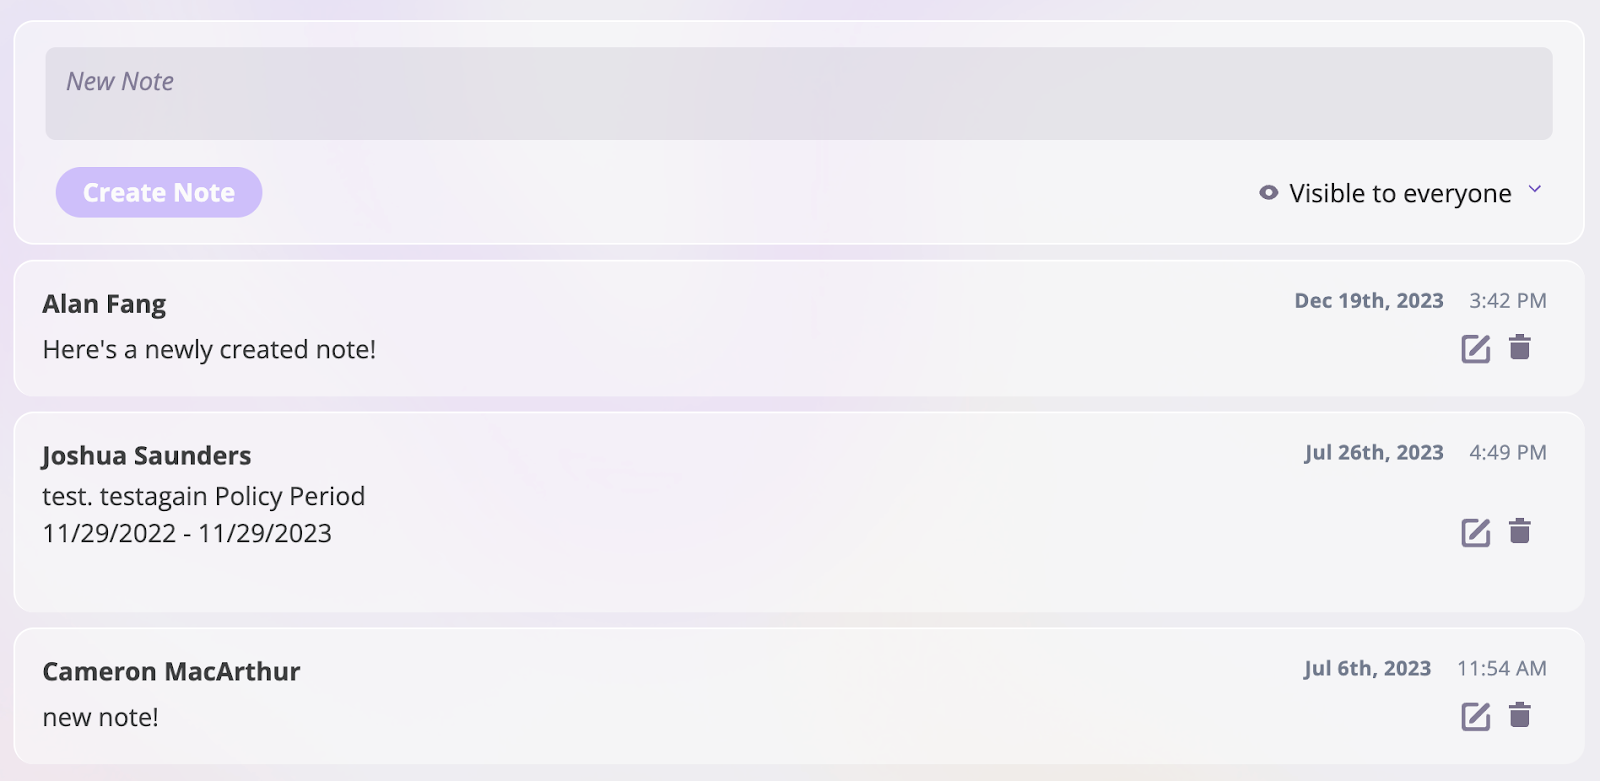
- Type your note into the provided text field in the Notes section of the selected entity.
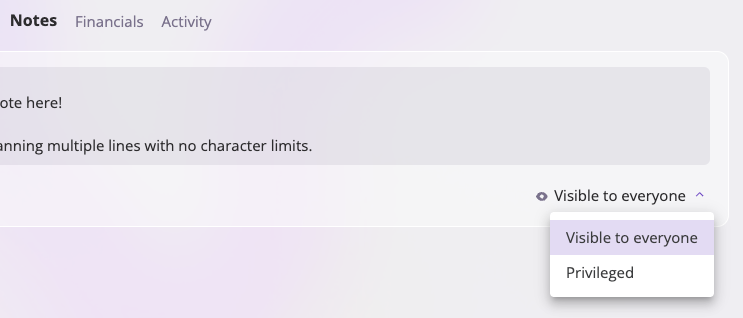
- After entering your note, you can set its visibility to either Visible to everyone or Privileged. Privileged notes are only accessible to users with the appropriate permissions, such as Carrier Admins and Event Managers. Refer to the User Roles and Permissions documentation for more details on privileges.
If you change a privileged note to be Visible to everyone, its contents will be visible on the activity log forever.
- Click the Create Note button to complete your note.
- Once created, your notes will appear in the Notes section, arranged from most recent to oldest.
Edit a Note
Editing notes are ideal for updating information that changes frequently, such as statuses or numeric values, while avoiding duplicate note entries.
Any changes made to a note will be tracked in the activity log. This log tracks the user who created the changes, the time the changes were made, and the before-and-after values of the edited note.
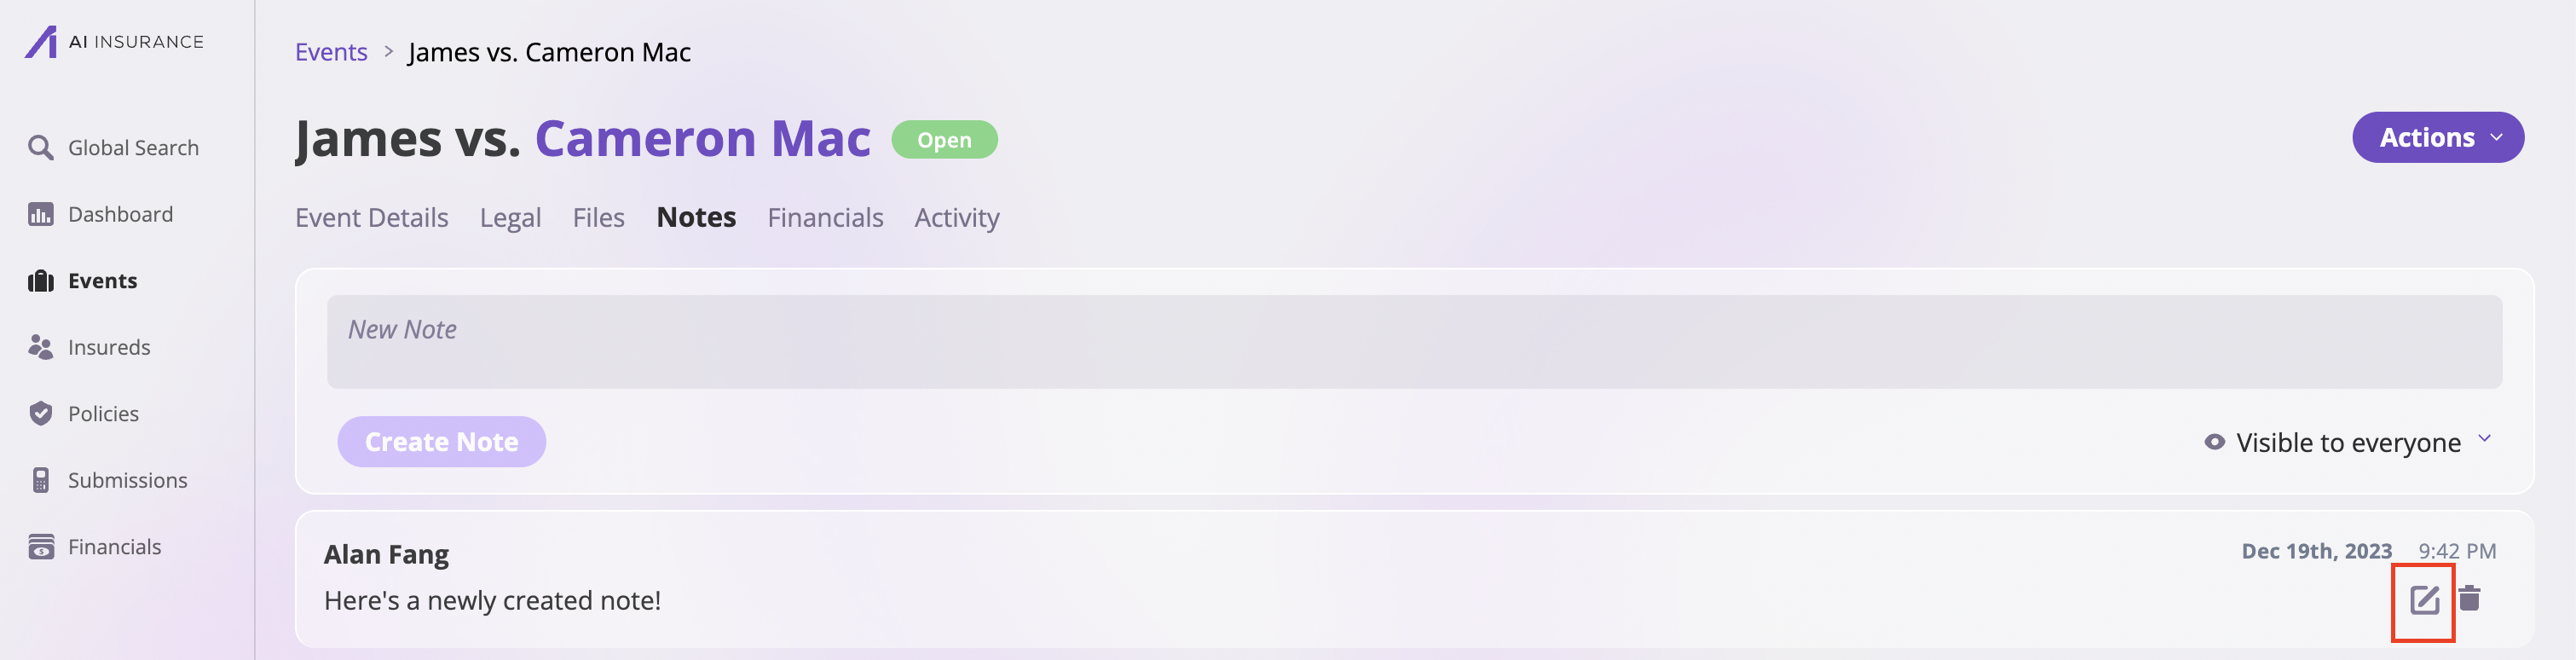
How to edit a Note
Edit a Note with the following steps:
- Click on Policies, Events, or Insureds in the left sidebar to navigate to the entity that contains the note you want to edit.
- Select the specific Policy, Insured, or Event and navigate to the Notes tab on this entity.
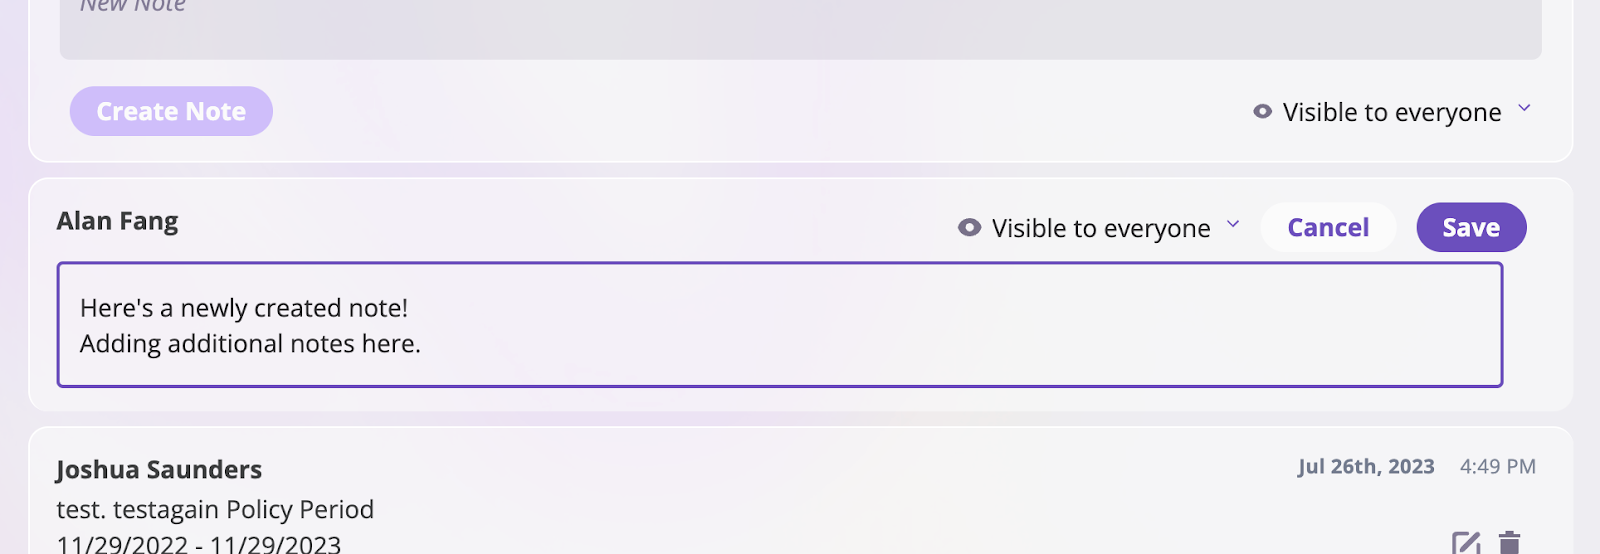
- Locate the note you want to edit, and click the button on the note.
- Make your changes to the note and click on the Save button to save the new changes to the note.