AI Insurance lets you manage billing from the platform. A bill can have one of five statuses:Documentation Index
Fetch the complete documentation index at: https://docs.aiinsurance.io/llms.txt
Use this file to discover all available pages before exploring further.
- Owed
- Approved
- Processing
- Paid
- Void
Create a Bill
There are two ways to create bills:- From the Transaction section
- From the Forwarded Invoices section
Create a bill from the Transaction section
Do the following to create a bill from the Transaction section:- Click on the Financials tab to open the Financials page.
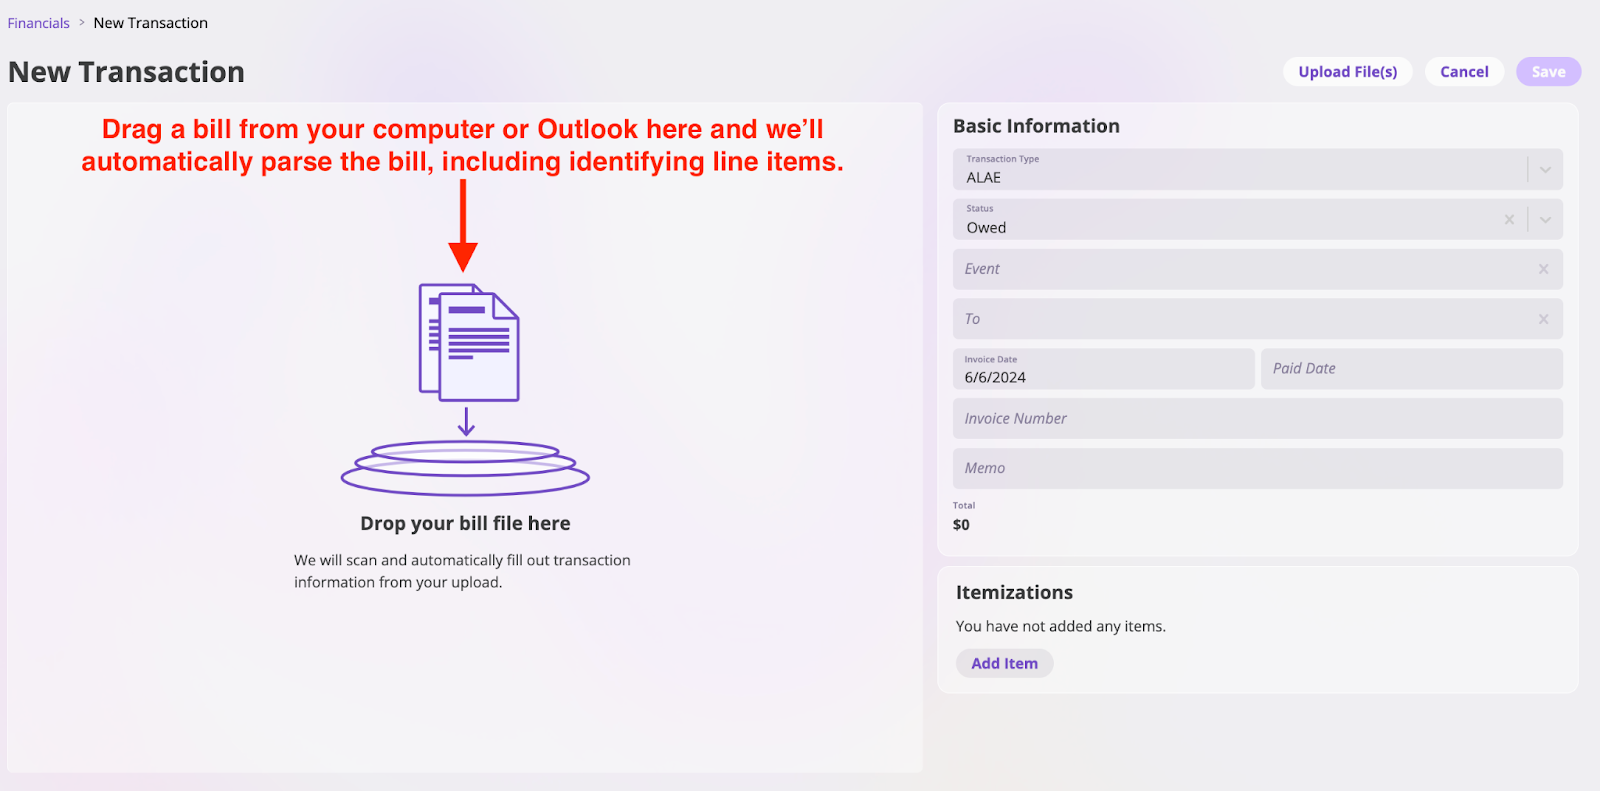
- Go to the Transaction section, click the New Transaction button, and select the type of transaction you want to create. This action opens the New Transaction page.
- Fill out the New Transaction page fields with information on your bill OR drag and drop your bill so the platform automatically parses your data for you.
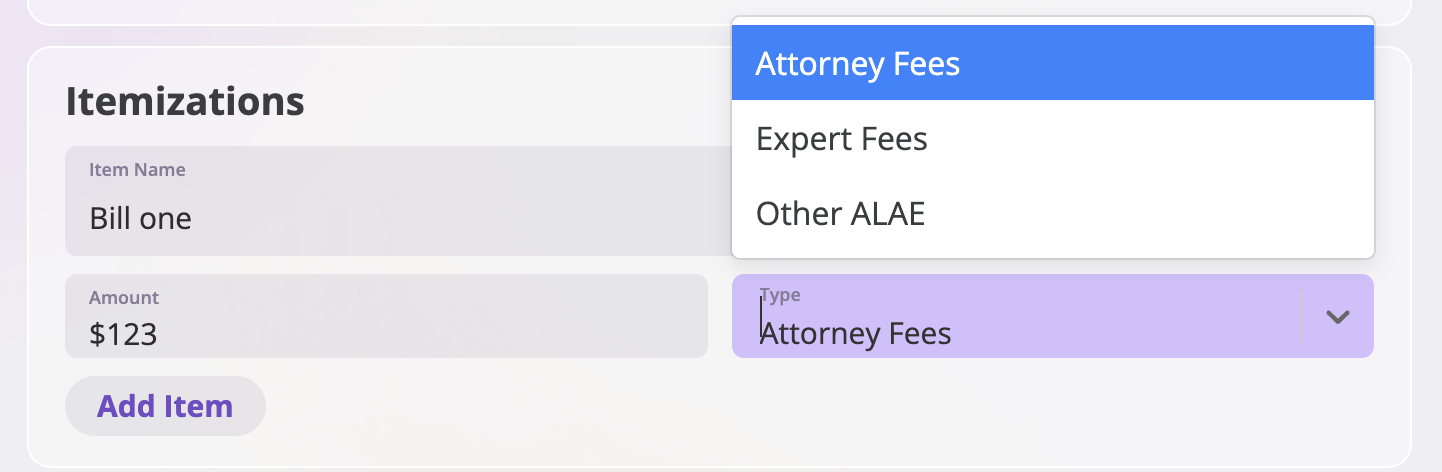
- Click the Add item in the Itemizations section to add expenses and calculate your total bill.
- Fill in the following details:
- Item Name: Enter the name of the expense.
- Amount: Enter the cost of the expense.
- Type: Choose the category of the expense. You can select from Attorney Fees, Expert Fees, or Other.

- Save the invoice to your instance by clicking the Save button.
Creating a bill from a forwarded email
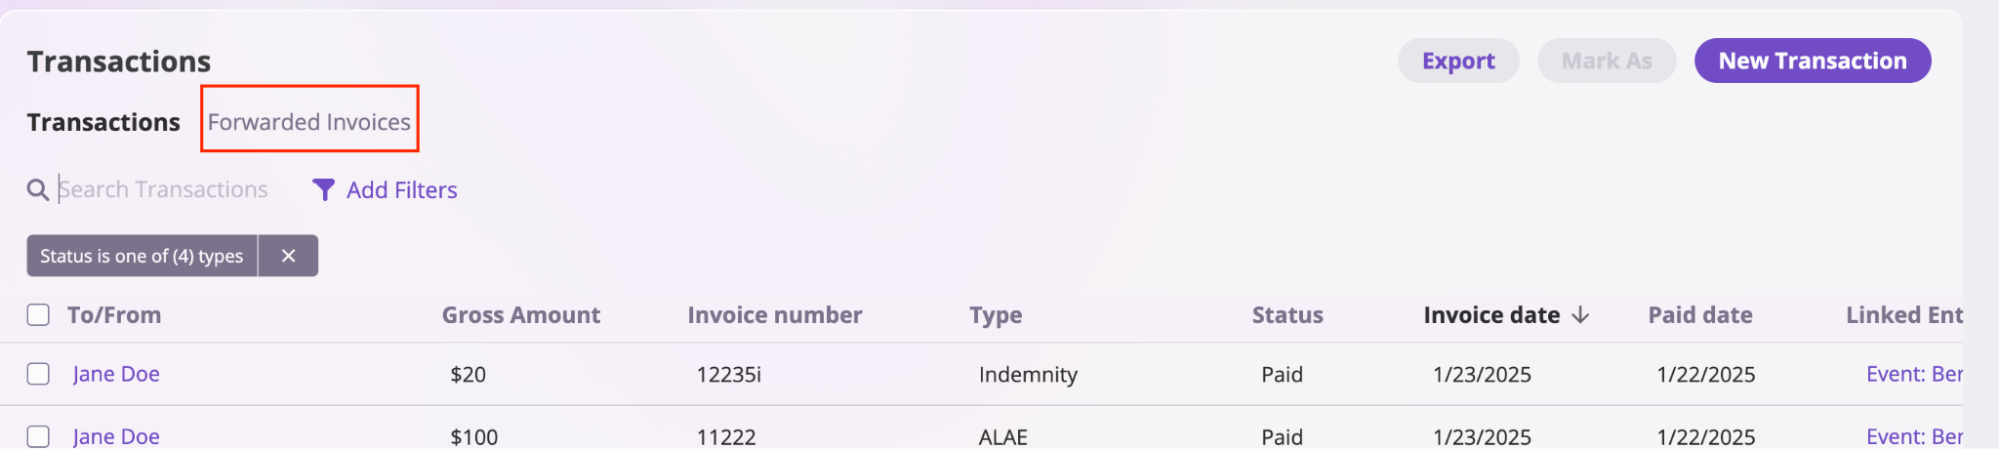
The second way to create a bill is by using the Forwarded Invoices feature. Take the following steps to create a bill:- Click the Financials tab in the sidebar, then select the Forwarded Invoices tab as shown below:
- Forward your bills to the email address provided in the tab.
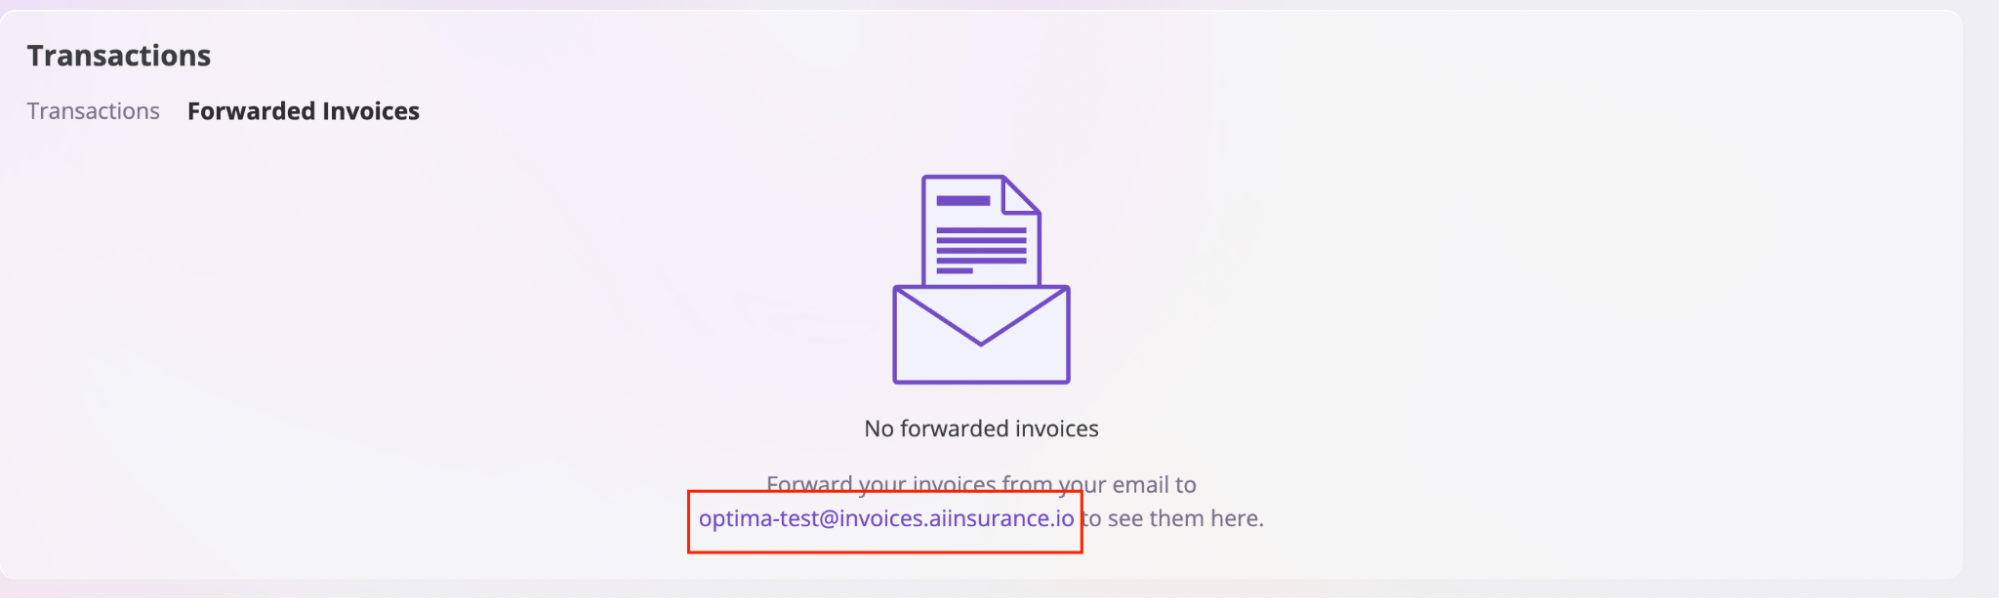
- Locate your bill on the Forwarded Invoices screen, confirm, and save the bill.
