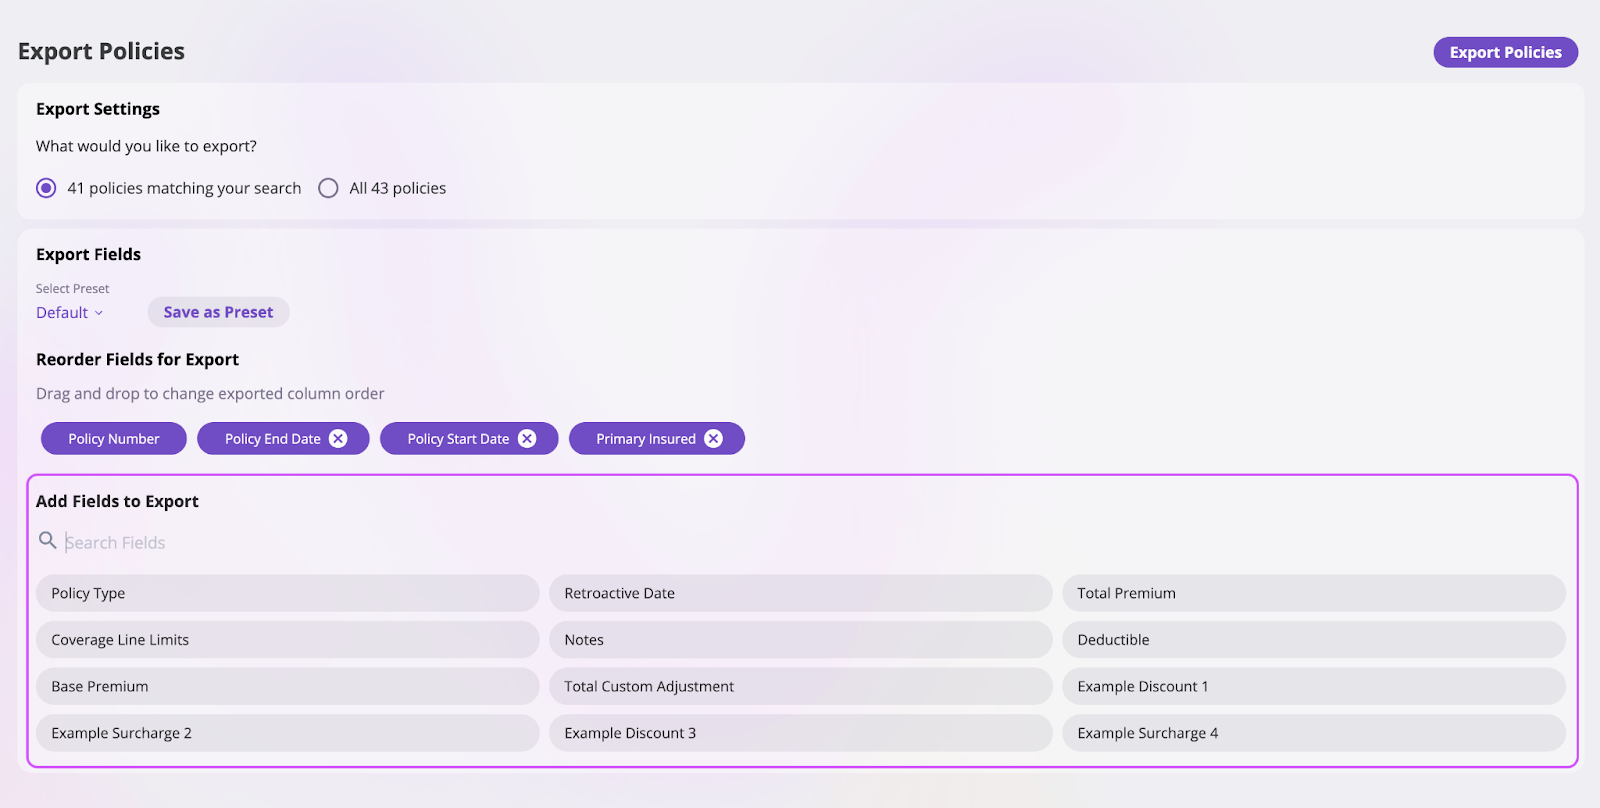
Export Settings
In this section, you can choose the amount of data you want to export. The platform offers three Export options:- Selected: Export only the specific items you have manually selected.
- Filtered Search: Export items that match the results of a filtered search. For example, if you applied filters to your list of objects—such as Events, Policies, or Insureds—you can export only the filtered results.


- All: Export all data associated with a particular object.

Export Fields
In this section, you can select an existing preset in the Select Preset dropdown for this current Export or create a new preset.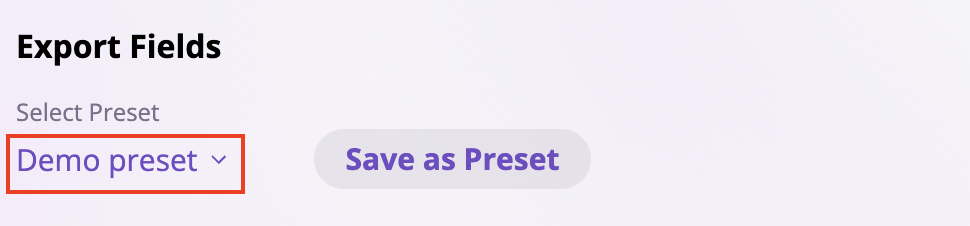
Creating Export Presets
A preset is a predefined configuration or set of options designed to save time by providing a ready-made starting point.Report presets are user-specific, not company-wide. When you save a preset, it is only available to you and cannot be shared with other users in your company.
- Configure the Export to your liking, adding, removing, or reordering fields as needed.
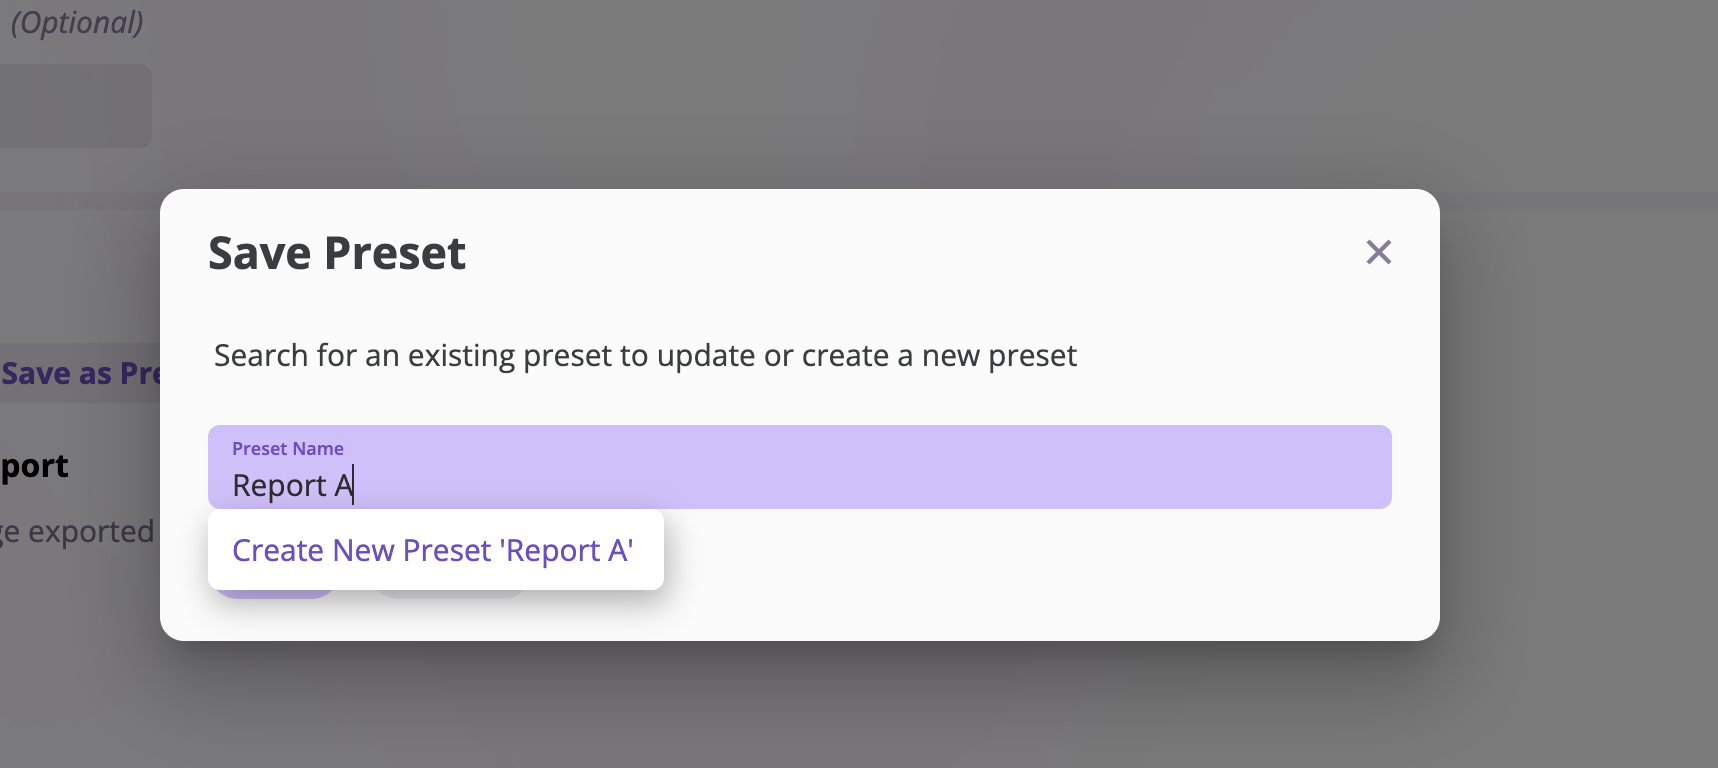
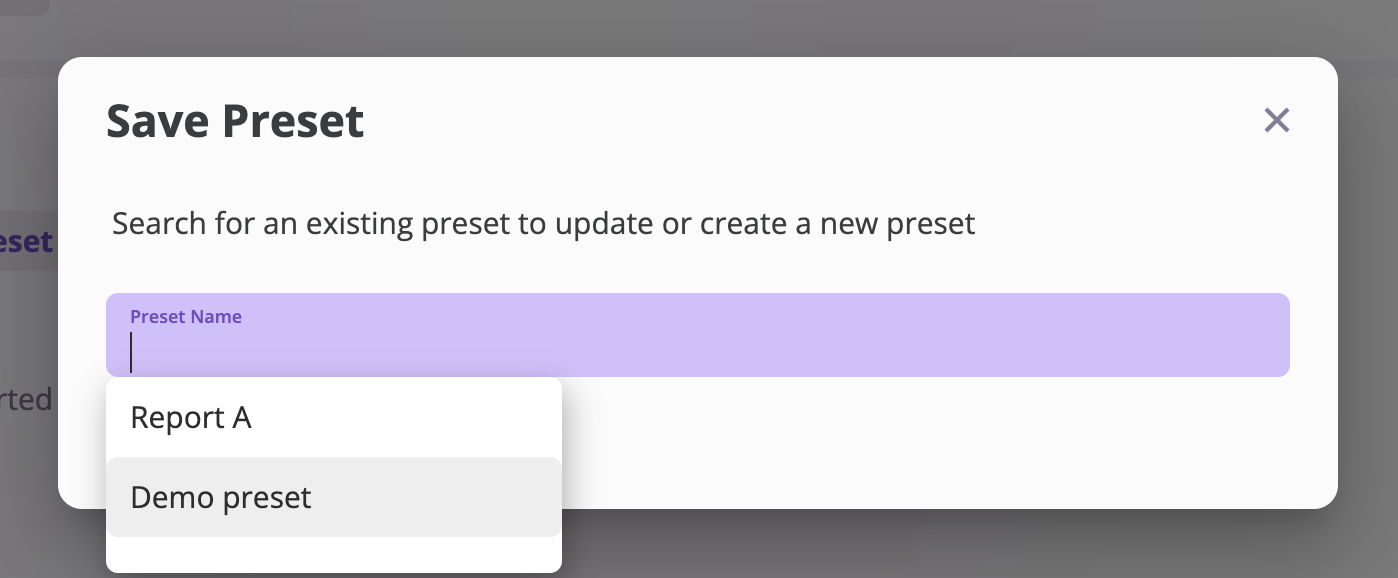
- Click the Save as Preset button to open the Save Preset modal.
- Enter a name for your preset and select the Create new preset [Preset Name] button.
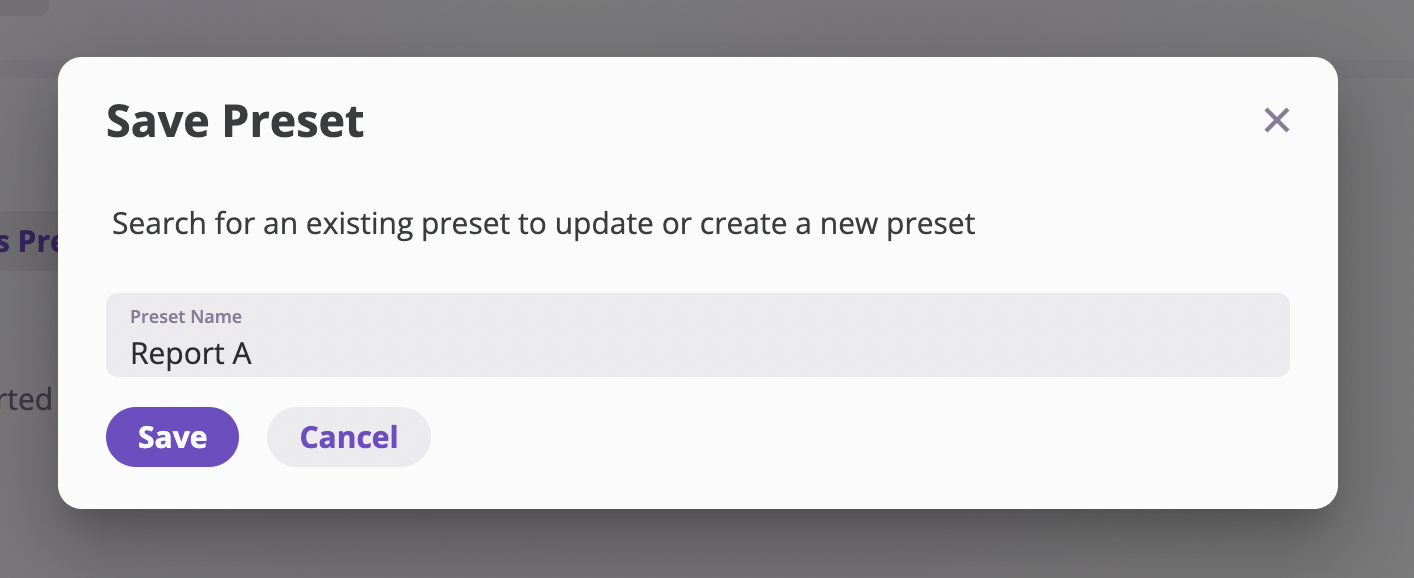
- Select Save, and your preset will be created.
Updating an Existing Preset
Take the following steps to update an existing preset:- Configure your Export settings by adding and reordering your desired fields.
- Select the Save as Preset button to open the Save Preset modal.

- Enter the name of the preset you want to update
- Click the Save button to update your preset.
Removing an Existing Preset
Follow these steps to remove an existing preset:- Click the Select Preset dropdown in the Export Fields section.

- Next to each preset’s name, there is a trash can icon. Select the icon to receive a Delete Preset confirmation modal.

- Select Delete to confirm the deletion of the preset.

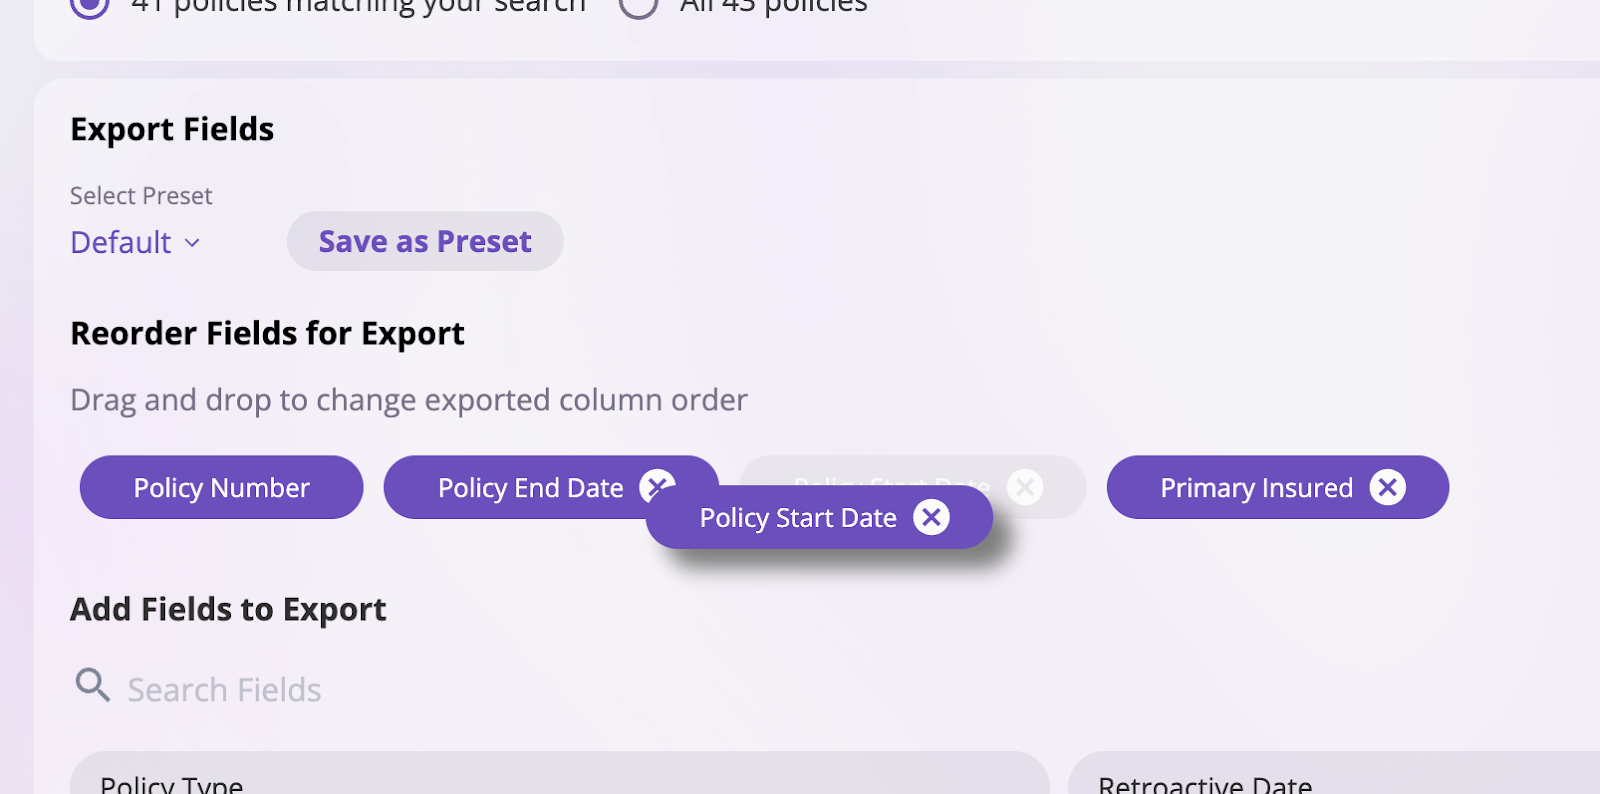
Reorder Fields for Export
In this section, you will determine the column order for the policy fields you want to export. Before reordering the fields for Export, you must add the fields you want your exported data to contain in your Add Fields to Export section. The Reorder Fields for Export section, shows how your data would be arranged in columns when exported. The exported data columns are ordered from left to right and top to bottom.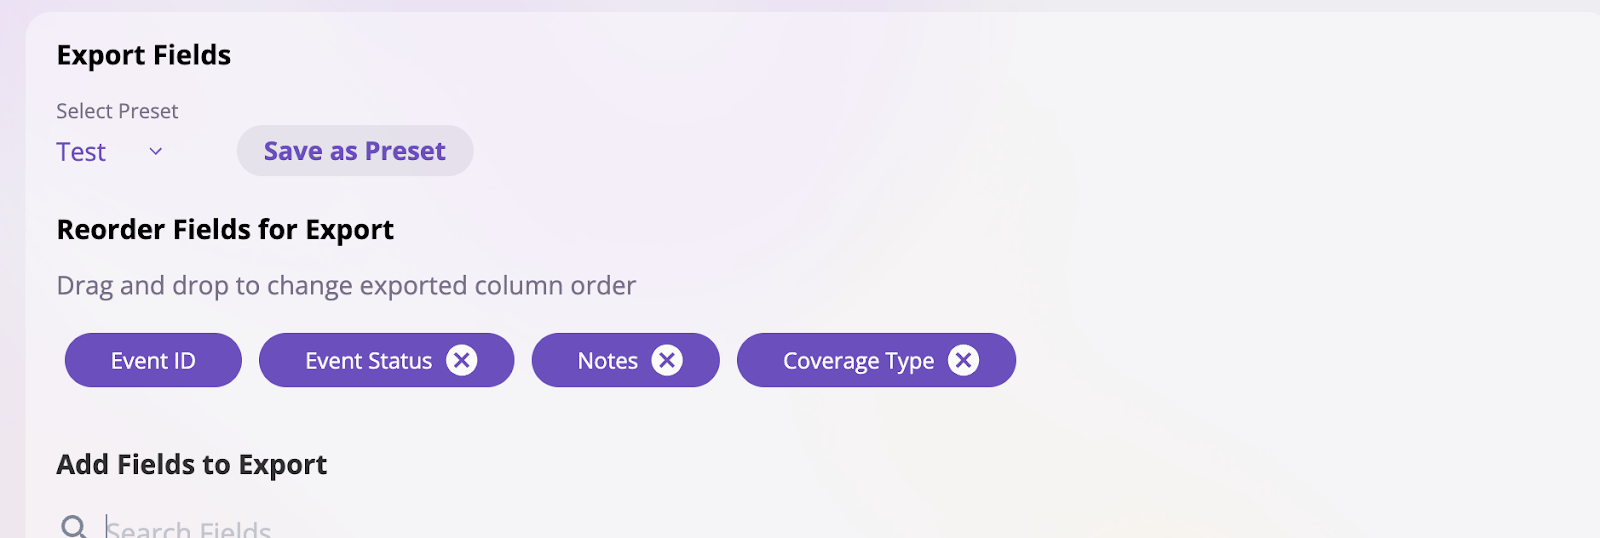

Add Fields for Export
In this section, you will determine the fields you want your exported policy data to contain. To add a field to your export data, manually search through the list of fields or by using the search bar and clicking on the field. This field will then be added to the Reorder fields for Export section above.