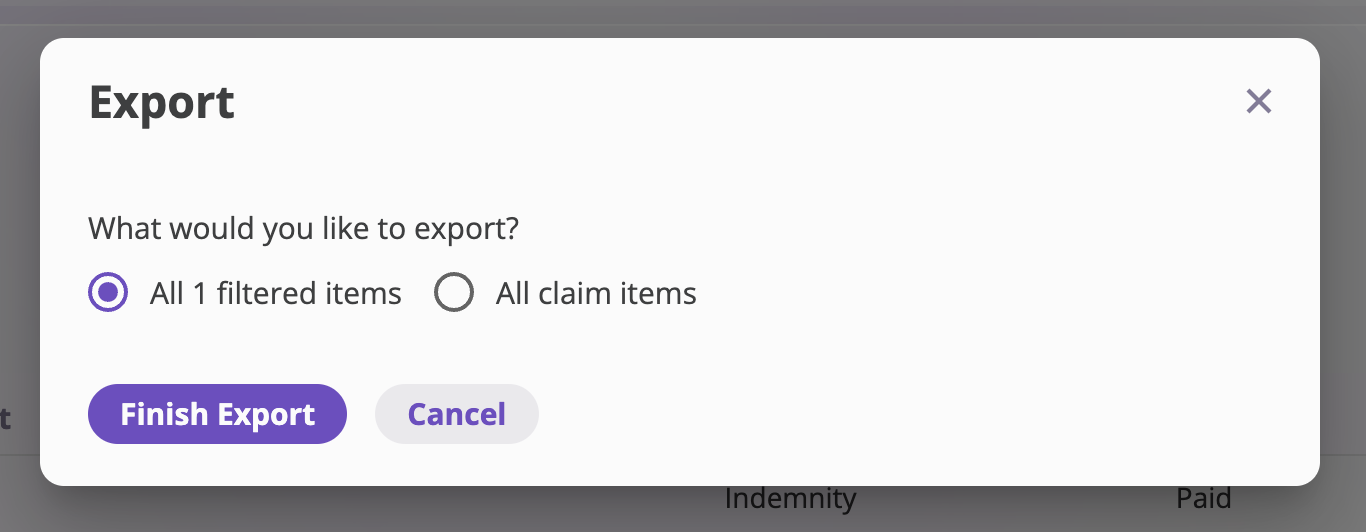
Report presets are user-specific, not company-wide. When you save a preset, it is only available to you and cannot be shared with other users in your company.
How to export Policy data
To export Policy data, follow the detailed instructions in our Export Policy documentation. For exporting policy bordereaux (comprehensive reports), see our Export Policy Bordereau documentation.How to export Submissions data
Any filters applied on the Submissions page will carry over to the export. Make sure to apply your desired filters before exporting.
- Navigate to the Submissions page from the left navigation pane.
- Select the fields you want to include and configure any filters or sorting.
- Click the Export button to open the export configuration page.
- Customize your export settings and fields as needed. See the Export Customization and Configuration documentation for more details.
- Click Export Submissions to create the export job.
- Go to the Downloads page (click your company name, then Export Downloads tab) to download your file when the status shows “Completed”.
Background Processing: You can navigate away from the Export page or close your browser—the export will continue processing in the background.
How to export Insured data
Take the following steps to export Insured data:Any filters applied on the Insureds page will carry over to the export. Make sure to apply your desired filters before exporting.
- Navigate to the Insureds page from the left navigation pane.

- Select the fields you want to include in your export and configure any filters or sorting.
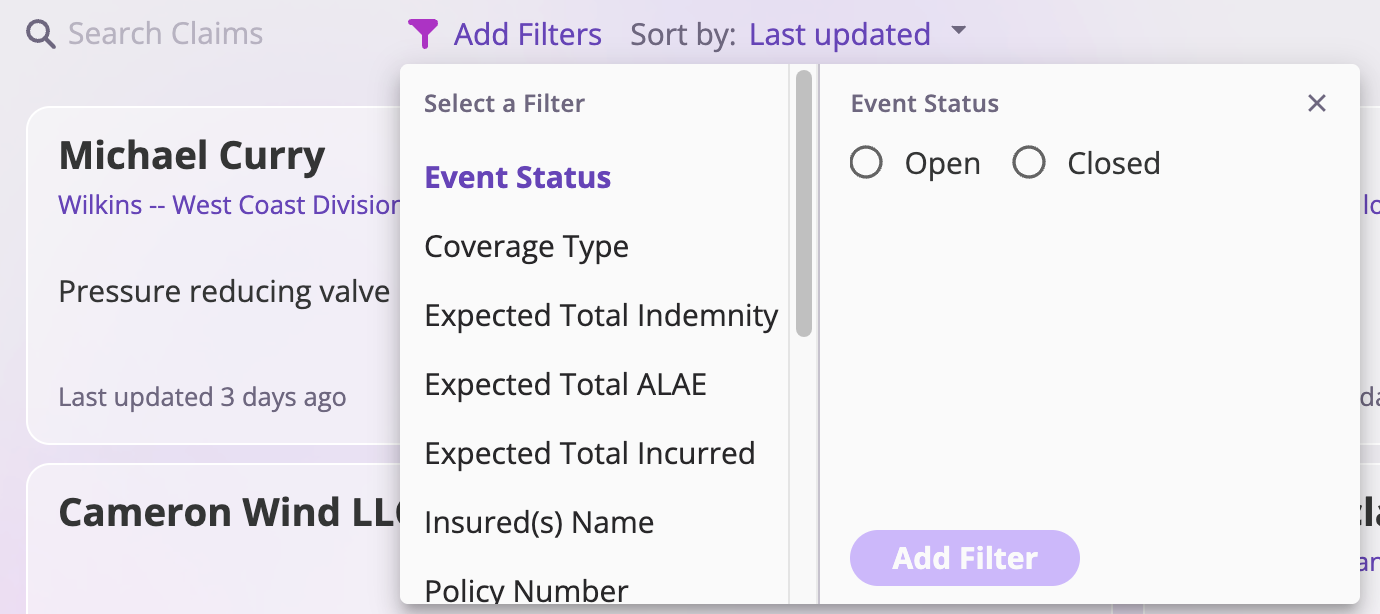
- When you finish your export selection, click Export Insureds to continue.
- You’ll see a success message: “Export job created! Go to the Downloads page to download when ready” with a link to the Downloads page.
- Click the link in the success message or head over to the Downloads page by clicking the company, and then the Export Downloads tab.
-
On the Downloads page, you’ll see a table called “Export Downloads” showing all your export jobs with:
- Status (Processing, Completed, or Failed)
- File name
- Export type (events, insureds, policies, or submissions)
- Requested date/time
- Download button (when completed)
- When the export status shows “completed”, click the download button to get your Excel file.
Background Processing: You can navigate away from the Export page or close your browser—the export will continue processing in the background.
How to export Events data
Take the following steps to export Event data:Any filters applied on the Events page will carry over to the export. Make sure to apply your desired filters before exporting.
- Navigate to the Events page from the left navigation pane.

- Choose the events you’d like to export: either claims or incidents.

- Click the Export Events button to export data on the events.

- The Export Events page allows you to select and reorder the fields you wish to export. Configure your export before selecting Export Events to continue. Like the previous section, the Export Events page has four sections: Export Settings, Export Fields, Reorder Fields for Export, and Add Fields for Export. Check out the Export Customization and Configuration documentation to learn more about these sections.
- You can export a subset of your events’ financial data in the Export Settings section. Entering a date into the Export Financials as of field will export the financial values of your selected events at the selected date.

- After selecting your export options, click the Export Events button to proceed. Once the export is complete, the file will be downloaded to your machine based on your browser’s download settings.
Exporting Financials Data
Financial data can be exported globally or at an Event or Policy level.Exporting data from Global Financials
Take the following steps to export Global Financials data:- Navigate to the Financials page from the left tab.

- Apply any filters or select specific entrees you would like to export.

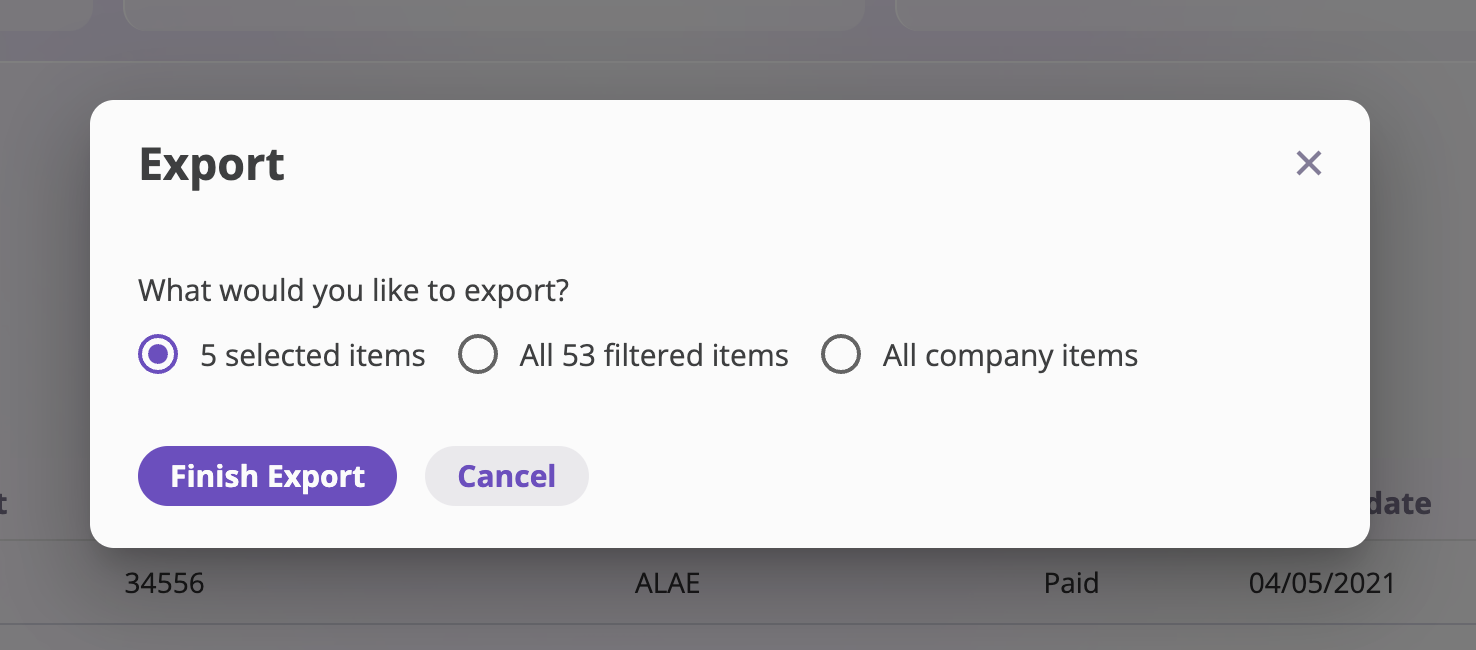
- Select Export at the top right of the table.

- Define the scope of your export and confirm.
Exporting from within an Event of Policy
Follow these steps to export financial data from within an Event or Policy: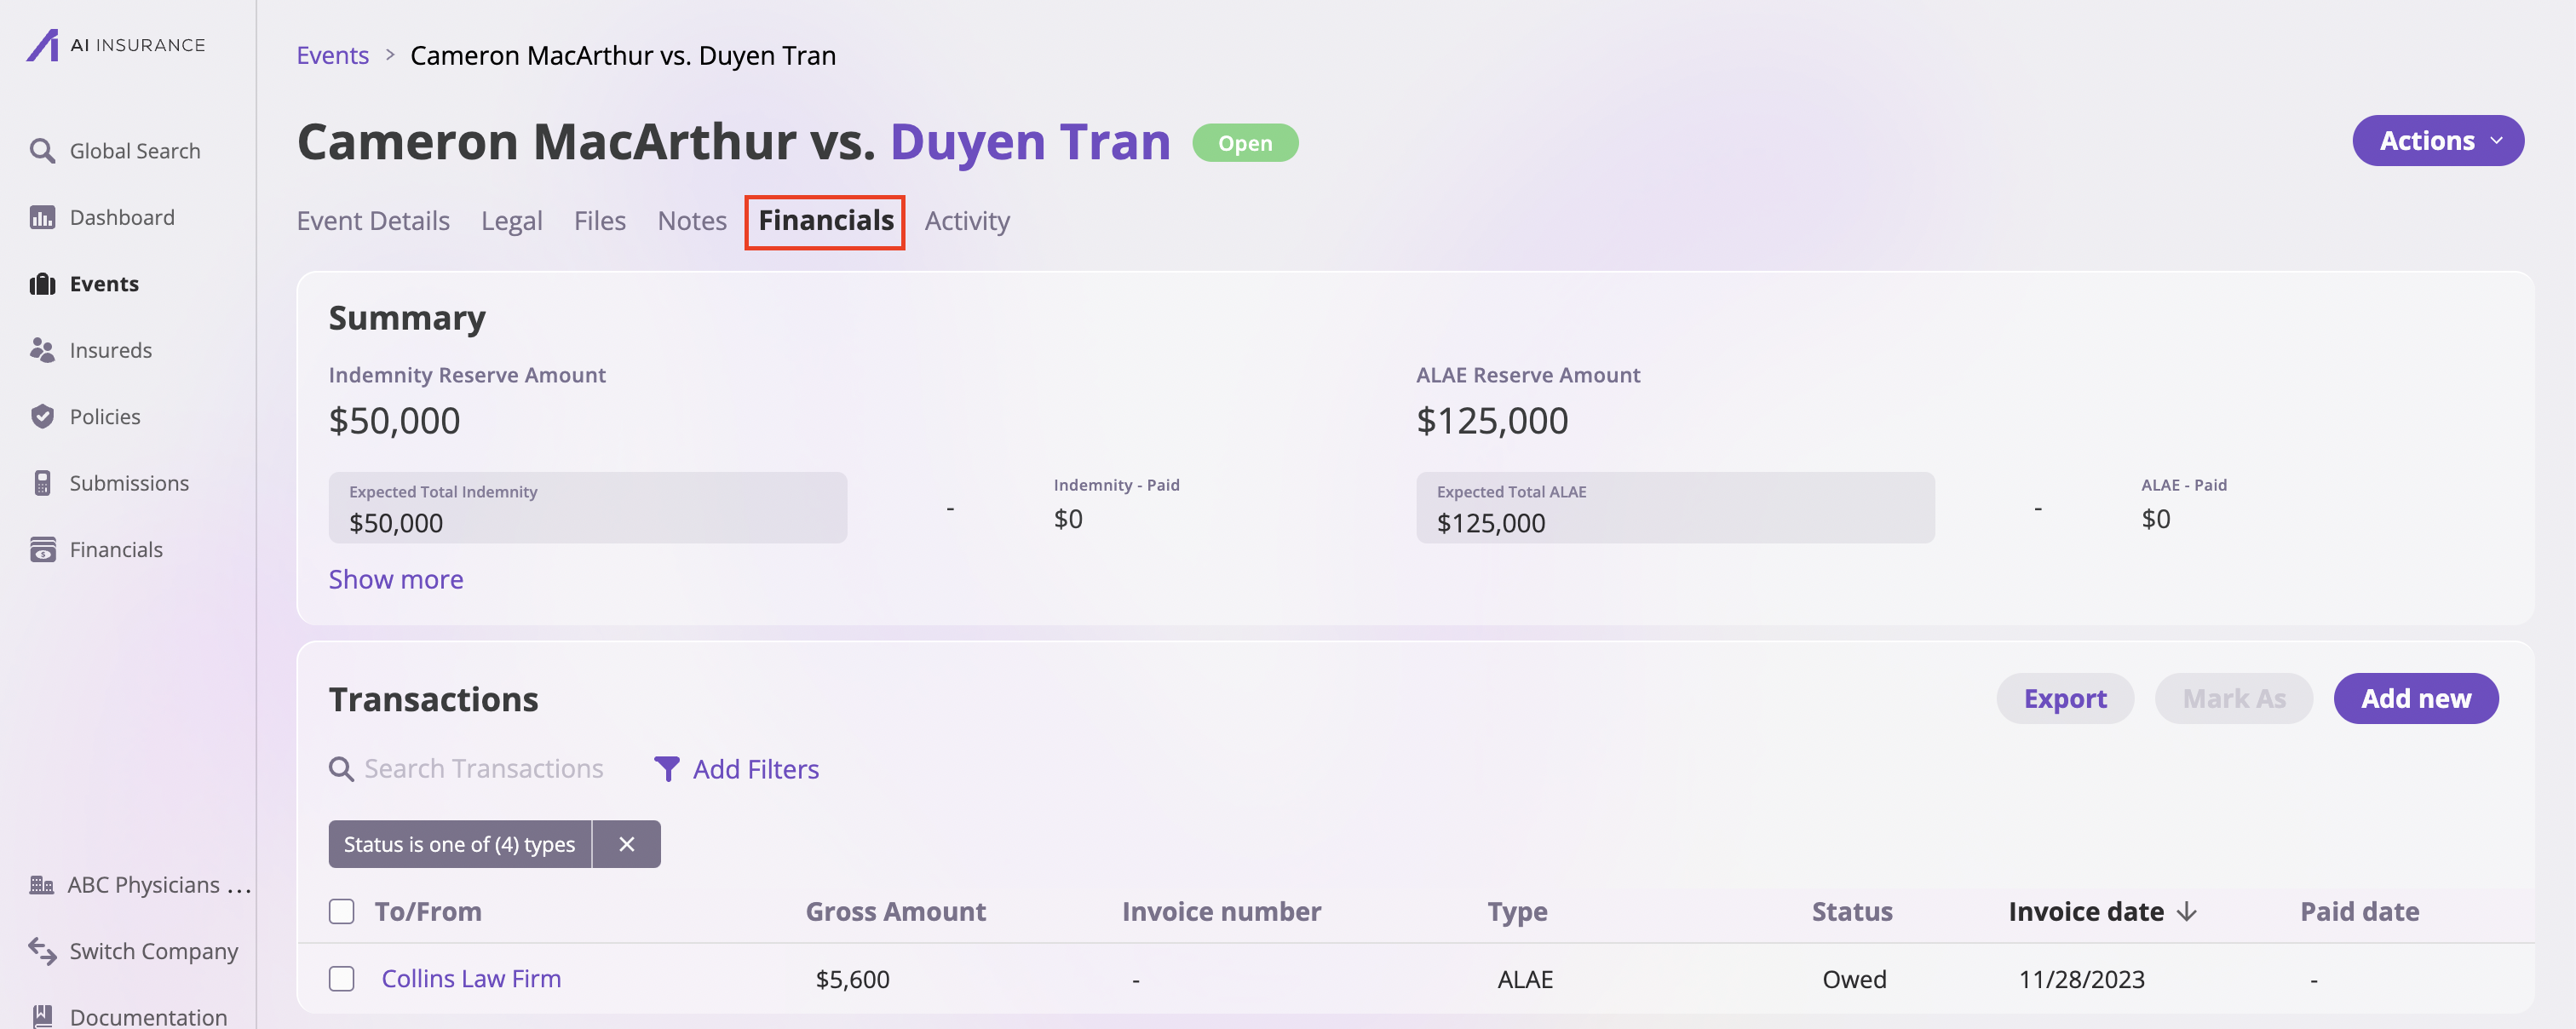
- Apply any filters or select specific entrees you would like to export.
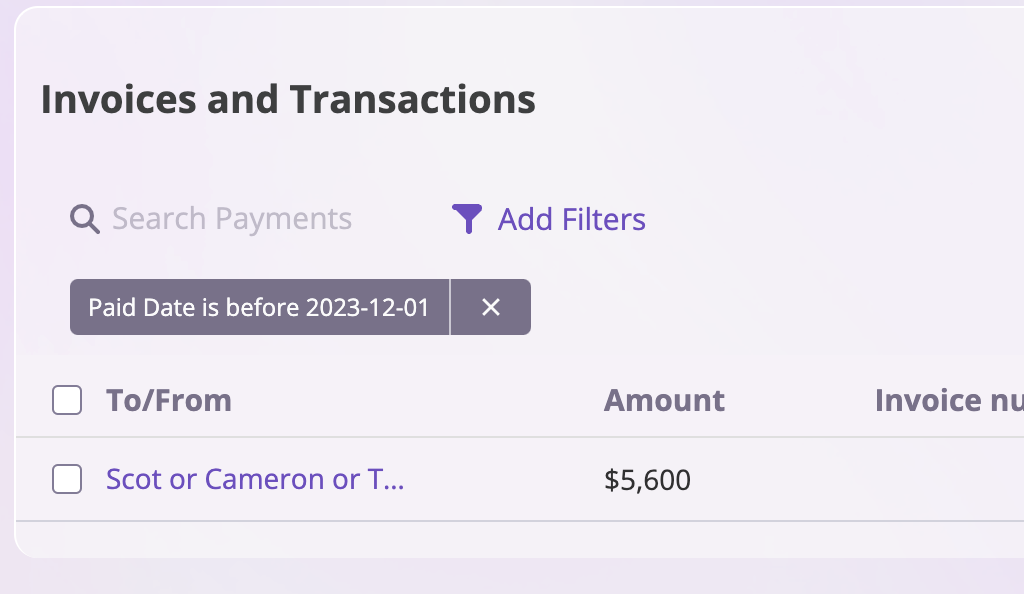
- Select Export at the top right of the table.
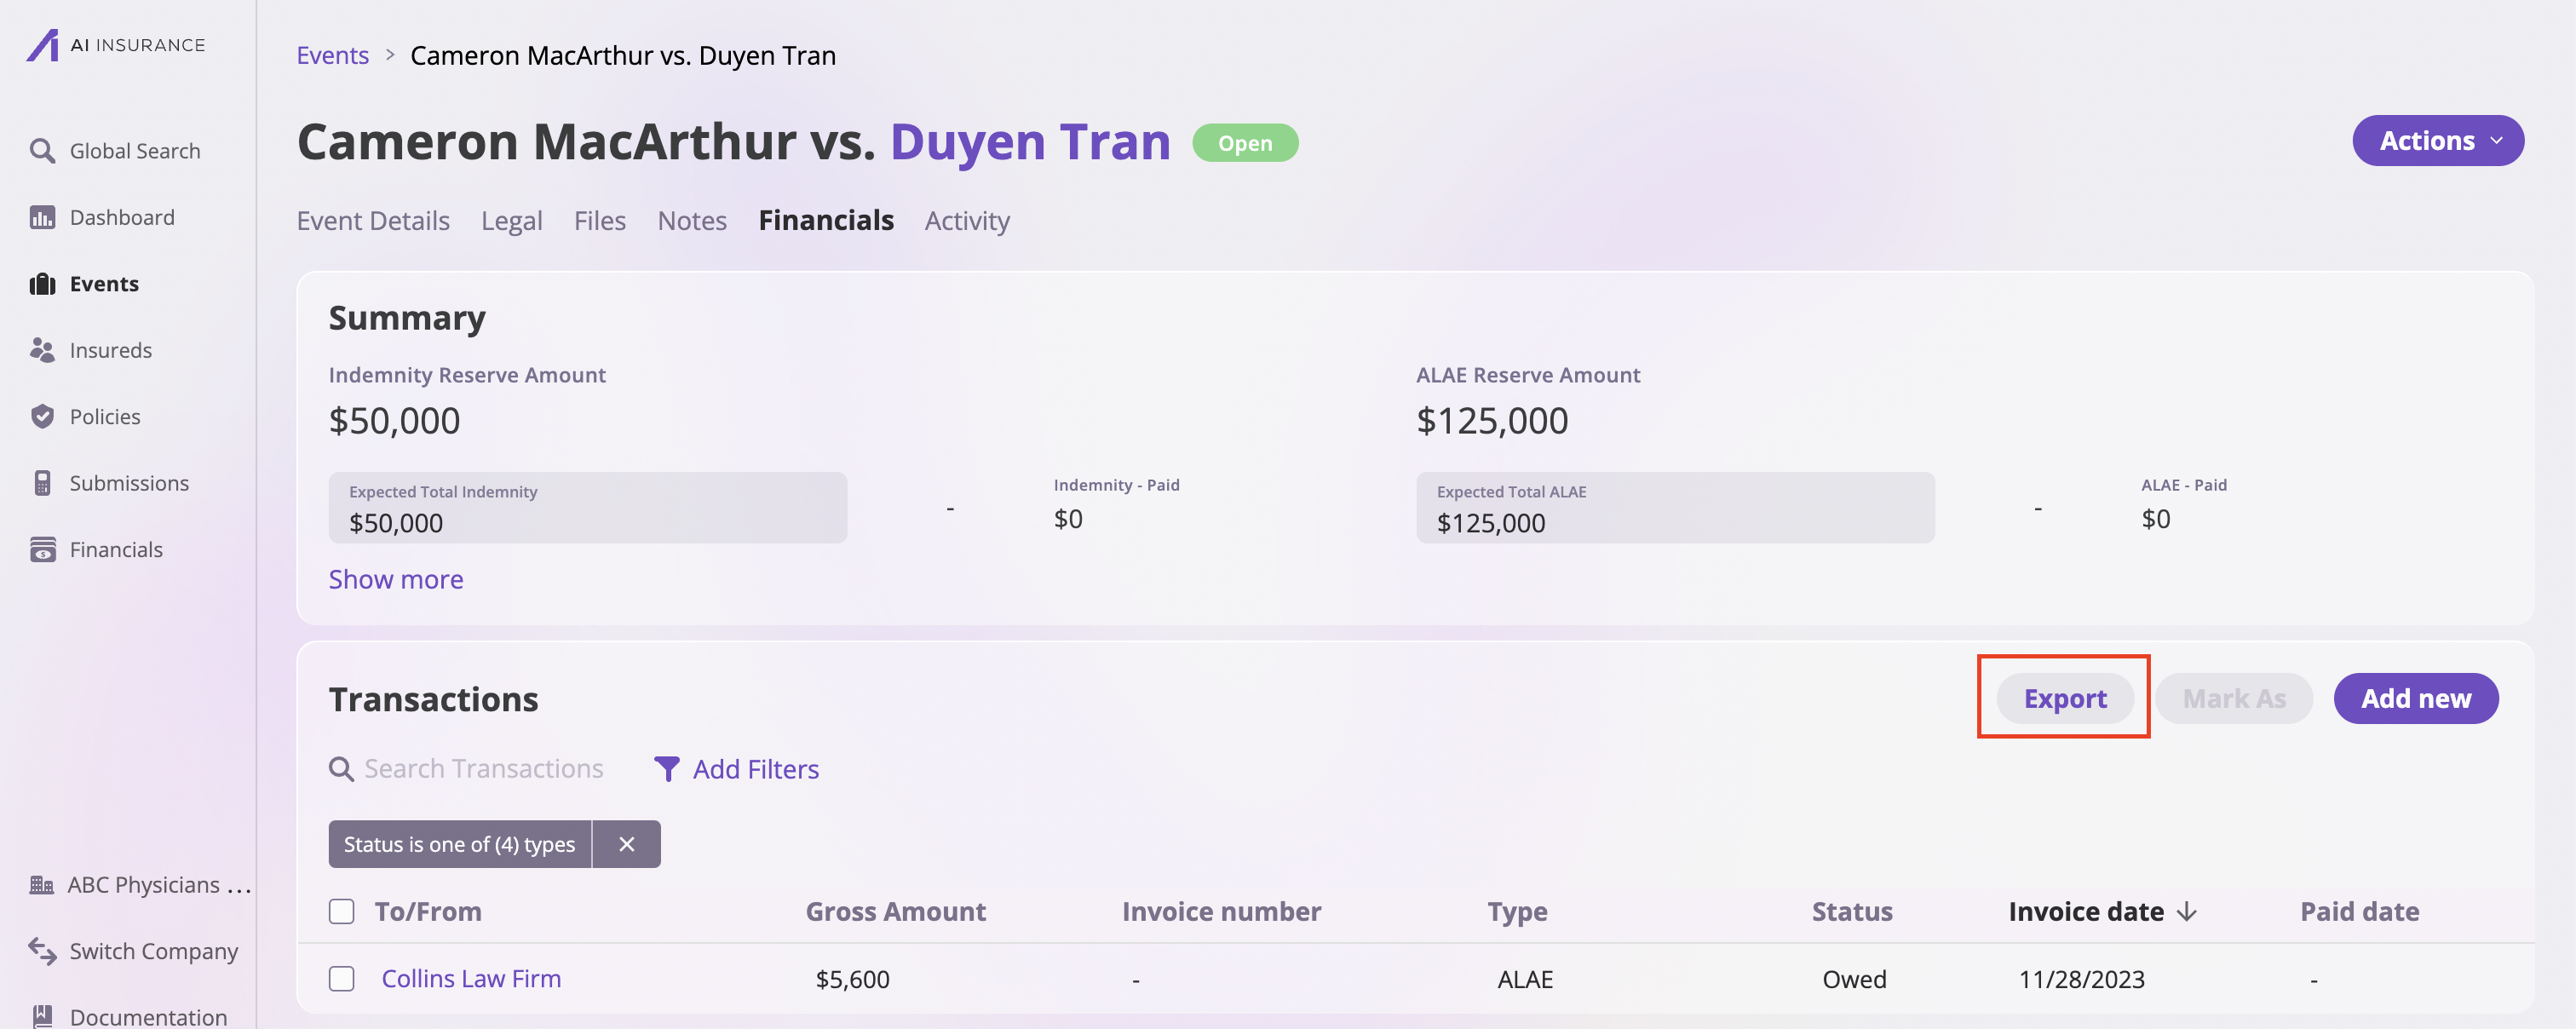
- Define the scope of your export and confirm.
