Carriers can start the Submission process on behalf of the insured or broker.Documentation Index
Fetch the complete documentation index at: https://docs.aiinsurance.io/llms.txt
Use this file to discover all available pages before exploring further.
How to Create a Submission as a Carrier
Step 1: Navigate to Submissions
- Navigate to the Submissions page by clicking the Submissions tab on the sidebar
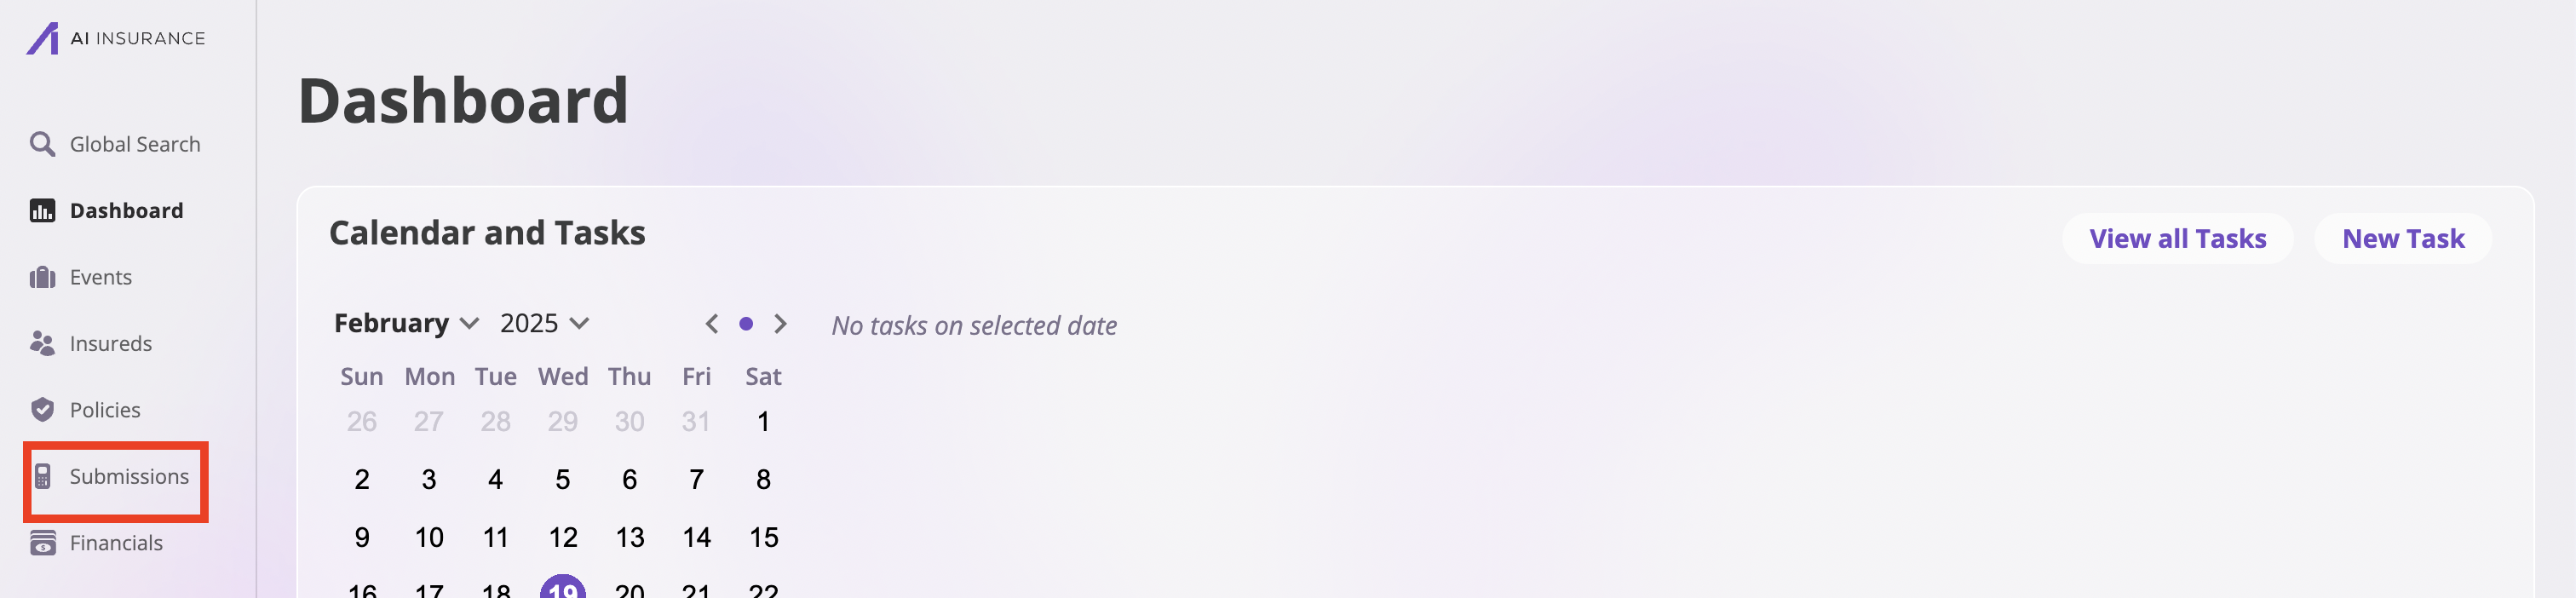
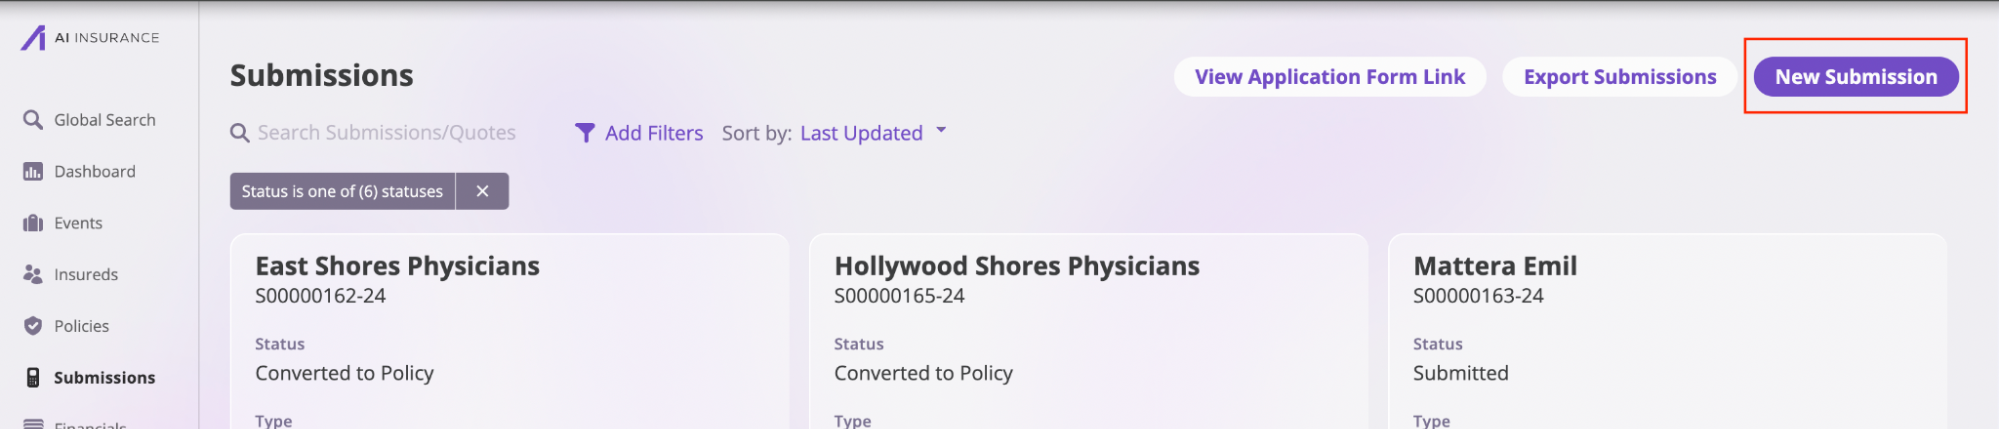
Step 2: Start New Submission
- Select the New Submission button at the top right on the Submissions page
Step 3: Complete Submission Process
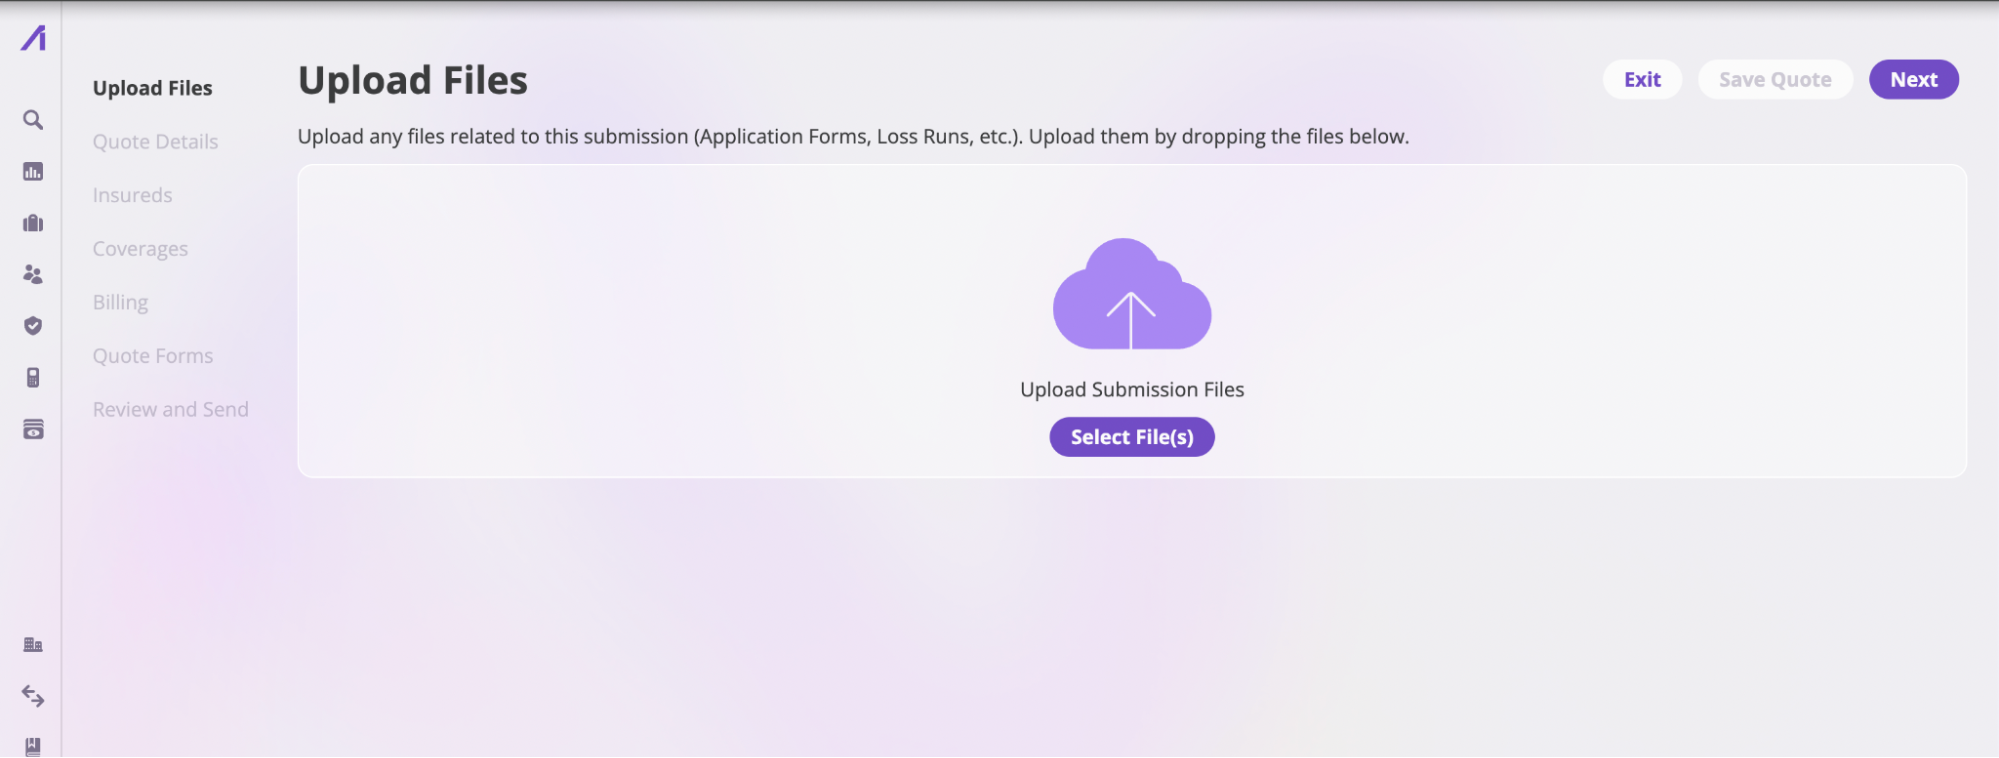
Clicking this button opens a new page where you can input the application details. The submission process is divided into seven pages:3.1: Upload Files
- Upload Files: On this page, you may upload any related documents for the application, such as application forms, loss runs, and other related files. Once the files are uploaded, click the Next button to proceed.
3.2: Quote Details
- Quote Details: This page specifies the quote information and the binding settings. The fields in this section are:
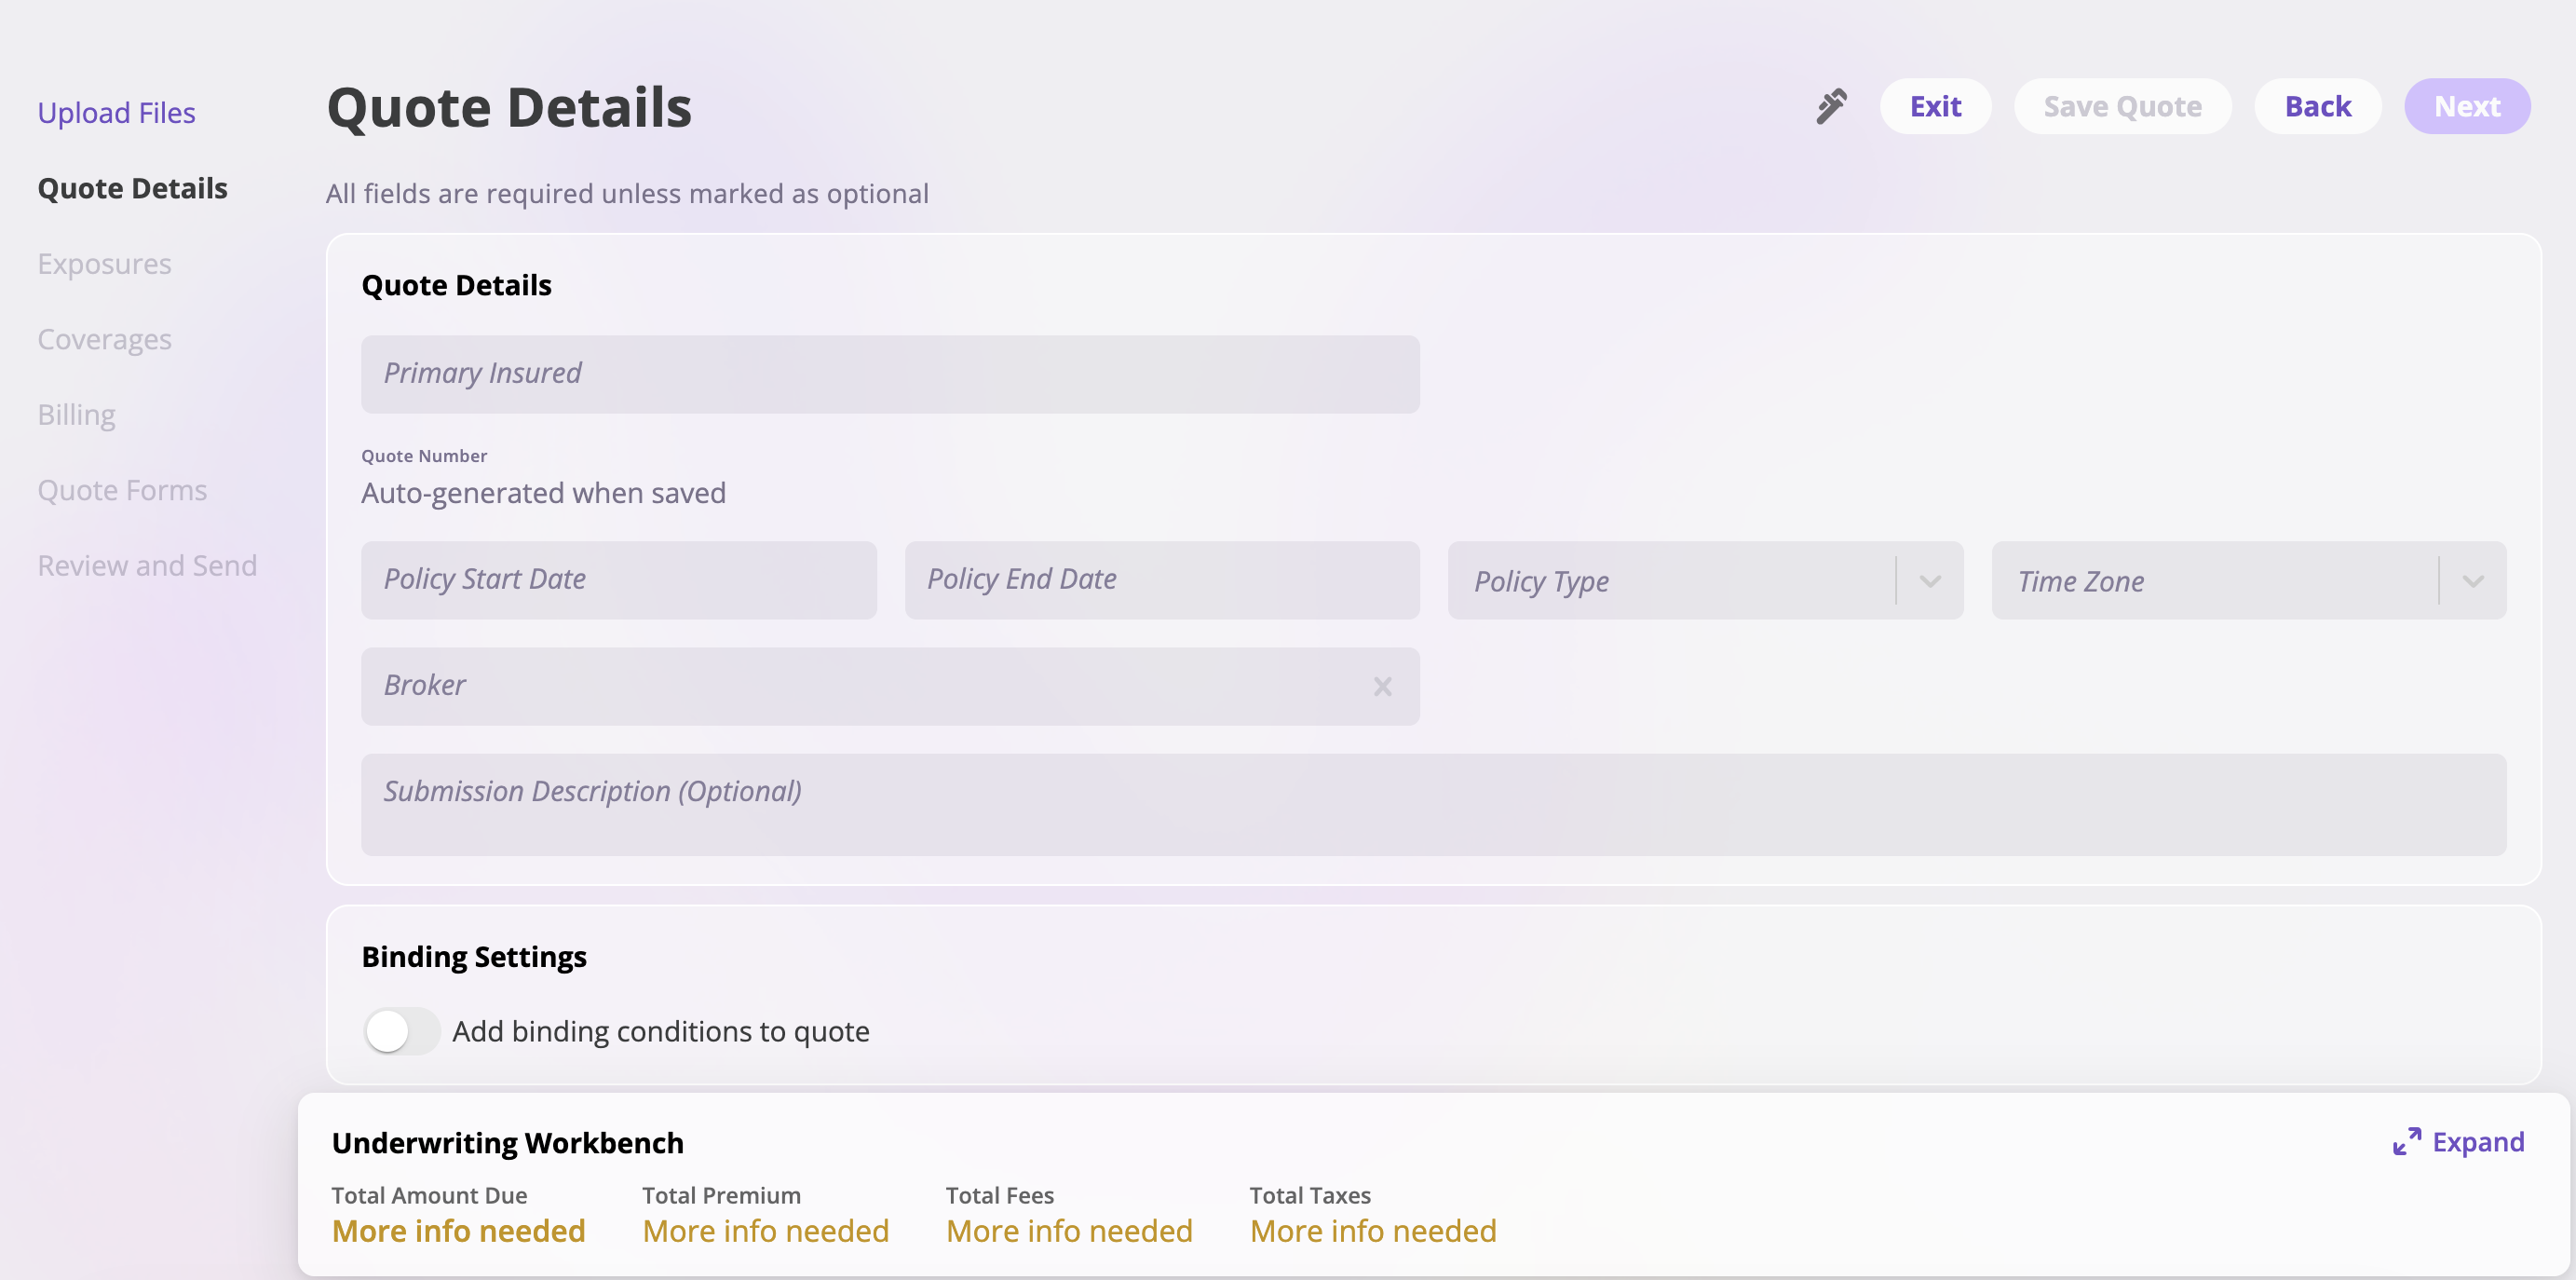
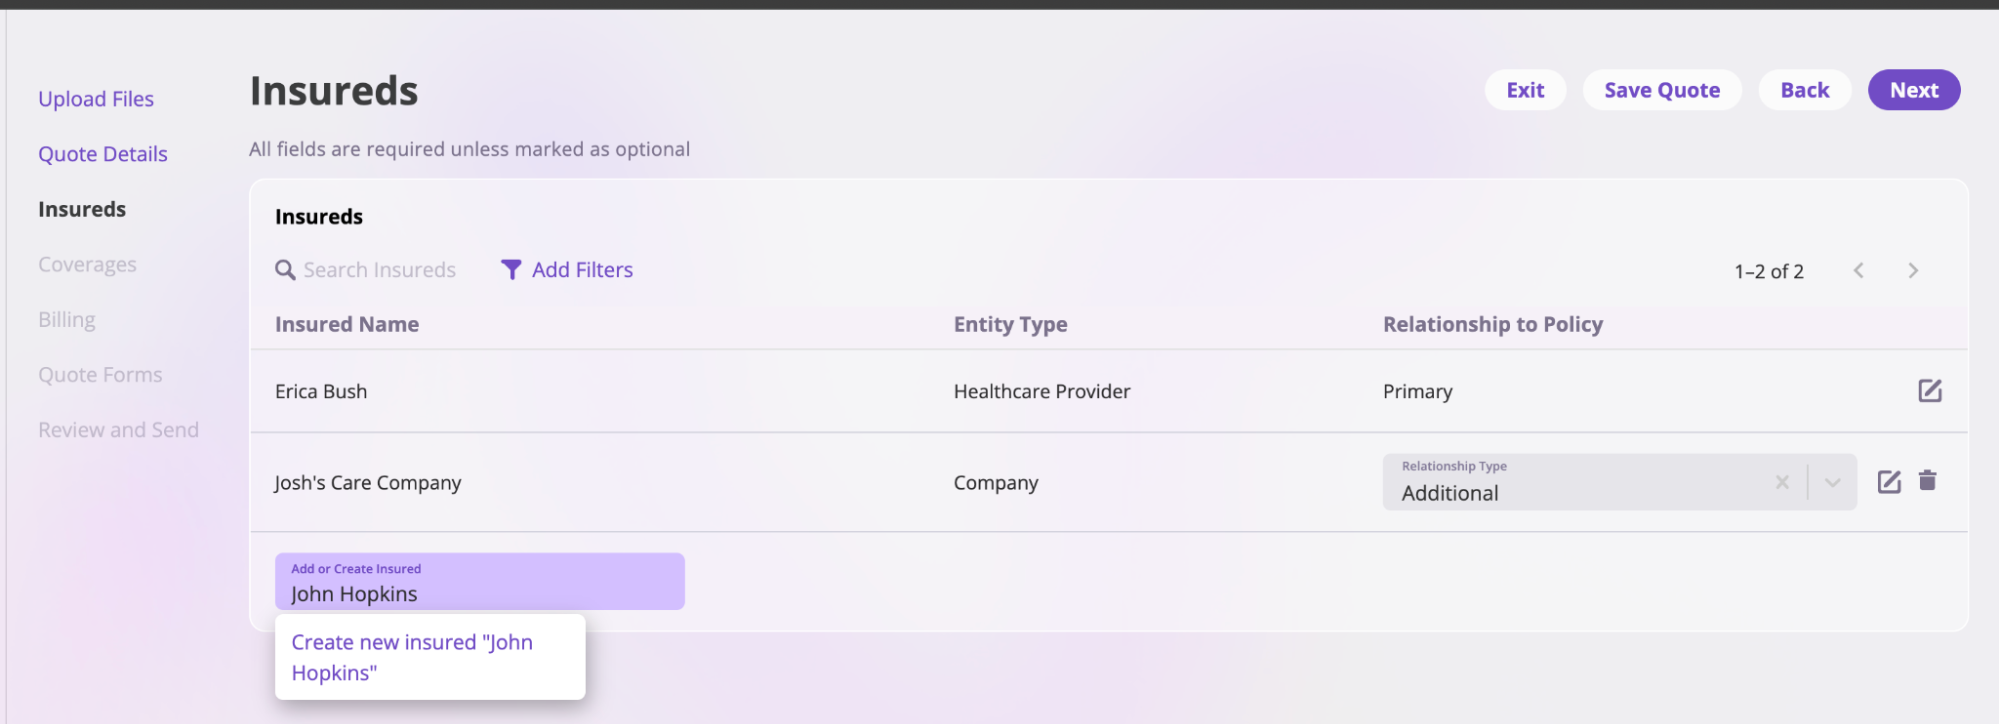
- Primary insured: Enter the name of the primary insured of the policy. Do the following if the insured does not exist on the platform:
- Enter the insured’s name in the field and select Create new insured [name of the insured] to open the Create New Insured page.
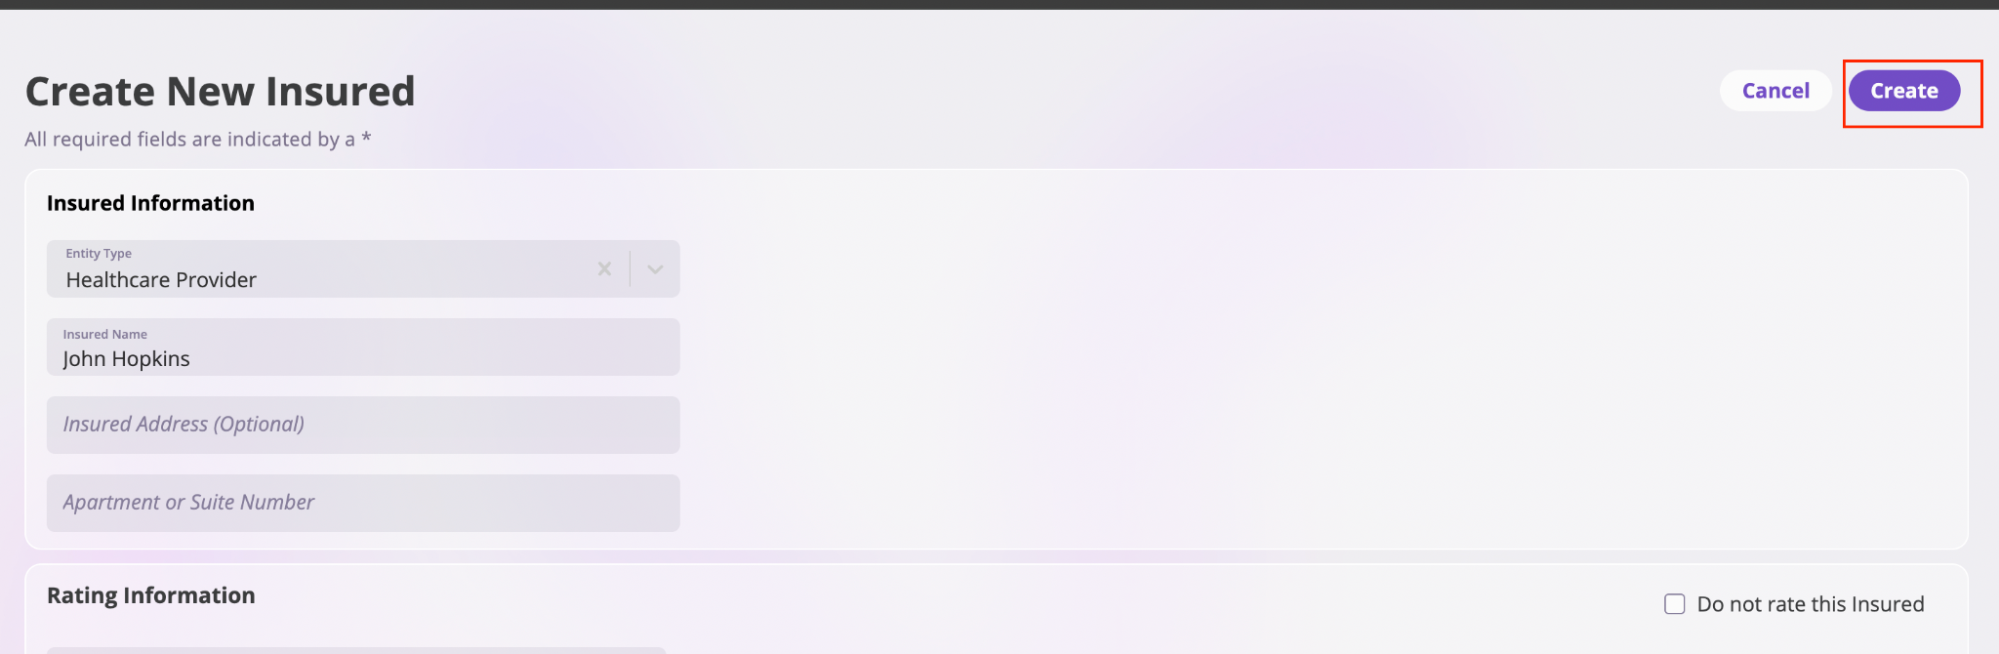
- Input the insured’s information.
- Select the Create button to save, and you will be redirected to the Quote Details page.
- Policy Number: Enter the policy number. If your company has auto-generation enabled for policy numbers, the number will be generated when the quote is bound. The placeholder will display Auto-generated when bound.
- Policy Start Date: Enter the date the insurance coverage begins.
- Policy End Date: Enter the date the insurance coverage ends.
- Policy Type: Select the category or kind of insurance issued from the dropdown options.
- Time Zone: Select the time zone relevant to the policy’s operations or issuance.
- Broker: Input the broker who facilitated the insurance policy. Do the following if the broker does not exist on the platform:
- Enter the broker’s name in the field and select Create new Broker [name of the broker] to open the Add Broker modal.
- Fill out this modal with your Broker information.
- Select the Add Broker button to redirect you to the Quote Details page.
- Submission Description (Optional): Add additional details or description for the submission.
- Binding Settings: You can configure binding settings using the following options:
- Add binding conditions to quote: Toggle this switch to enable binding conditions for the quote
- When enabled, you can add specific conditions that must be met before the quote can be bound
- Click Add Binding Condition to add multiple conditions as needed
- Each condition can be removed using the trash icon next to it

- Primary insured: Enter the name of the primary insured of the policy. Do the following if the insured does not exist on the platform:
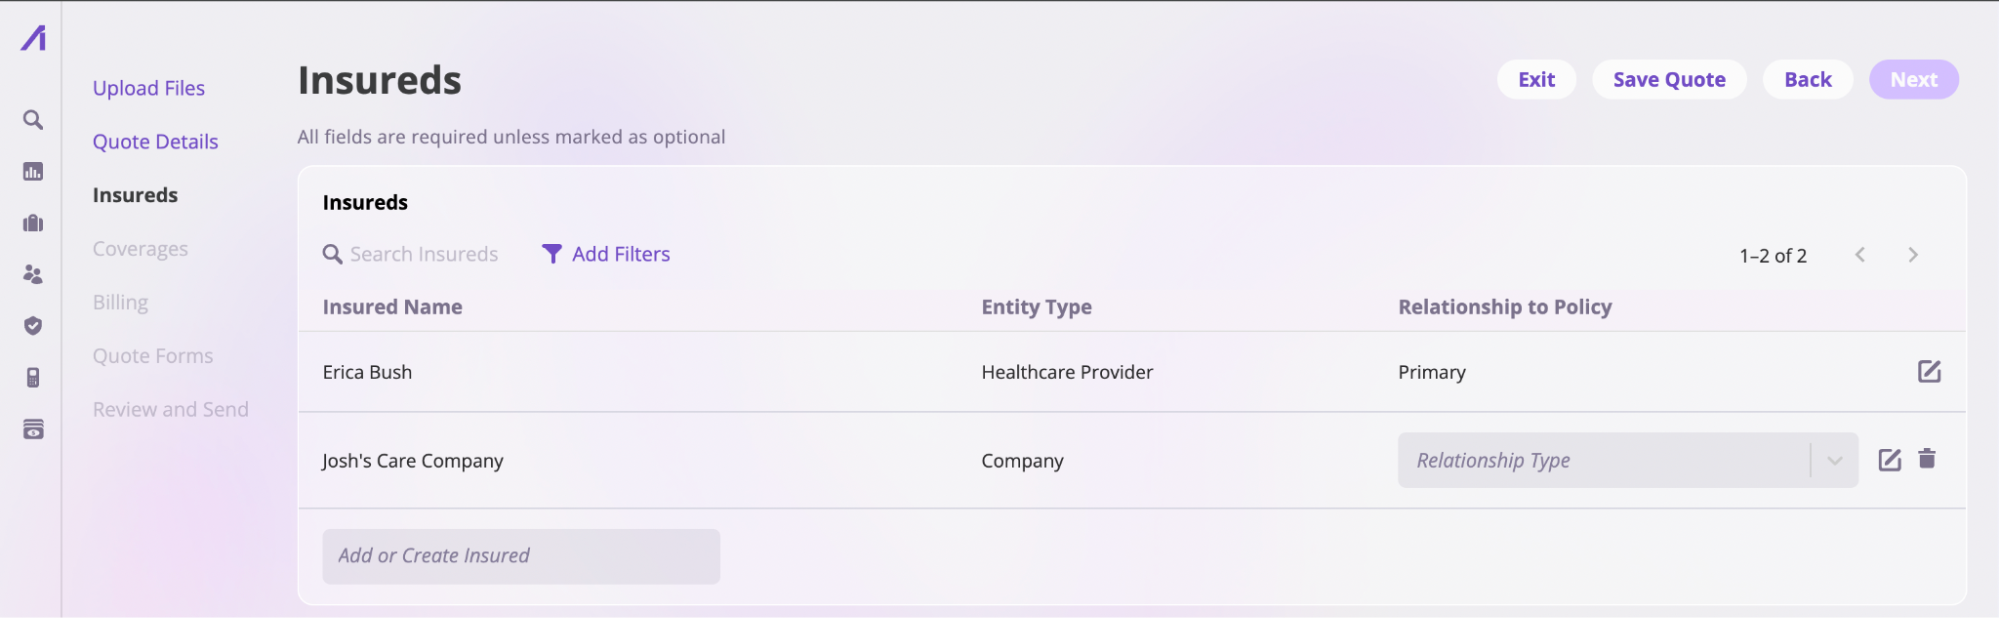
3.3: Insureds
-
Insureds: This section lists the insured individuals or entities. It is divided into three columns:
- Insured’s Name
- Entity Type (what is being insured)
- Relationship to the Policy
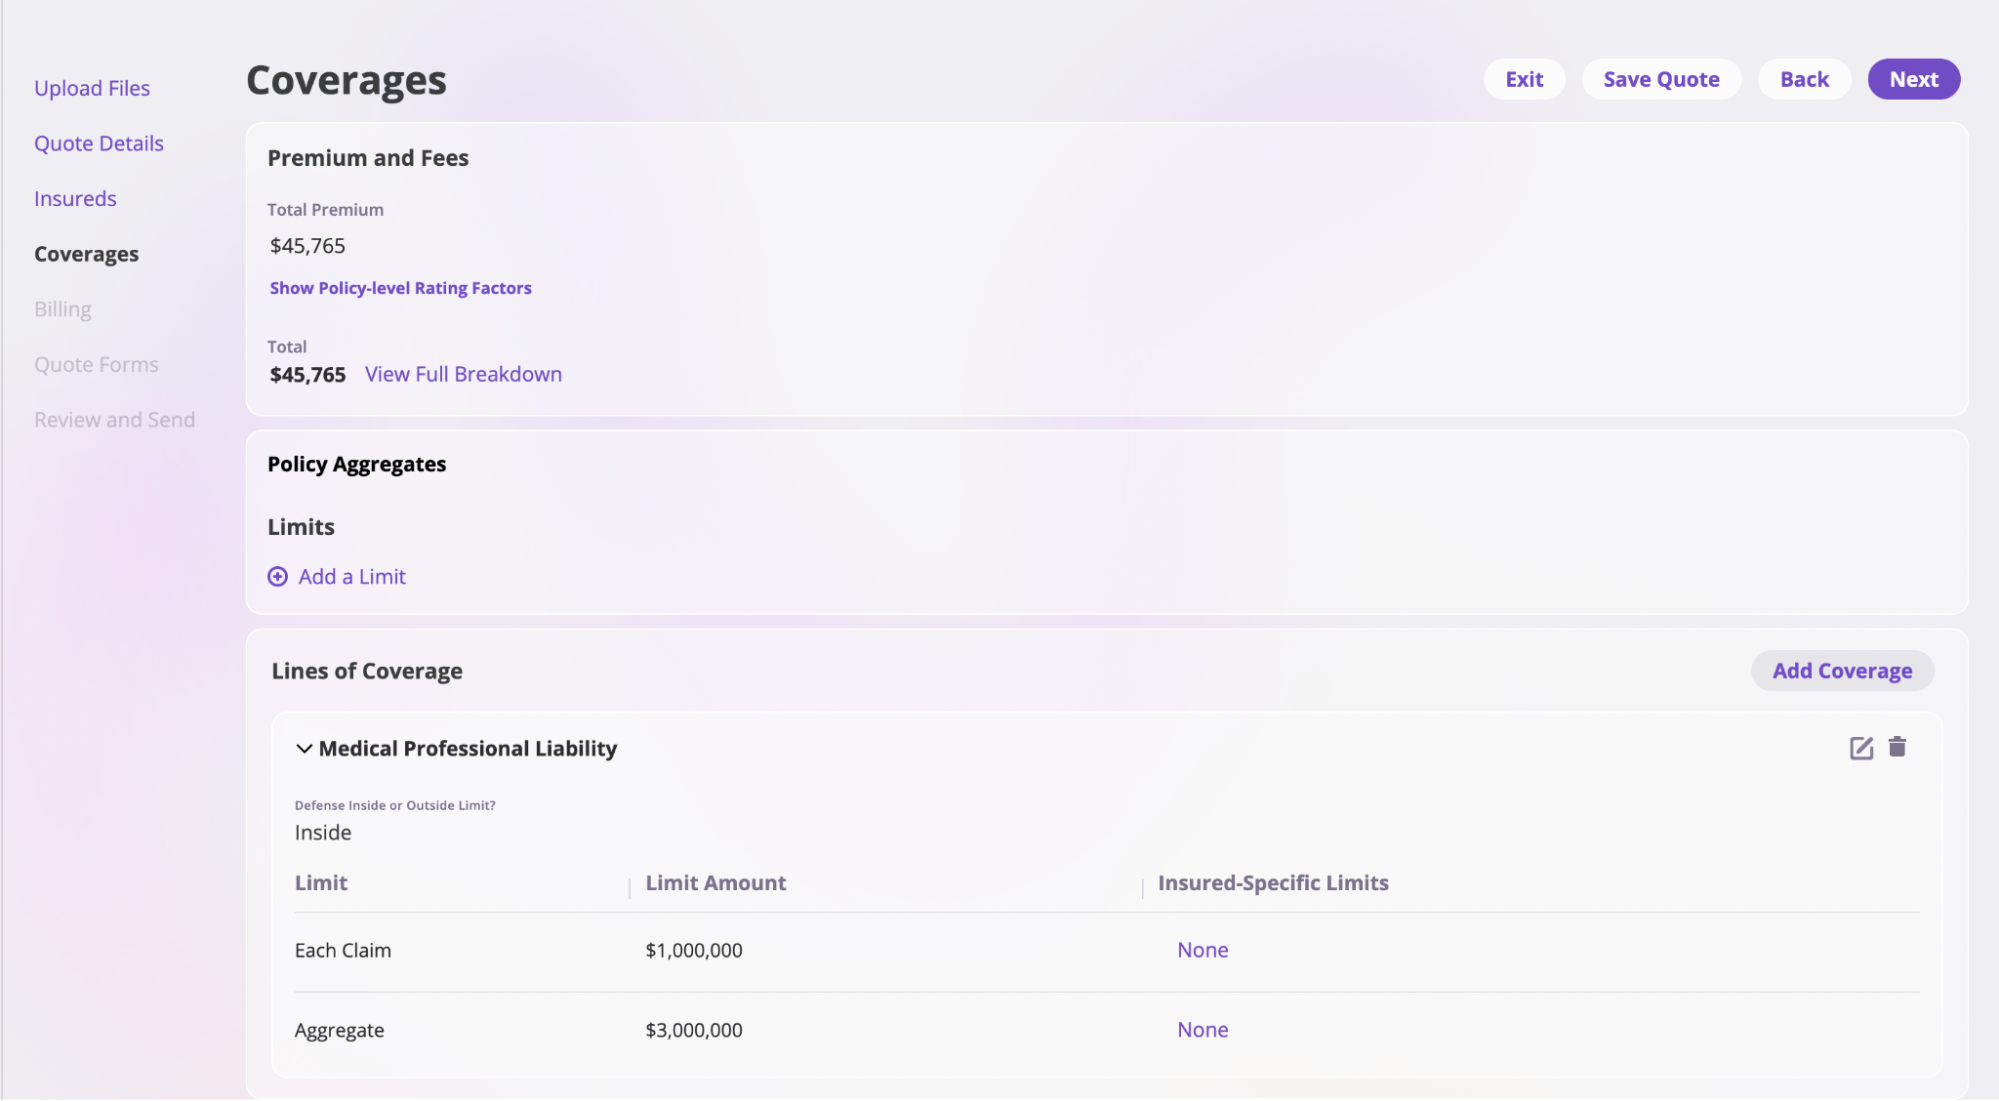
Step 4: Coverages
-
Coverages: This page defines what the quote covers. This page is split into three:
- Premium and Fees: This section displays the policy premium and lets you add additional fees. You must first add your Lines of Coverage to view the policy premium. You can also make custom adjustments to the policy premium by clicking the Show Policy-Level Rating Factors link. Enter the name of the custom adjustment and the adjustment amount. Once added, the updated policy premium will be displayed immediately. These adjustments apply to the total policy premium. Toggle the percentage button next to the search bar if the adjustment amount is fixed (not a percentage).
- Policy Aggregates: In this section, you add the limits to your policies. To add a limit, click the Add a Limit button and input the Limit Type and Limit Amount.
-
Lines of Coverages: This section outlines the details of the coverage of the quote in the event of an incident. To add a line of coverage, click the Add Coverage button. This action will open a new page where you can select:
- The line of coverage and its preset.
- Whether the defense is covered inside or outside the limit.
- The limits for each limit type are set automatically based on the preset. . You can change the Limit Types by selecting from the dropdown.
- Set individual limits for each insured based on their risk profile.
- Add deductibles, and specify whether you want different deductibles for each insured listed on the Insured page.
- Define retroactive dates, which determine how far back coverage applies. You can also add different retroactive dates for each insured if needed.
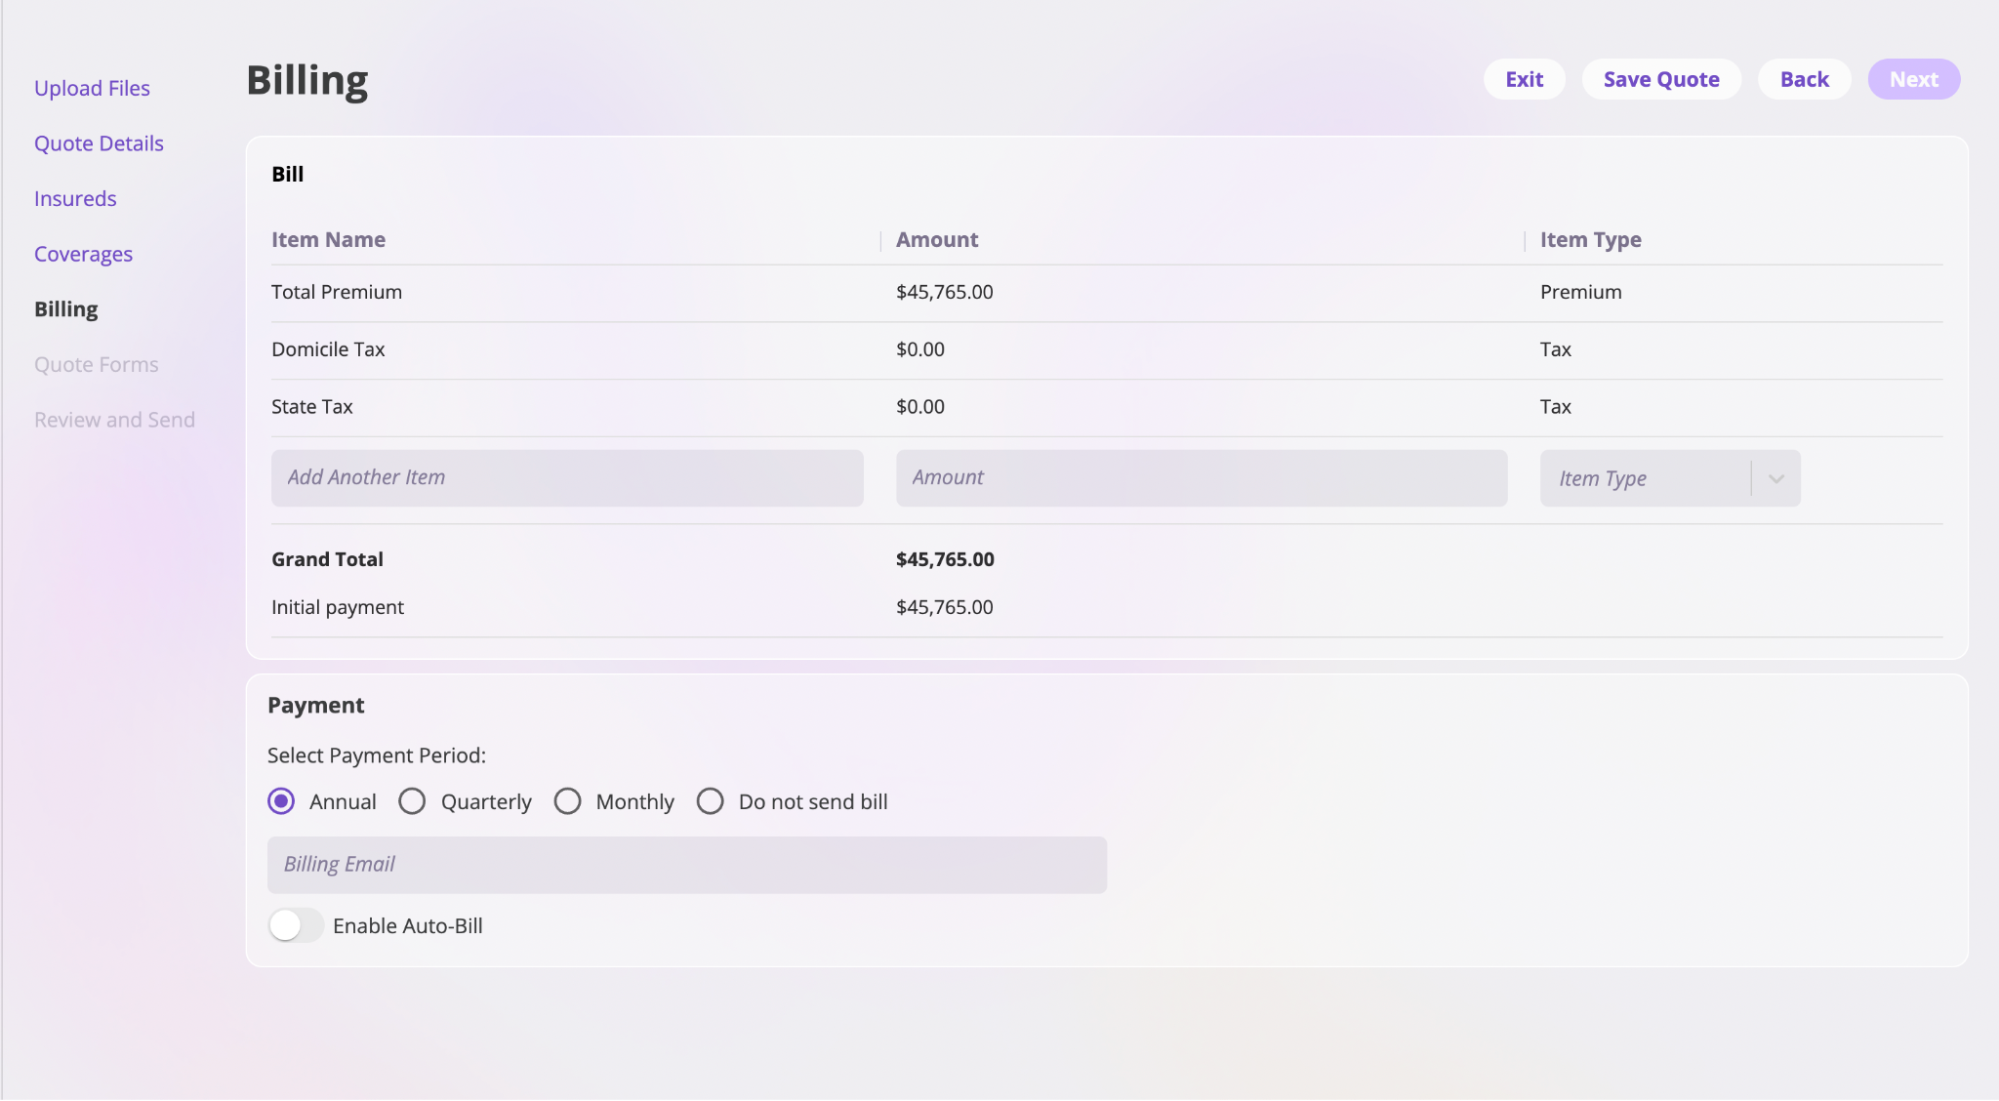
Step 5: Billing
Billing: The Billing page, available exclusively for Premium Billing users, displays the total amount due, including taxes and fees. To add a new item, you must provide its name, specify the amount type, and indicate the payment category. Additionally, you must select the payment period, choosing between a one-time annual payment or installments spread across quarterly or monthly payments. You should also enter the recipient’s email address and decide whether to send the bill automatically based on the selected payment period.Custom Billing (Beta): Eligible accounts have access to an enhanced billing step with granular control over invoice schedules, send timing, and commission handling. See Custom Billing for details.
Step 6: Quote Forms
Quote Forms: In this section, you can select documents you’ve previously created for the applicant to review or sign before binding the quote. Typically, this involves specifying which forms should be included in the policy. For guidance on creating forms, refer to the Smart Tags documentation. To add a form, browse the Available Forms list and click the ”+” button on the desired form. You can also rename or edit the form and include smart tags. To rename a form, input your preferred name in the field at the top.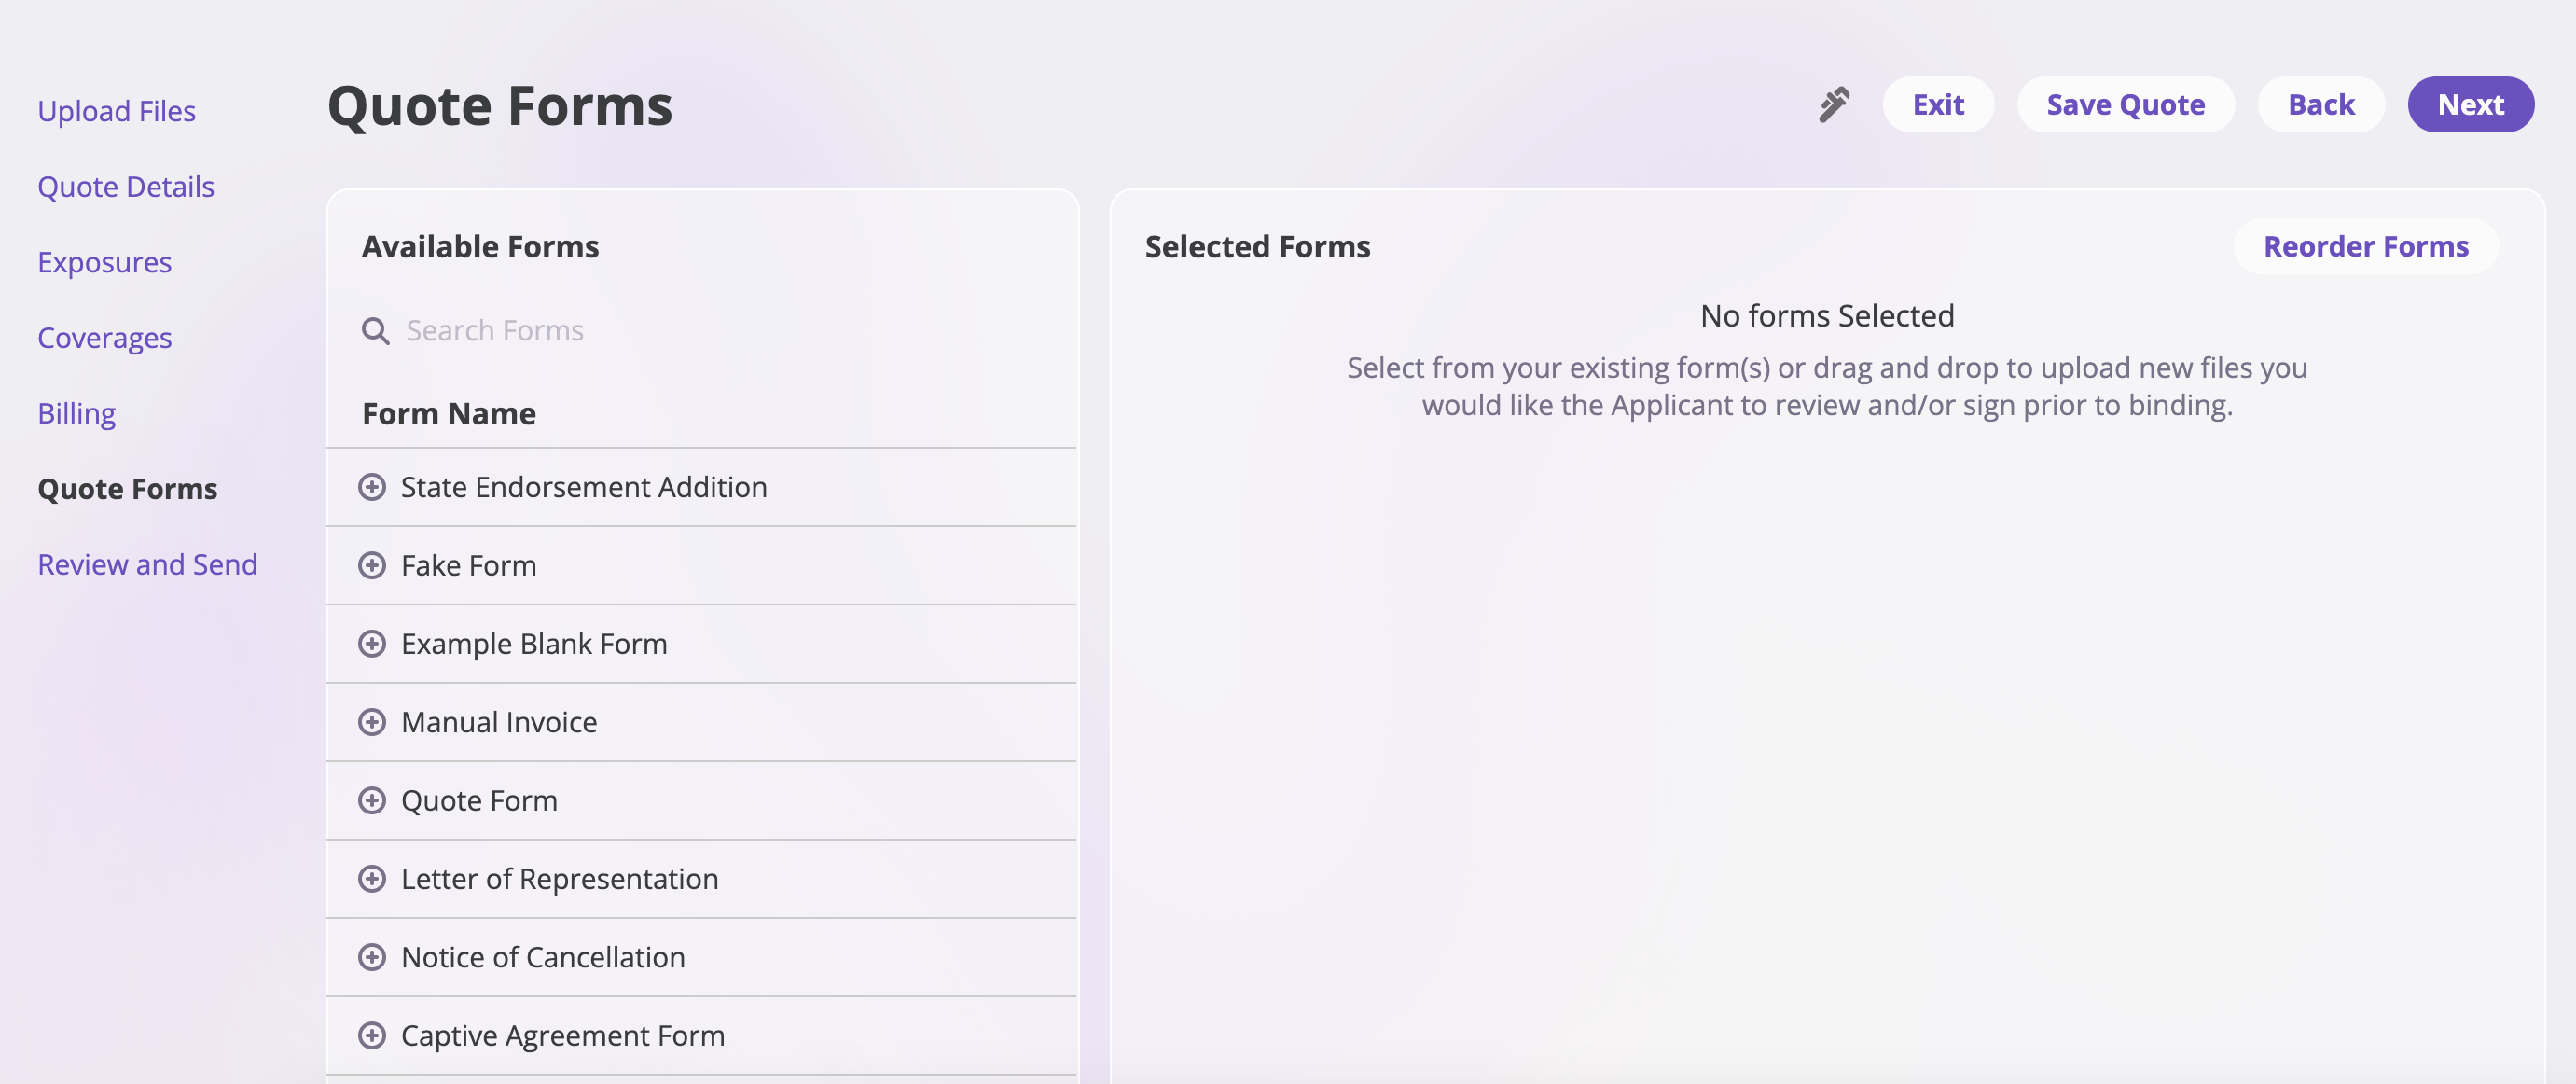
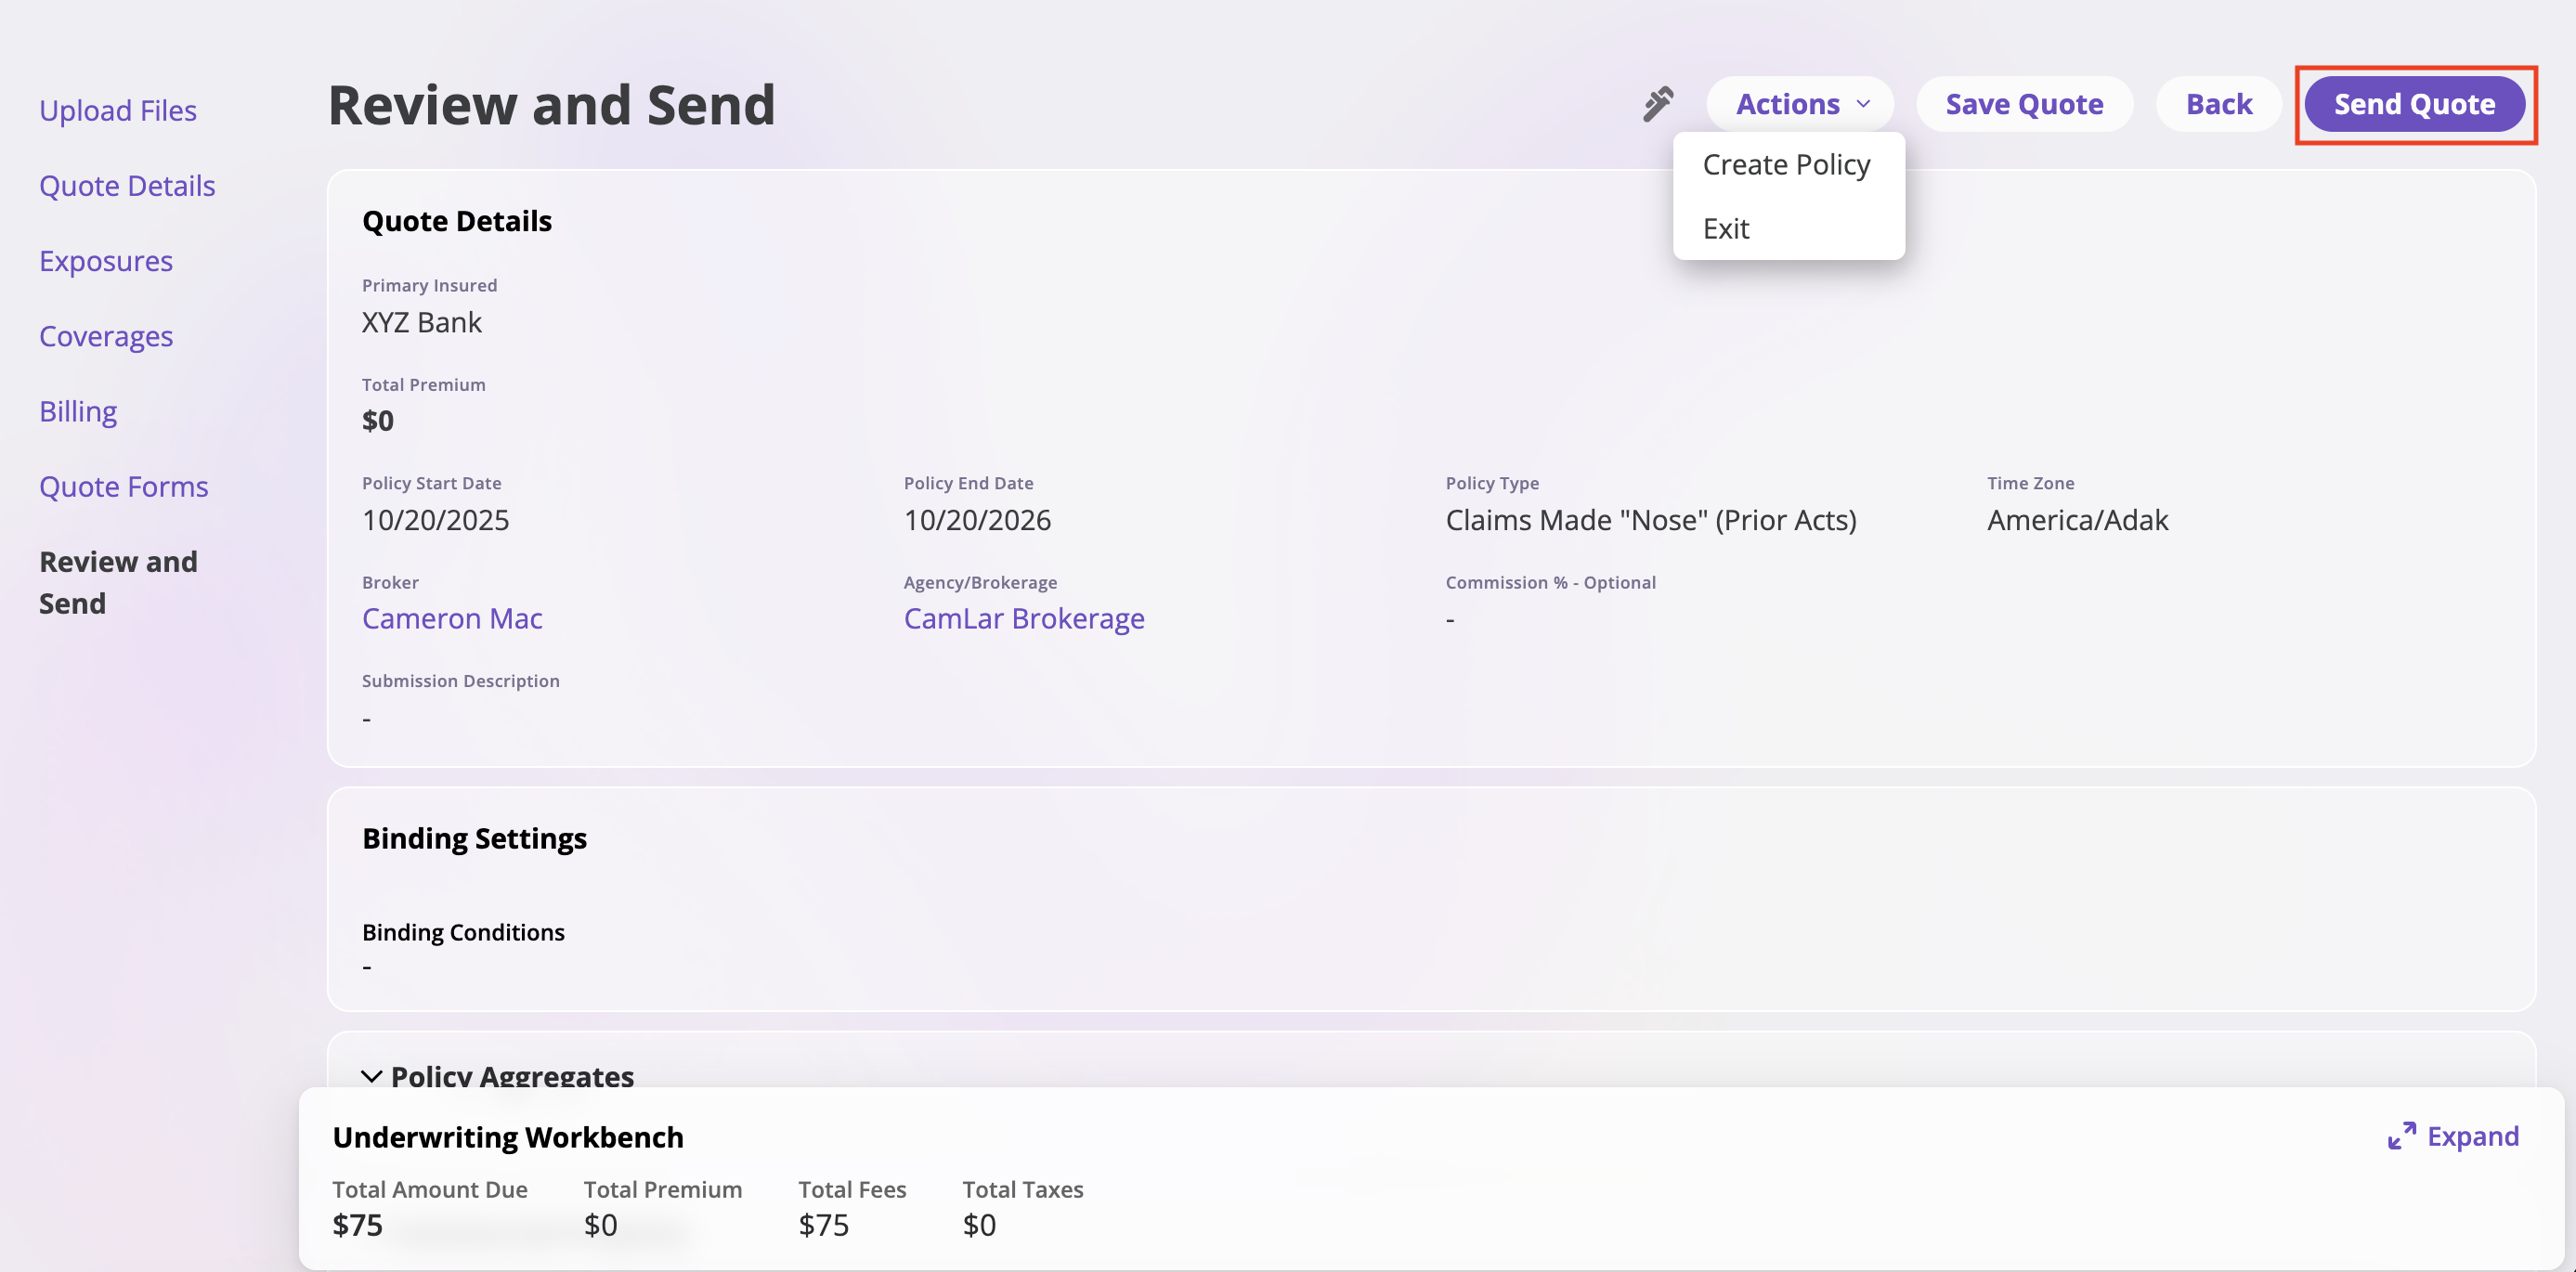
Step 7: Review and Send
Review and Send: This is the final step where you can review all quote details and choose your next action.Available Actions:
- Send Quote: Send the quote to the broker and/or insured for review
- Create Policy: Directly create a policy from the quote
- Save Quote: Save the quote for later completion
- Exit: Exit without saving changes
- Back: Return to the previous step
Send Quote Process:
When you click Send Quote, a modal will open with the following options:-
Recipient Selection: Choose who should receive the quote:
- Broker and Primary Insured**
- Broker Only
- Custom
- Do Not Send
- Email Confirmation: The modal will display “Confirm the recipients’ emails below:” and show the email addresses based on your selection
-
Additional Options:
- Check “Copy additional recipients for forms” if you want to include additional recipients for any forms
- Review the email addresses before sending
- Send or Cancel: Click Send Quote to send the quote or Cancel to close the modal without sending